The squat uses most of the major muscle
groups in the legs including the glutes, hip flexors, quadriceps, hamstrings
and even the muscles in the lover leg like the tibialis and muscles in the calf.
It also activates the core, erector spinae and the abdominal muscles, for
stability.
groups in the legs including the glutes, hip flexors, quadriceps, hamstrings
and even the muscles in the lover leg like the tibialis and muscles in the calf.
It also activates the core, erector spinae and the abdominal muscles, for
stability.
Before getting into your workout always
remember to warm-up with some movements that increase the heartrate slowly and
get blood and oxygen out to the muscles preparing the body before executing the
exercises. After completing your workout, end with stretching the muscles used
in the workout. Warm-up and cool-down may take 5-15 minutes, depending on age
and fitness level. Make sure that you are mindful and present when executing
the movements. Never move into any new pain. Always start small and work into
larger range of motions building up to your full range in the motion to help
prevent injury. Once you are warmed up let’s get started!
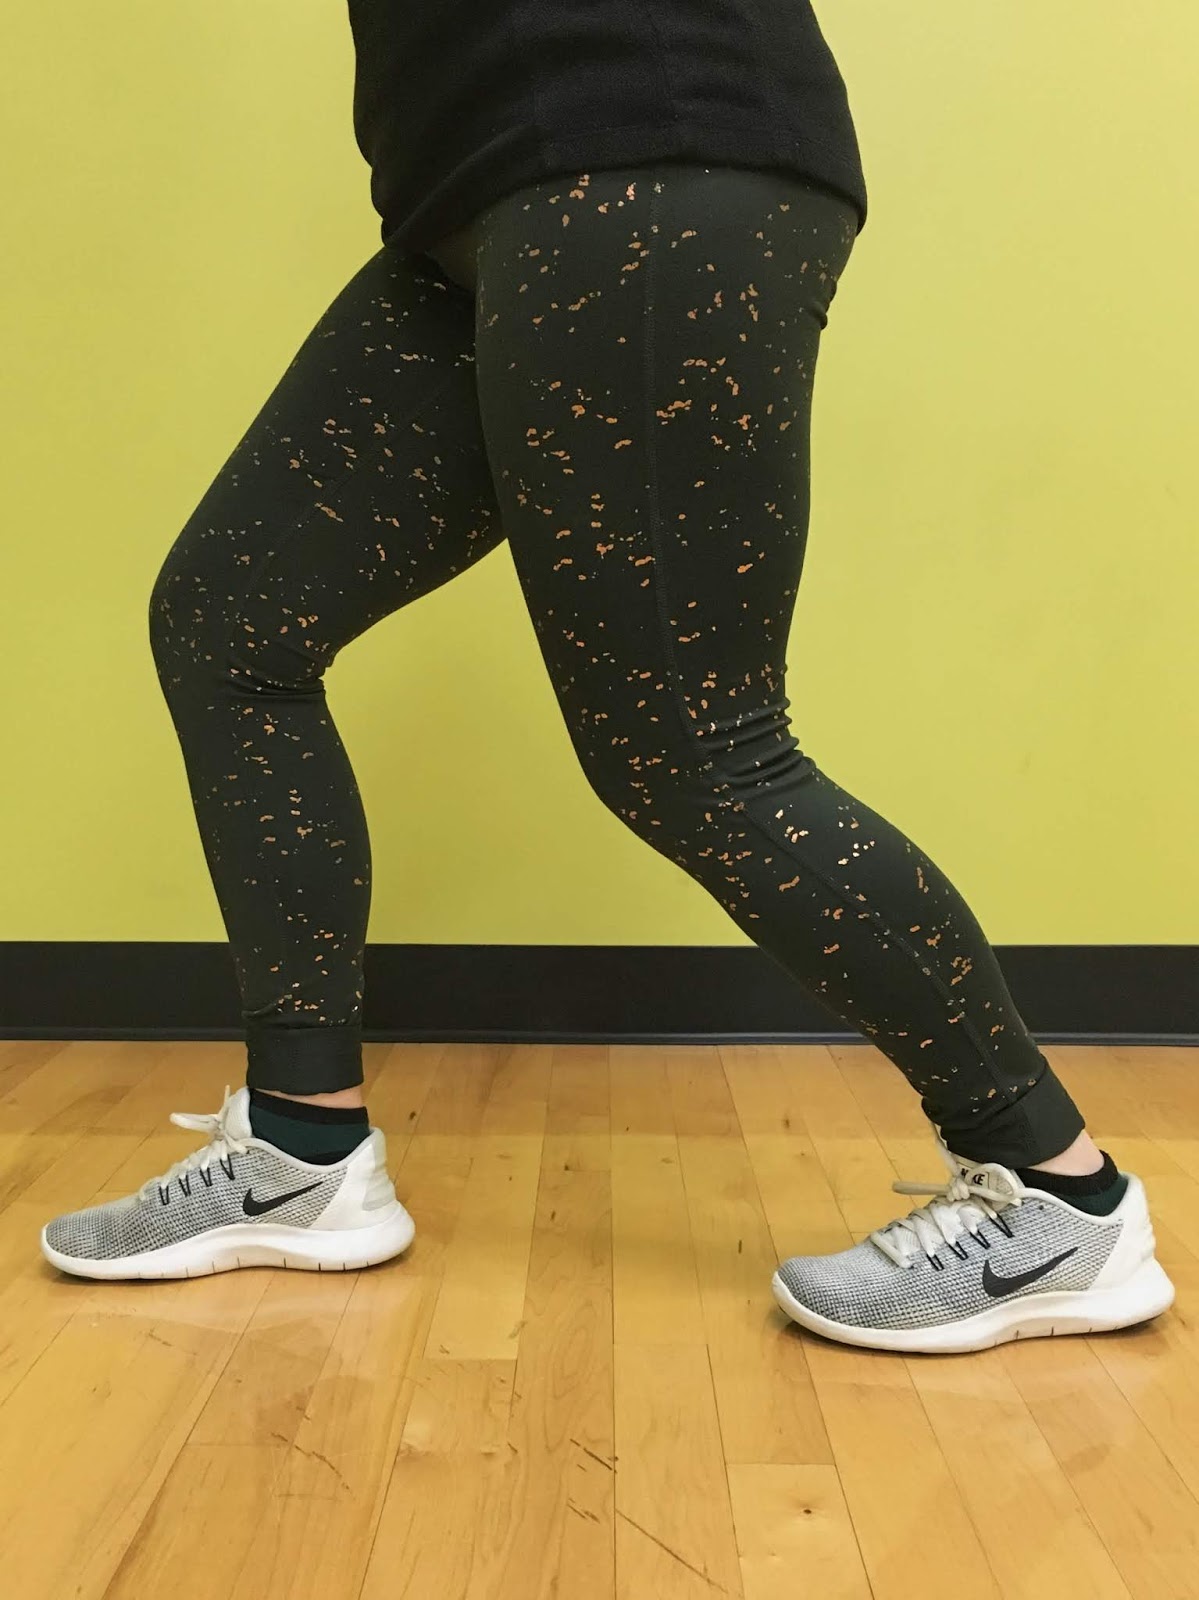
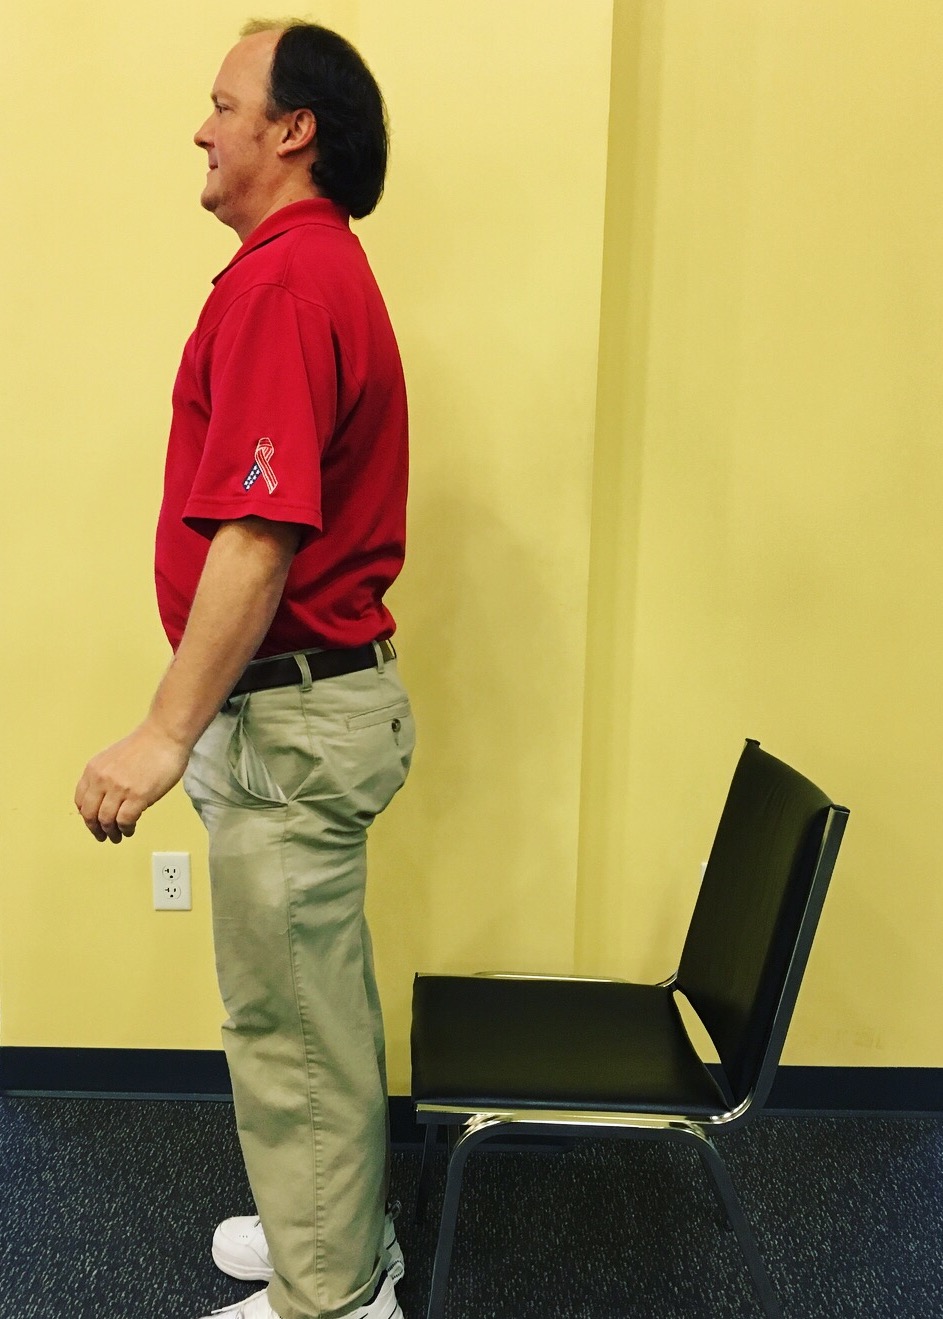
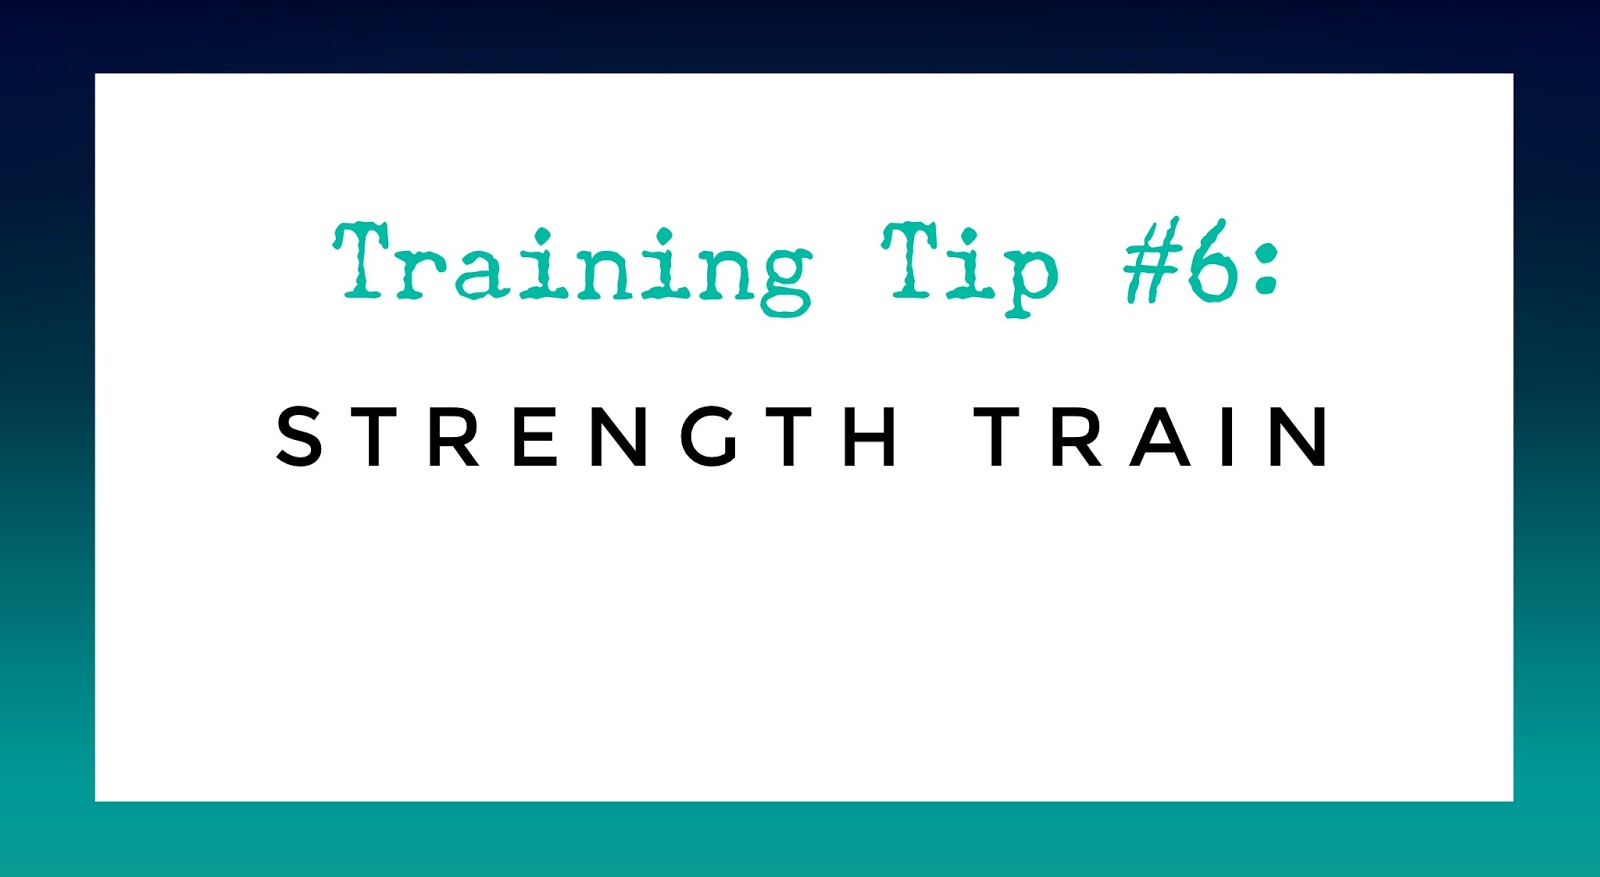
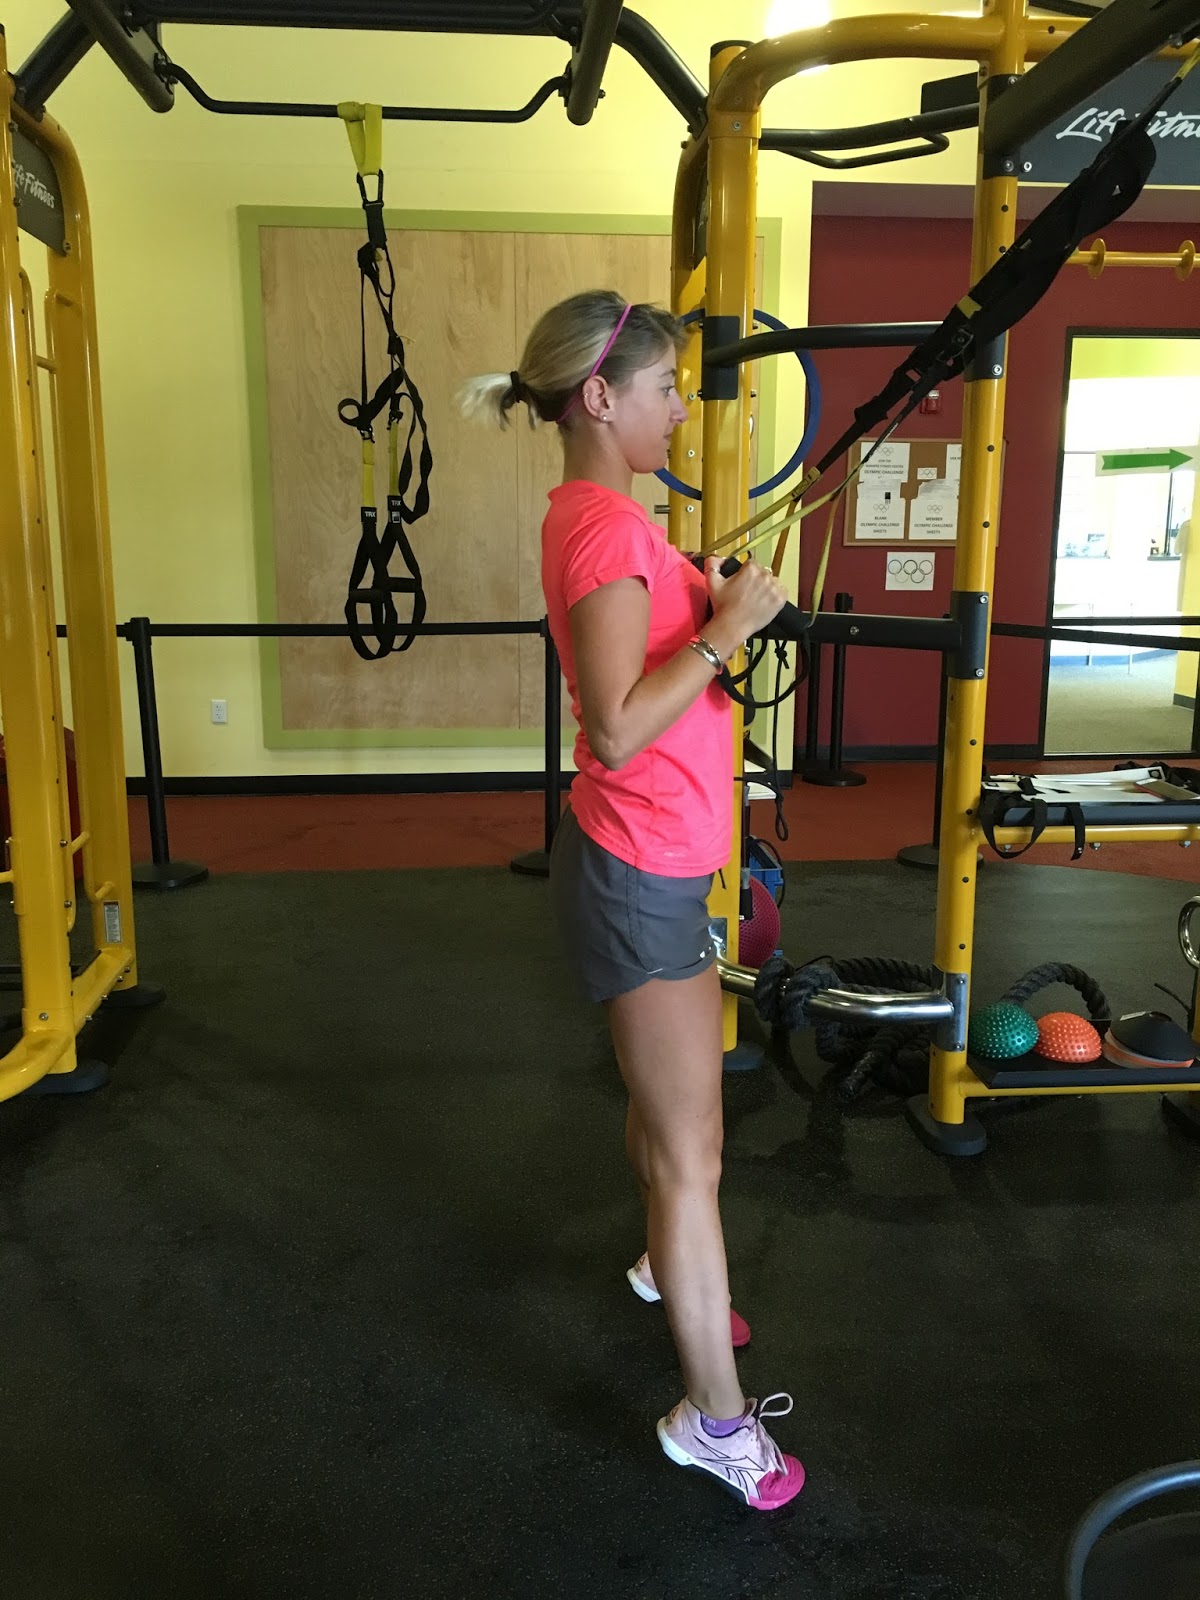
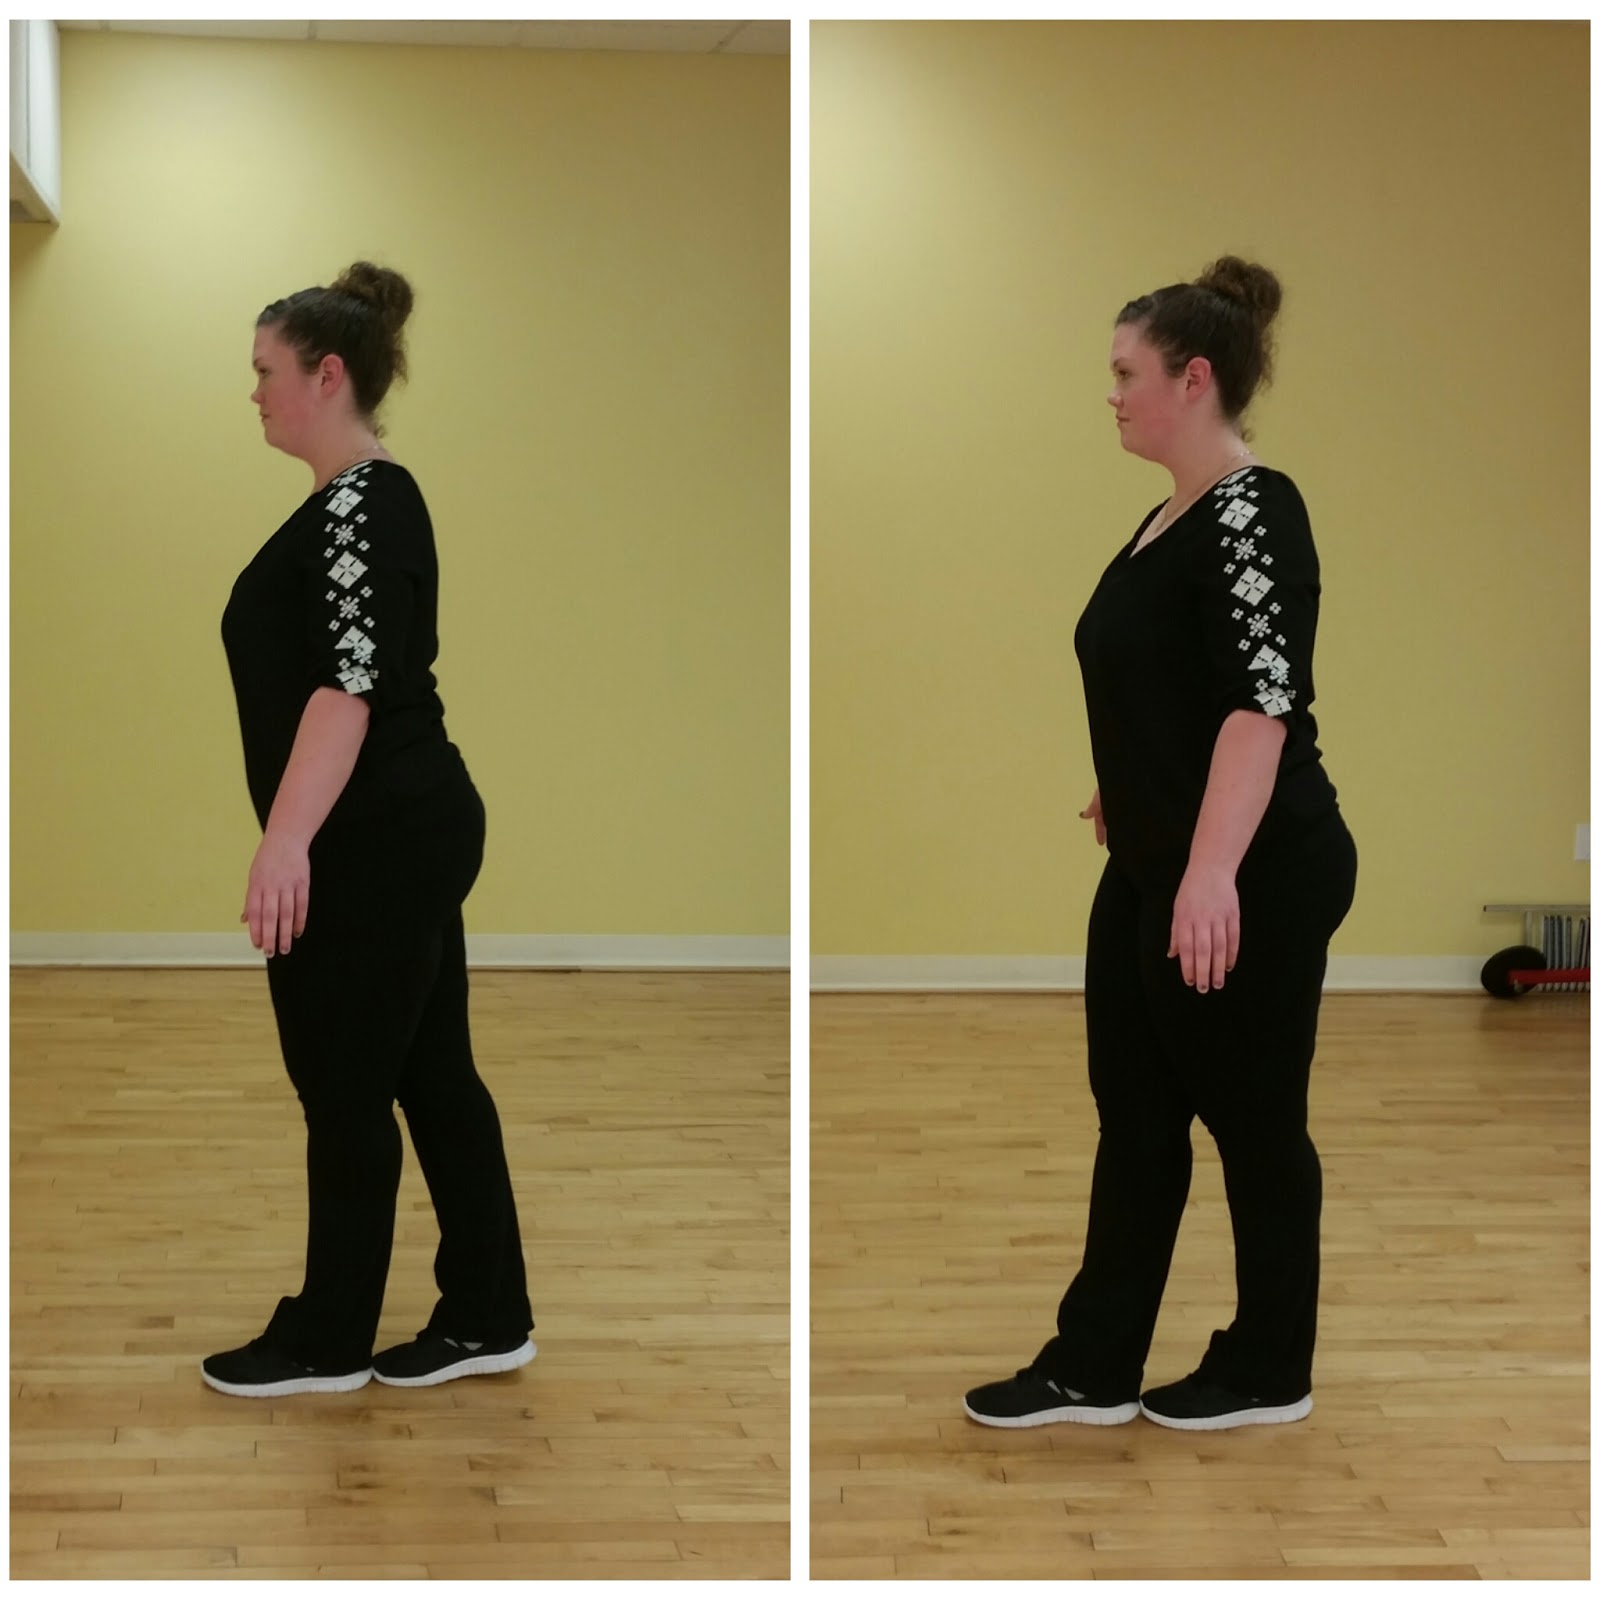
Stationary
Squat
Start by standing with feet
parallel and hip to shoulder-width apart. Keep a straight line from the crown
of the head to the tailbone and from shoulder to shoulder. With core engaged move
hips back transferring weight into the heels. Keep knees behind the toes and
lower the hips. Arms may extend forward for balance. Press through the heels to
return to a standing position.


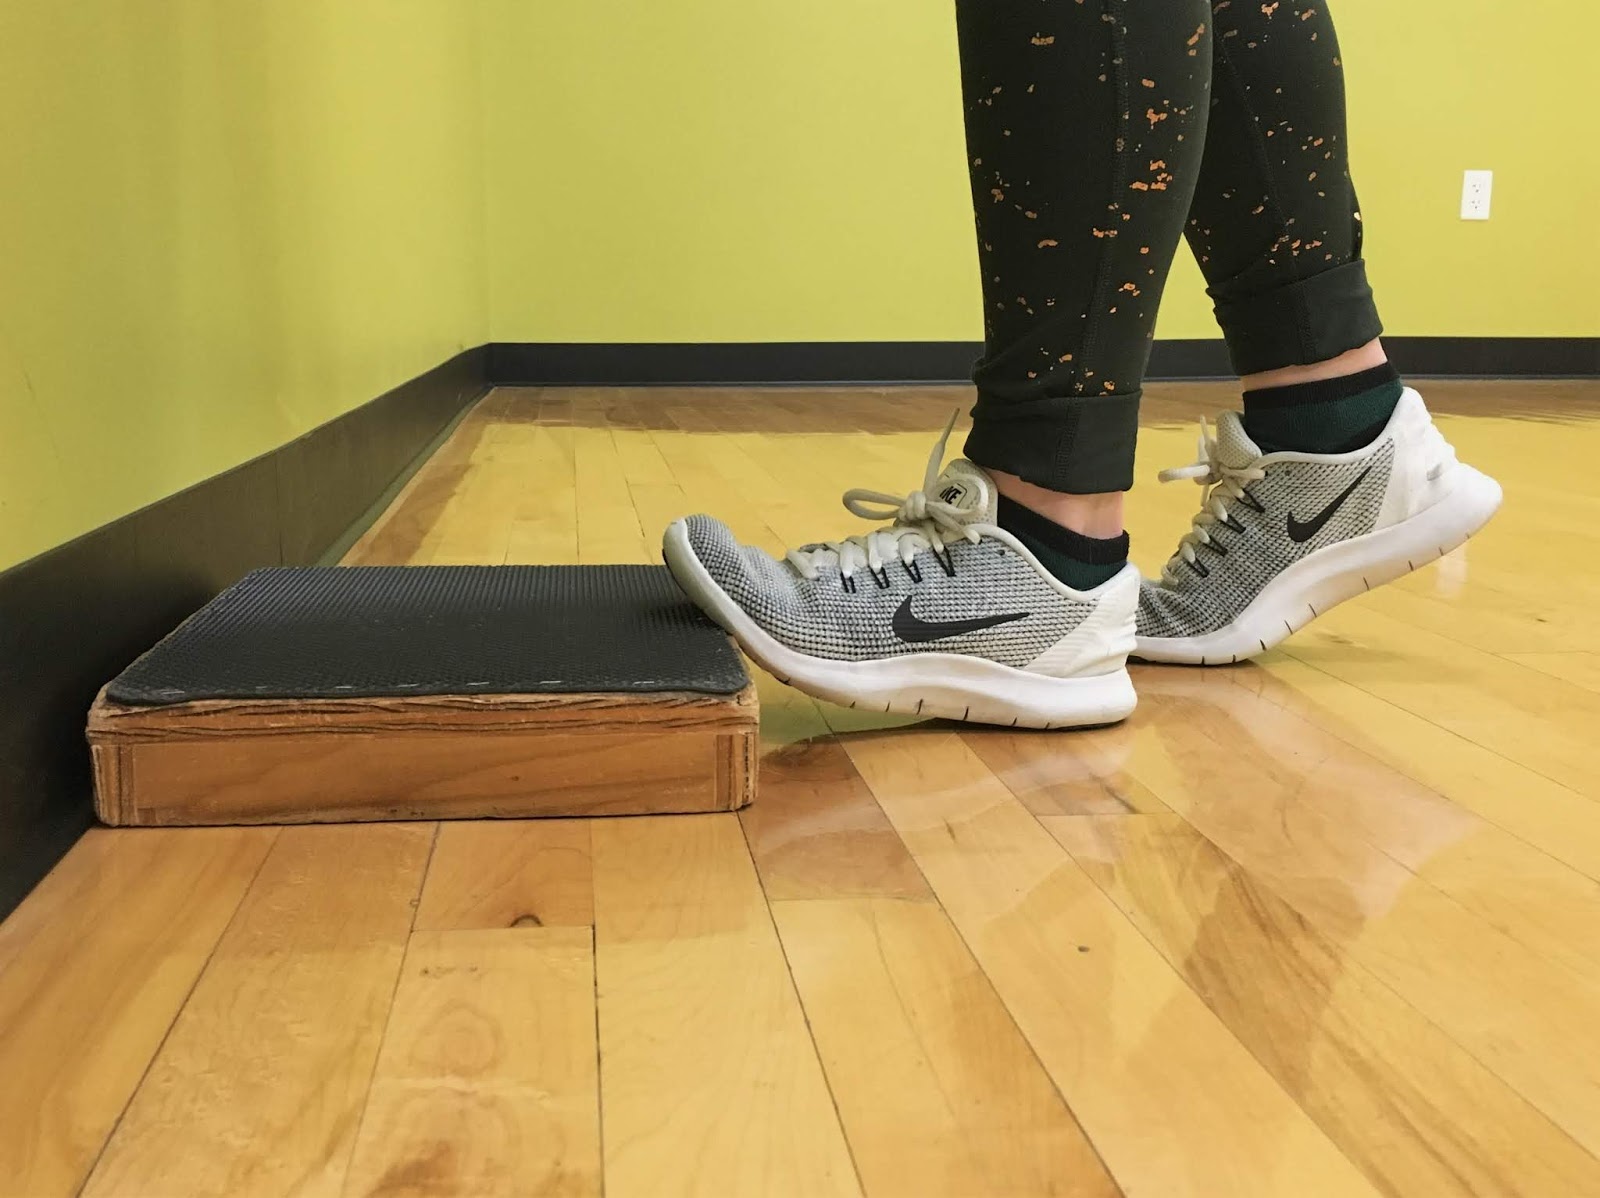
Too
Difficult?… add a chair.
Place a
sturdy chair behind you making sure that it is secure and will not slip. Start by
standing with feet parallel and hip to shoulder-width apart. Keep a straight
line from the crown of the head to the tailbone and from shoulder to shoulder.
With core engaged move hips back transferring weight into the heels. Keep knees
behind the toes and lower the hips to touch down as if going to have a seat in
the chair. Arms may extend forward for balance. Press through the heels and return
to standing a position.


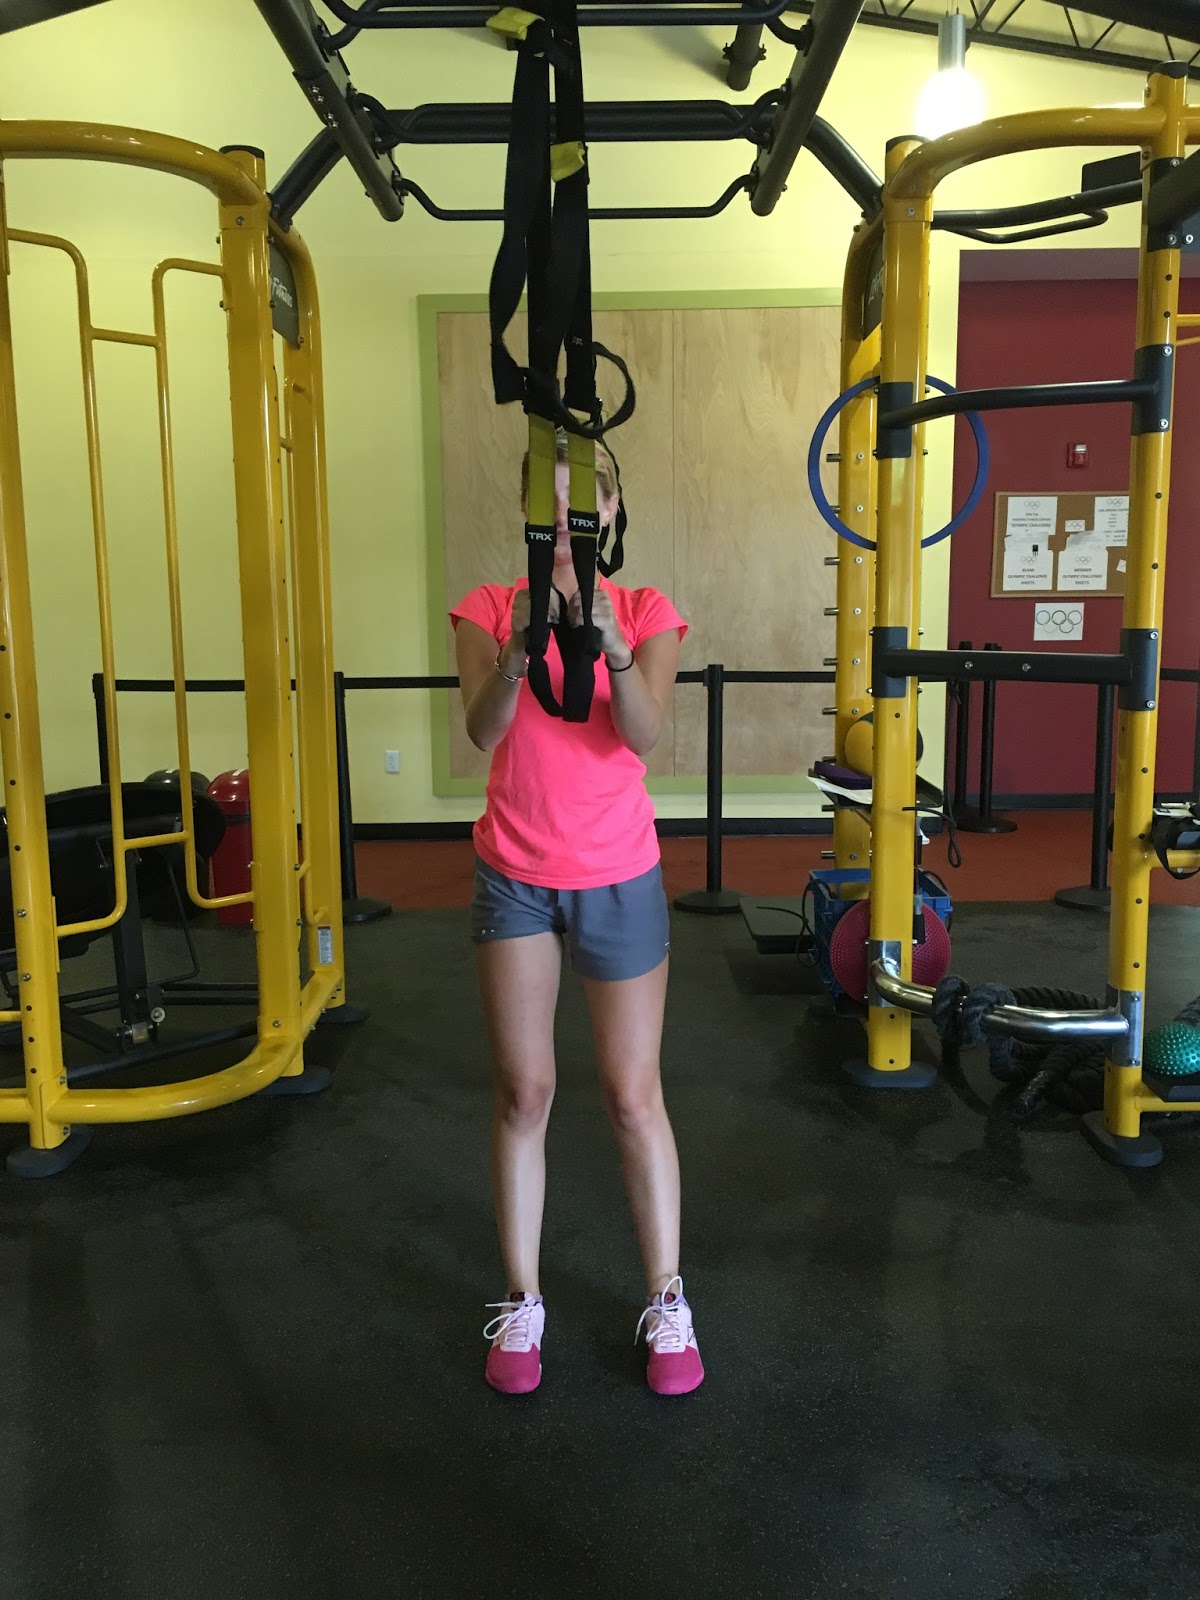
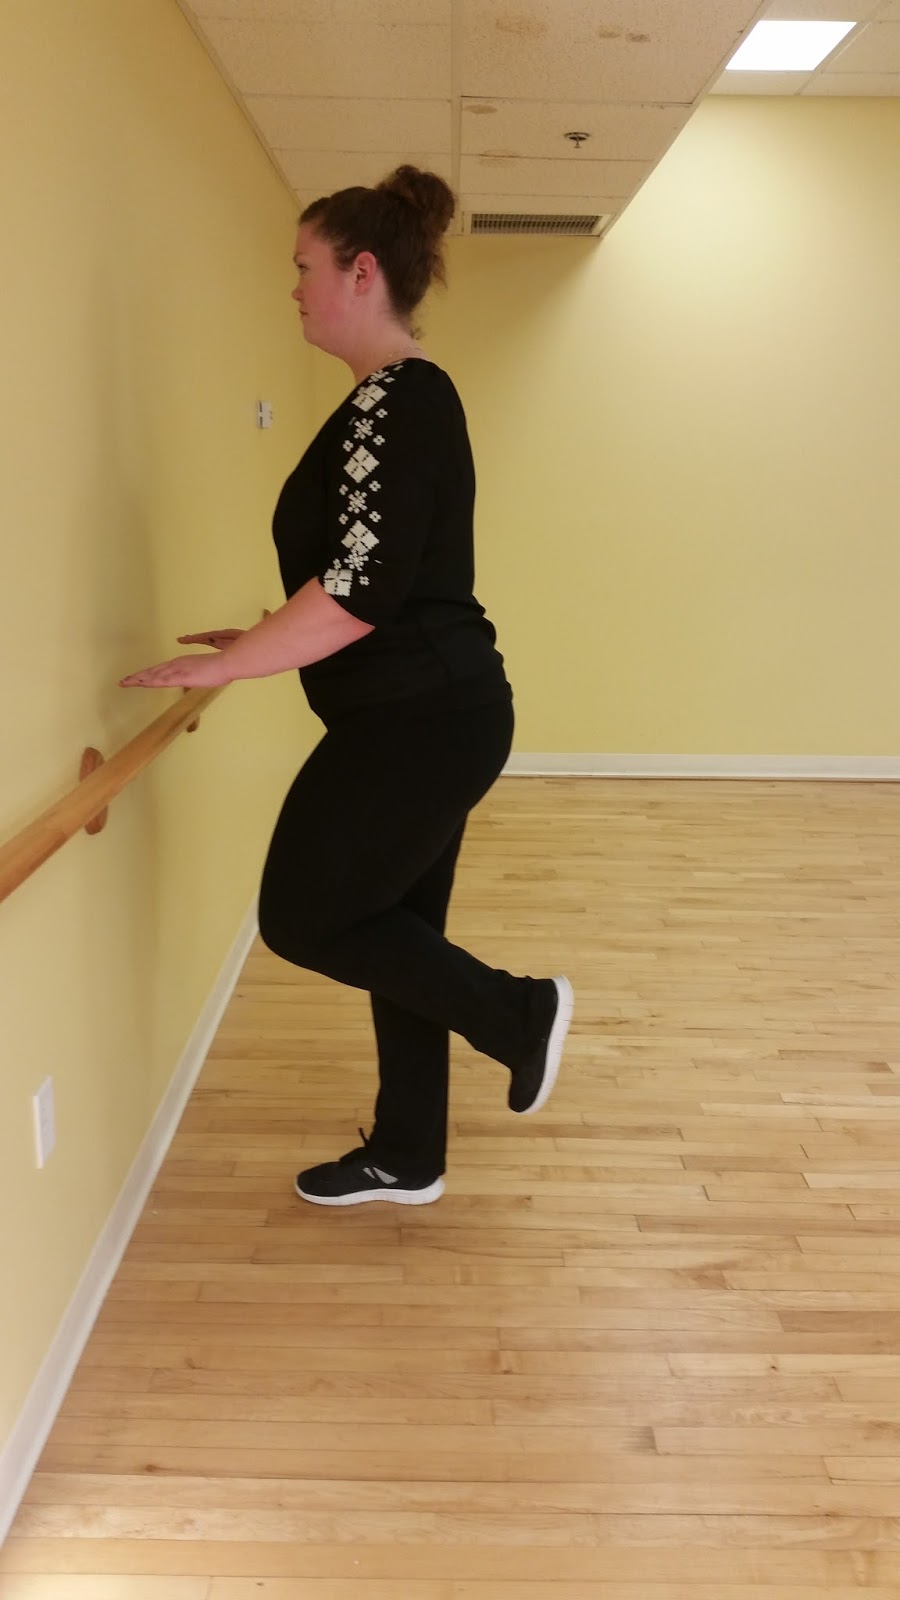
Too
Easy? … add overloading one leg.
With arms overhead and palms facing
each other, raise one heel off the ground to the ball of the foot or extend one
leg straight with heel on the floor, overloading opposite leg as if a single
leg squat. With core engaged move hips
back transferring weight into the heel of the overloaded leg. Keep the knee
behind the toes and lower hips. Arms may extend forward for balance or remain
overhead. Press through the heel to return to a standing position.


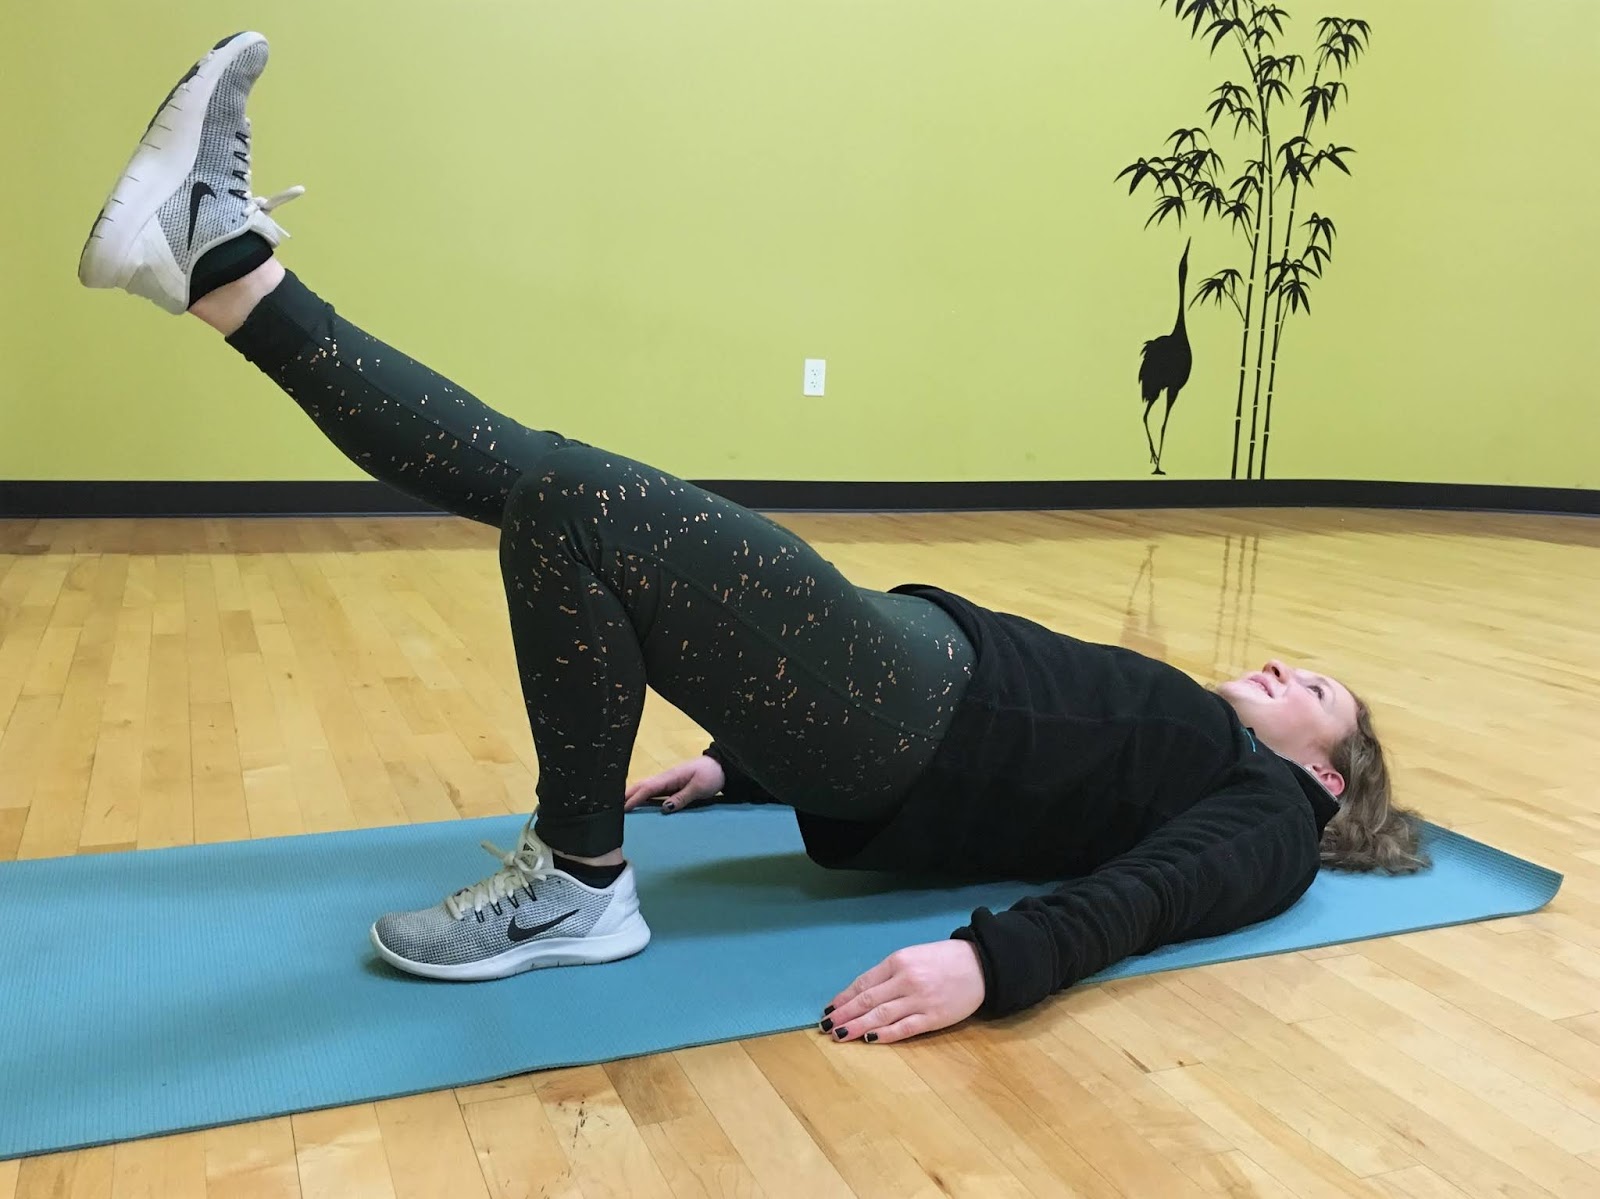
Squat
Down & Reach Up Variation
Start
by standing with feet parallel and hip to shoulder-width apart. Keep a straight
line from the crown of the head to the tailbone and from shoulder to shoulder.
With core engaged move the hips back transferring weight into the heels. Keep
knees behind the toes and lower hips. Reach fingers down toward the ground.
Fingers may touch the ground for a deeper squat. Press through the heels to
return to standing position. After returning to standing position, raise up on
toes lifting heels off the ground and raising arms overhead for additional balance
challenge and range of motion.


Too
Easy? … add plyometrics
Start by
standing with feet parallel and hip to shoulder-width apart. Keep a straight
line from the crown of the head to the tailbone and from shoulder to shoulder.
With core engaged move the hips back transferring weight into the heels. Keep
knees behind the toes and lower hips. Reach fingers down toward the ground.
Fingers may touch the ground for a deeper squat. Press through the heels,
raising arms overhead accelerating up adding power to create a jump off the
ground then decelerate, controlling the
landing and easing back into the squat.


Blog
post by Ally Wilson.
post by Ally Wilson.