What do most runners do
to train? Run.
to train? Run.
The majority of
distance runners started running because they love to run. There are many health benefits to running and
it is also convenient to just walk out the door and run. Often overlooked or ignored by runners is the
importance of strength training. Complimenting your running program with
strength training will improve your performance and also reduce your risk for
injury.
Here is a TRX series of exercises that
will help strengthen your total body with exercises specifically selected to
address weaknesses typically seen in runners.
They will help strengthen the core, upper body and lower body and should
be performed 2-3x per week, with a day of rest in between.
will help strengthen your total body with exercises specifically selected to
address weaknesses typically seen in runners.
They will help strengthen the core, upper body and lower body and should
be performed 2-3x per week, with a day of rest in between.
Note:
Do not perform any exercise that causes or increases pain.
Do not perform any exercise that causes or increases pain.
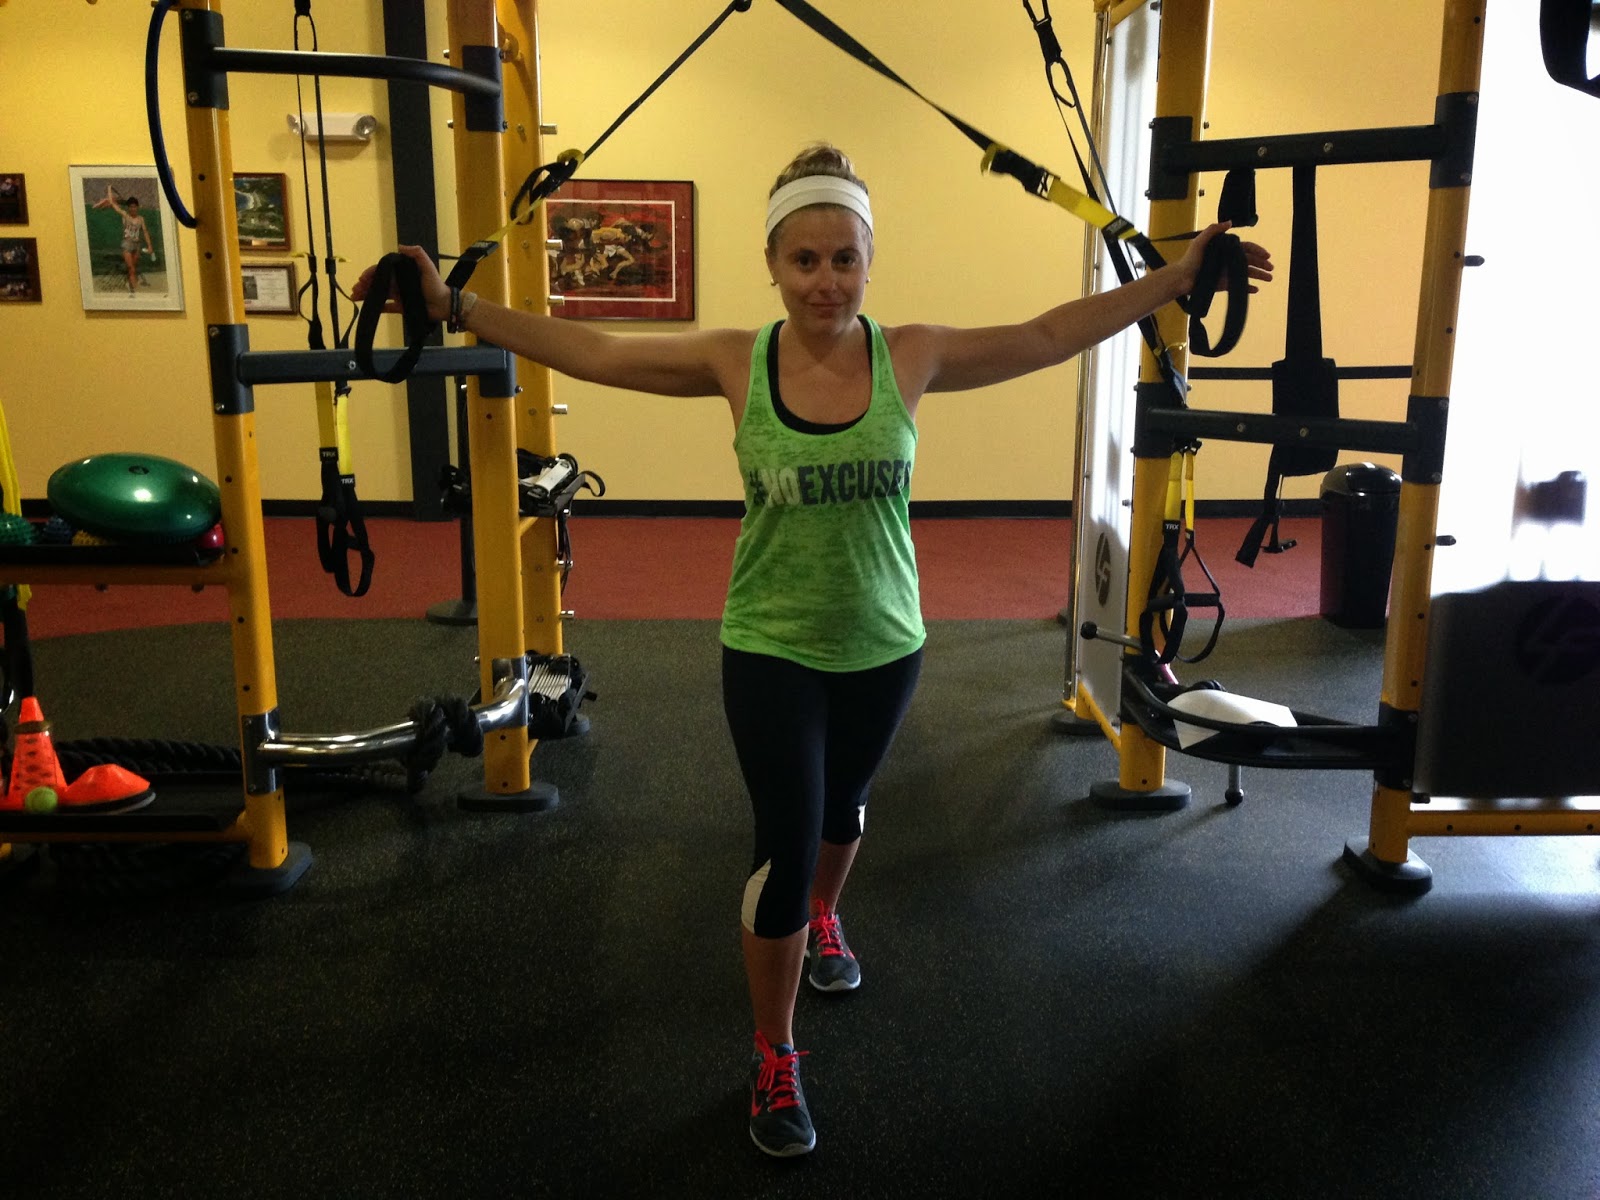
Warm Up
Squat/Row to Heel Raise
Hold the TRX handles with arms bent and your feet shoulder width apart. Sit back
into a squat keeping your heels on the ground and extend arms. Stand back up
pushing through your heels and pulling with your arms. Once fully standing
raise up on to your toes.
into a squat keeping your heels on the ground and extend arms. Stand back up
pushing through your heels and pulling with your arms. Once fully standing
raise up on to your toes.
2×15


The Workout
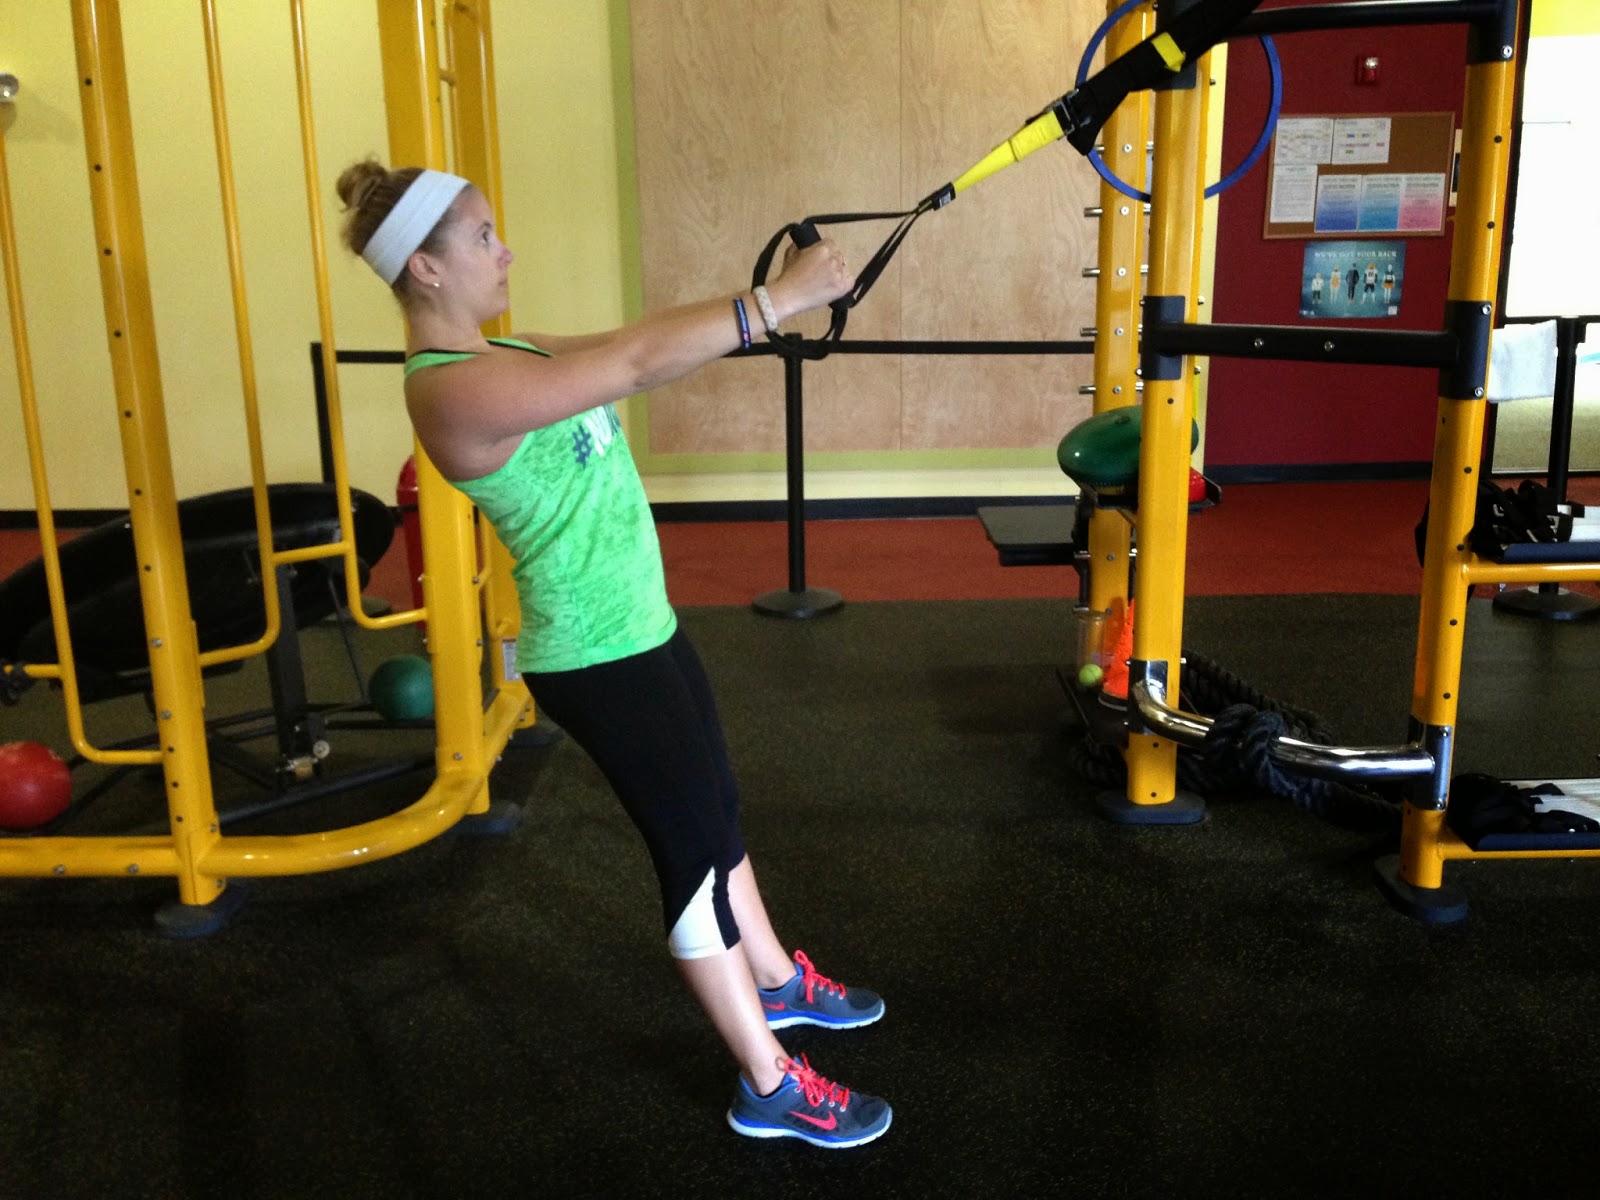
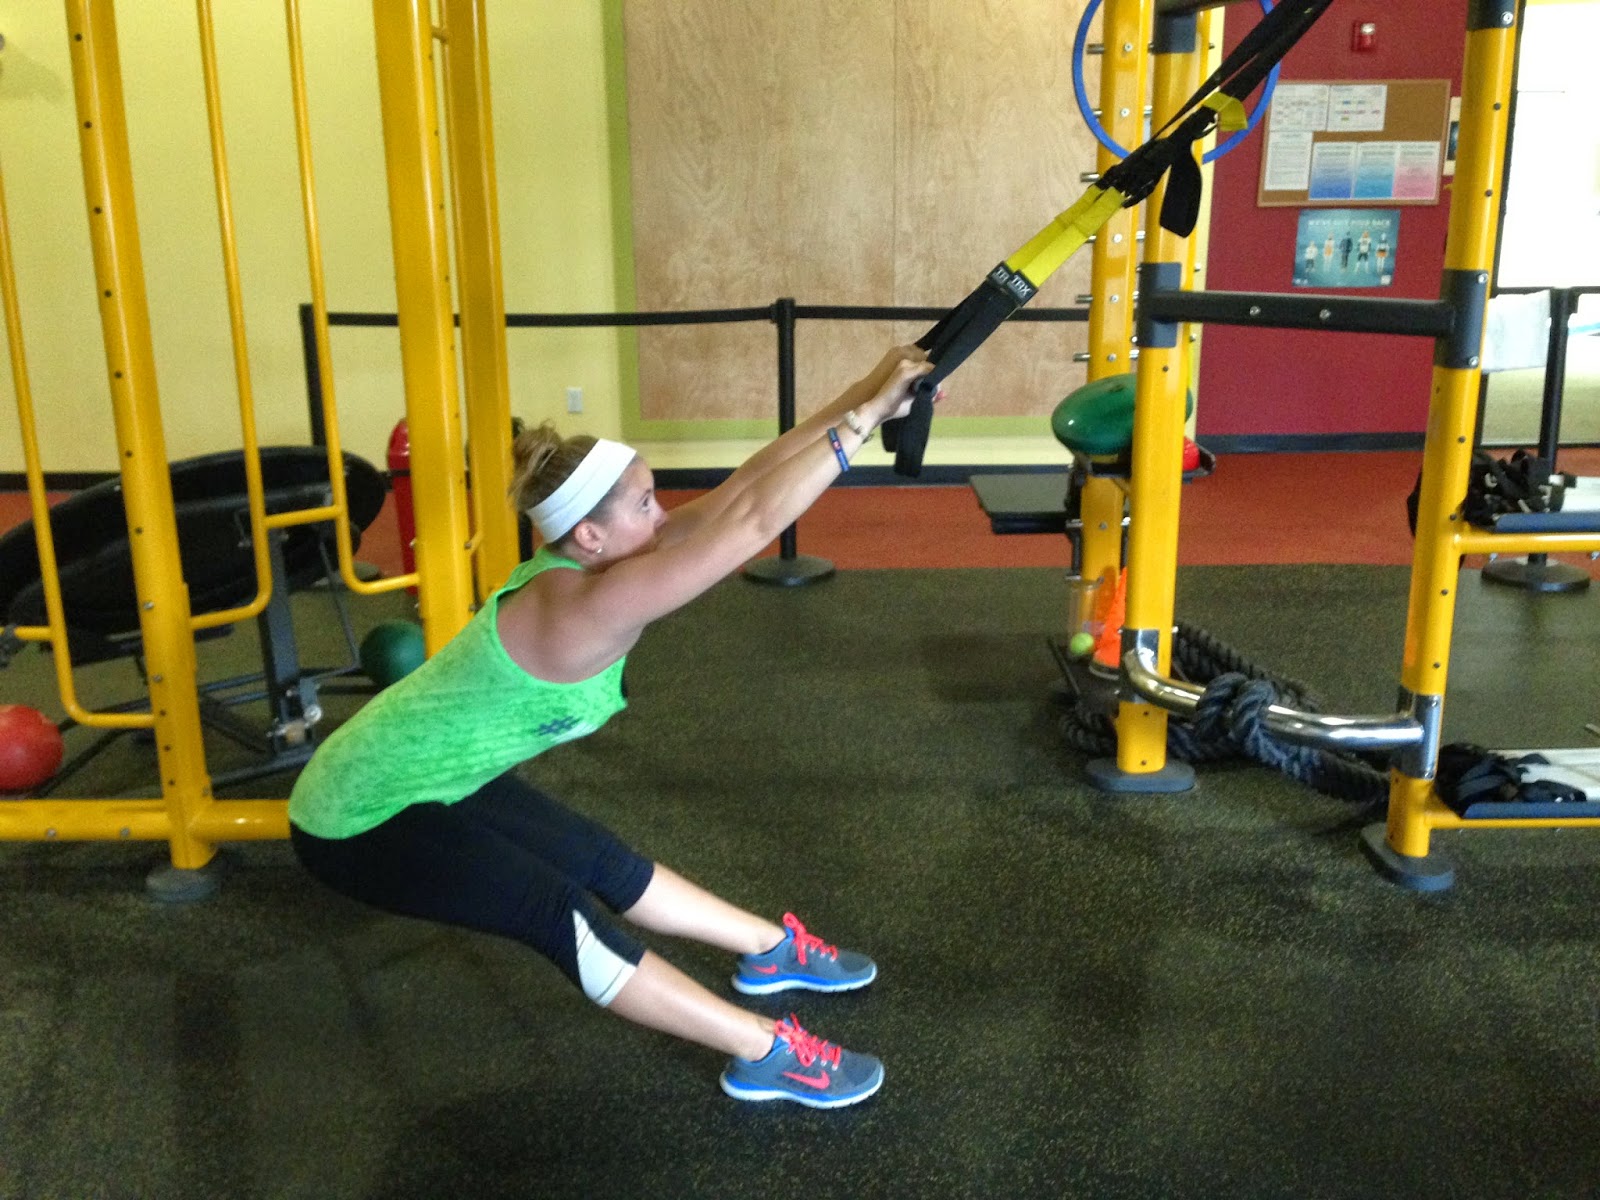
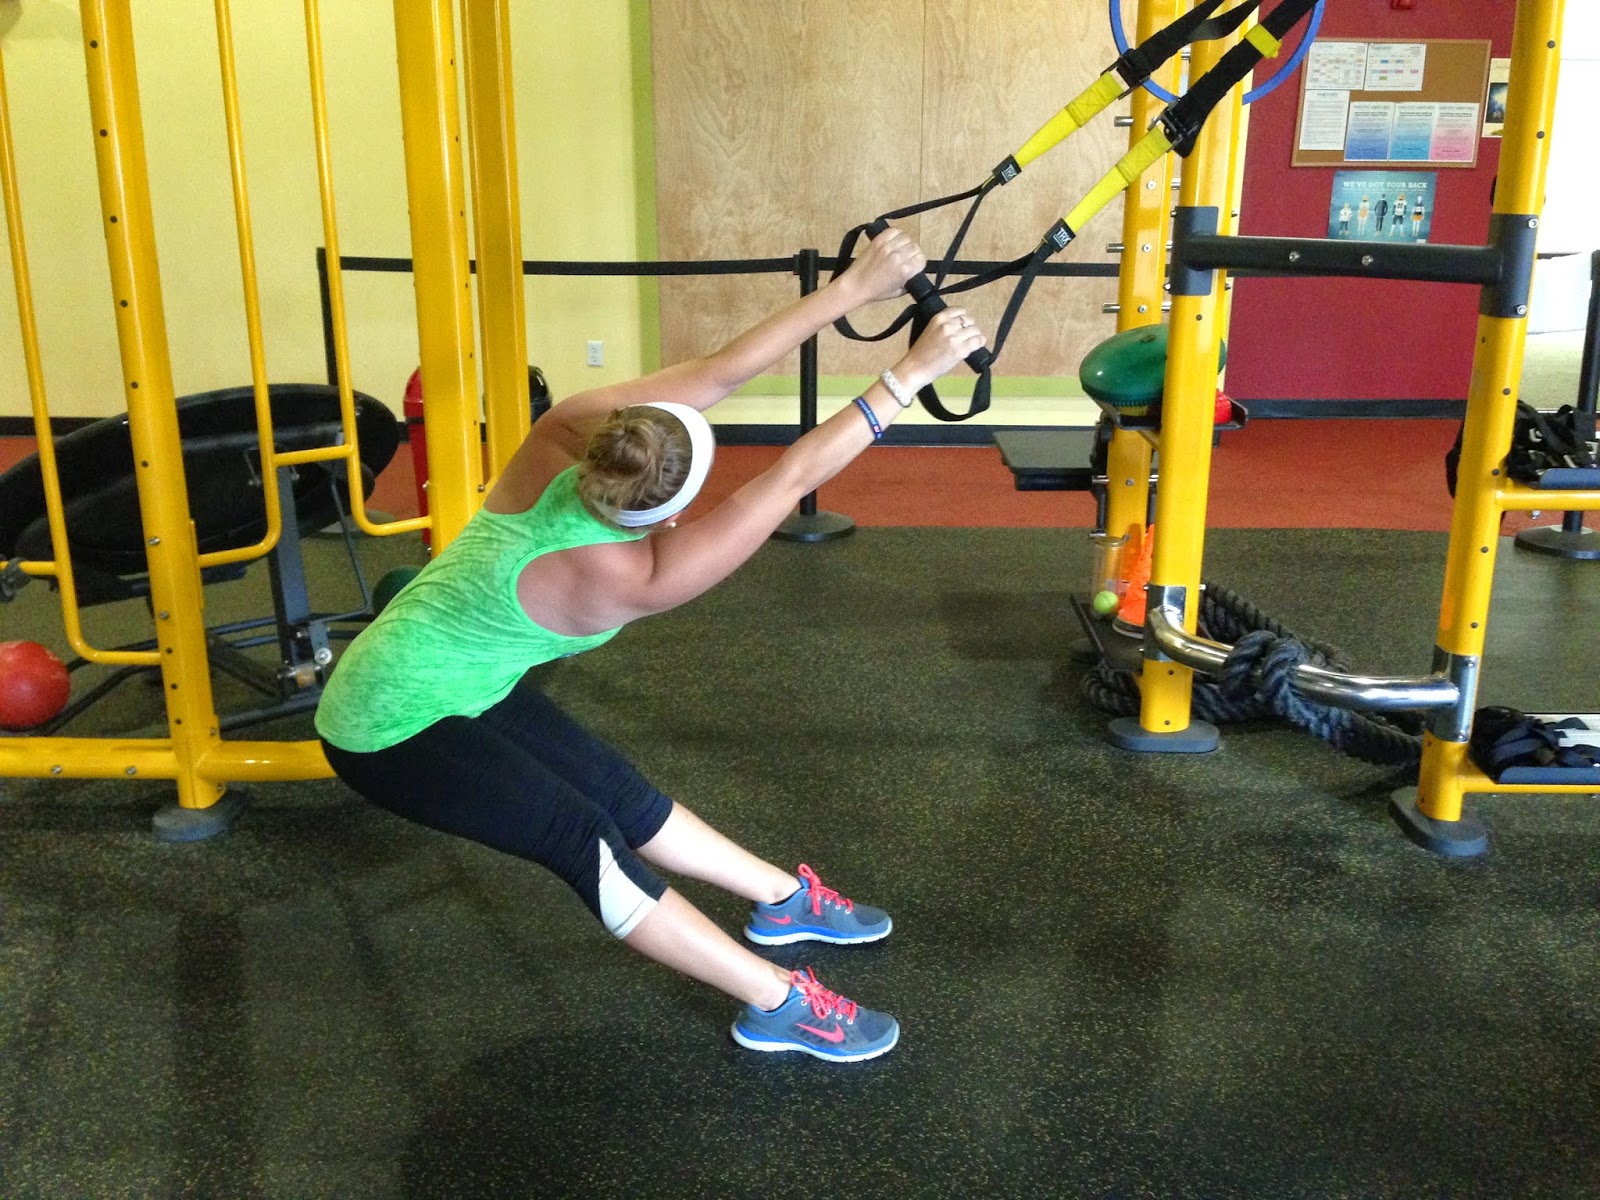
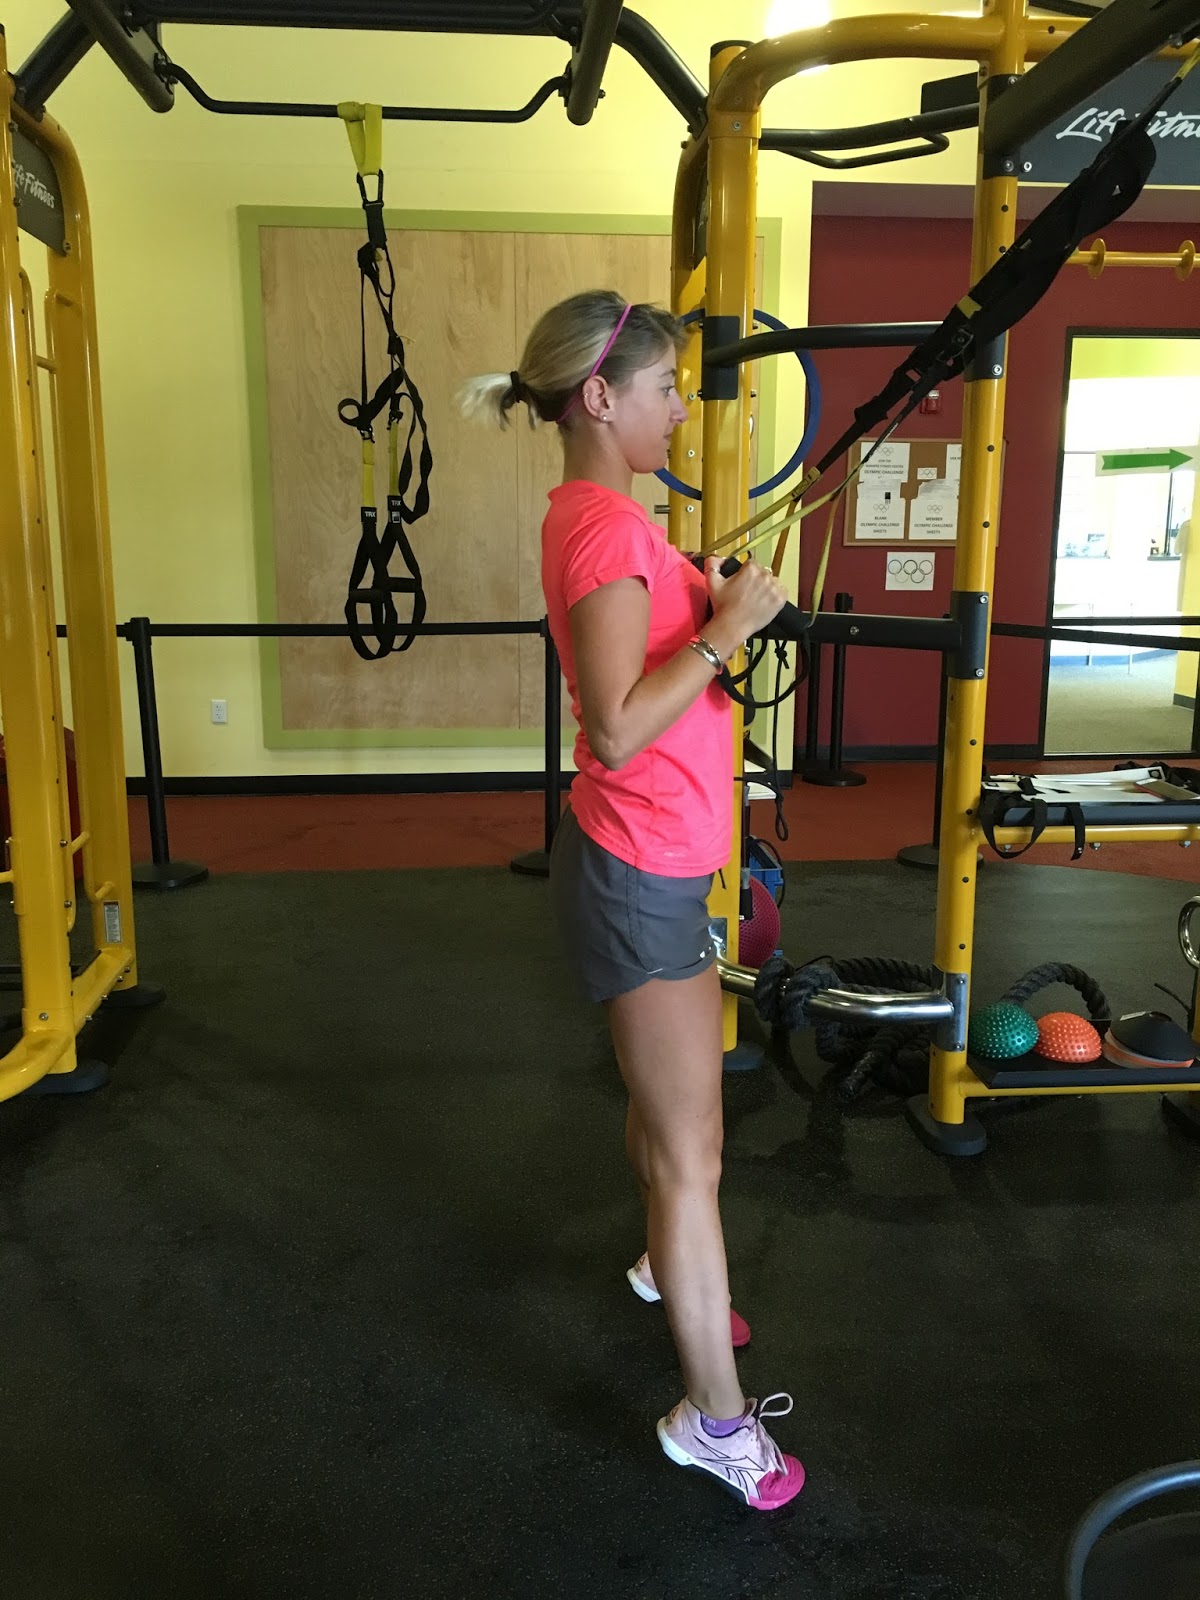
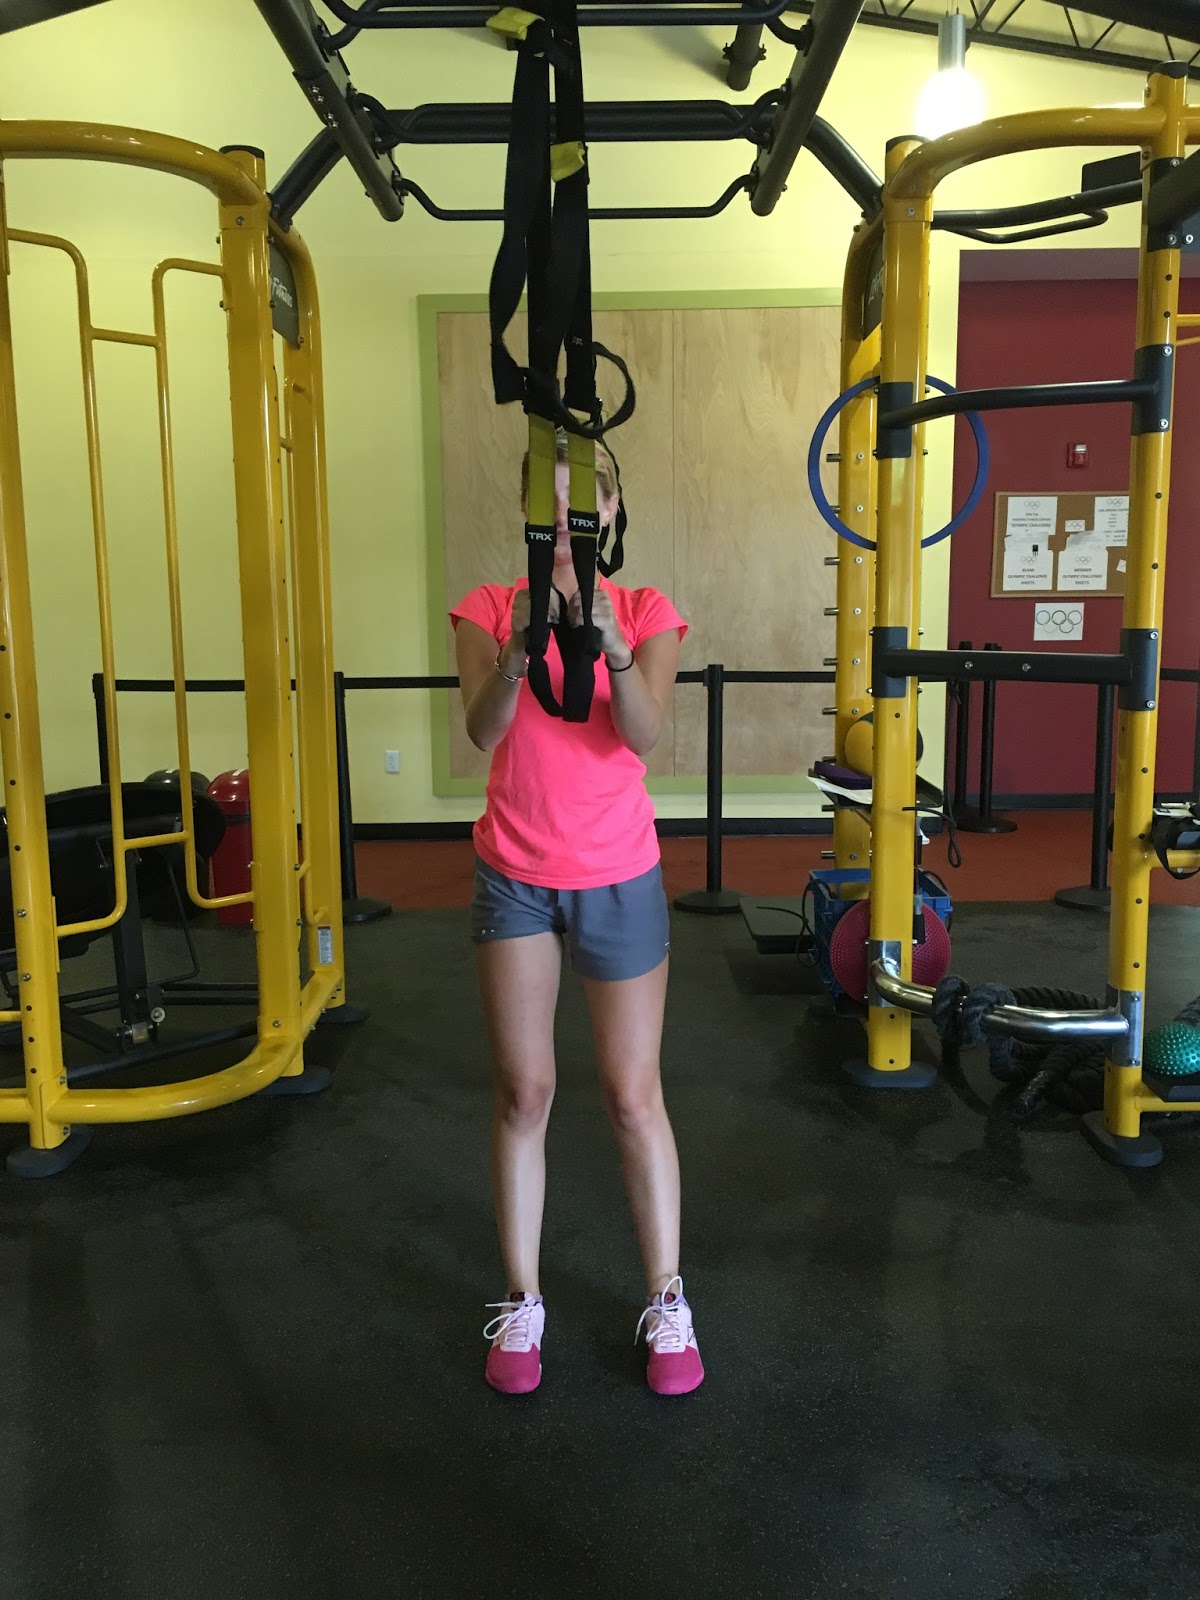
Power Pull
Hold the TRX handle in single handle position with one hand. Keep elbow bent at the start and feet shoulder
width apart. Extend arm holding handle
and drop back into a squat. Reach back
with your other arm towards the ground.
Return to the start position by pulling with your arm and driving up
with your legs.
width apart. Extend arm holding handle
and drop back into a squat. Reach back
with your other arm towards the ground.
Return to the start position by pulling with your arm and driving up
with your legs.
2×10 each arm


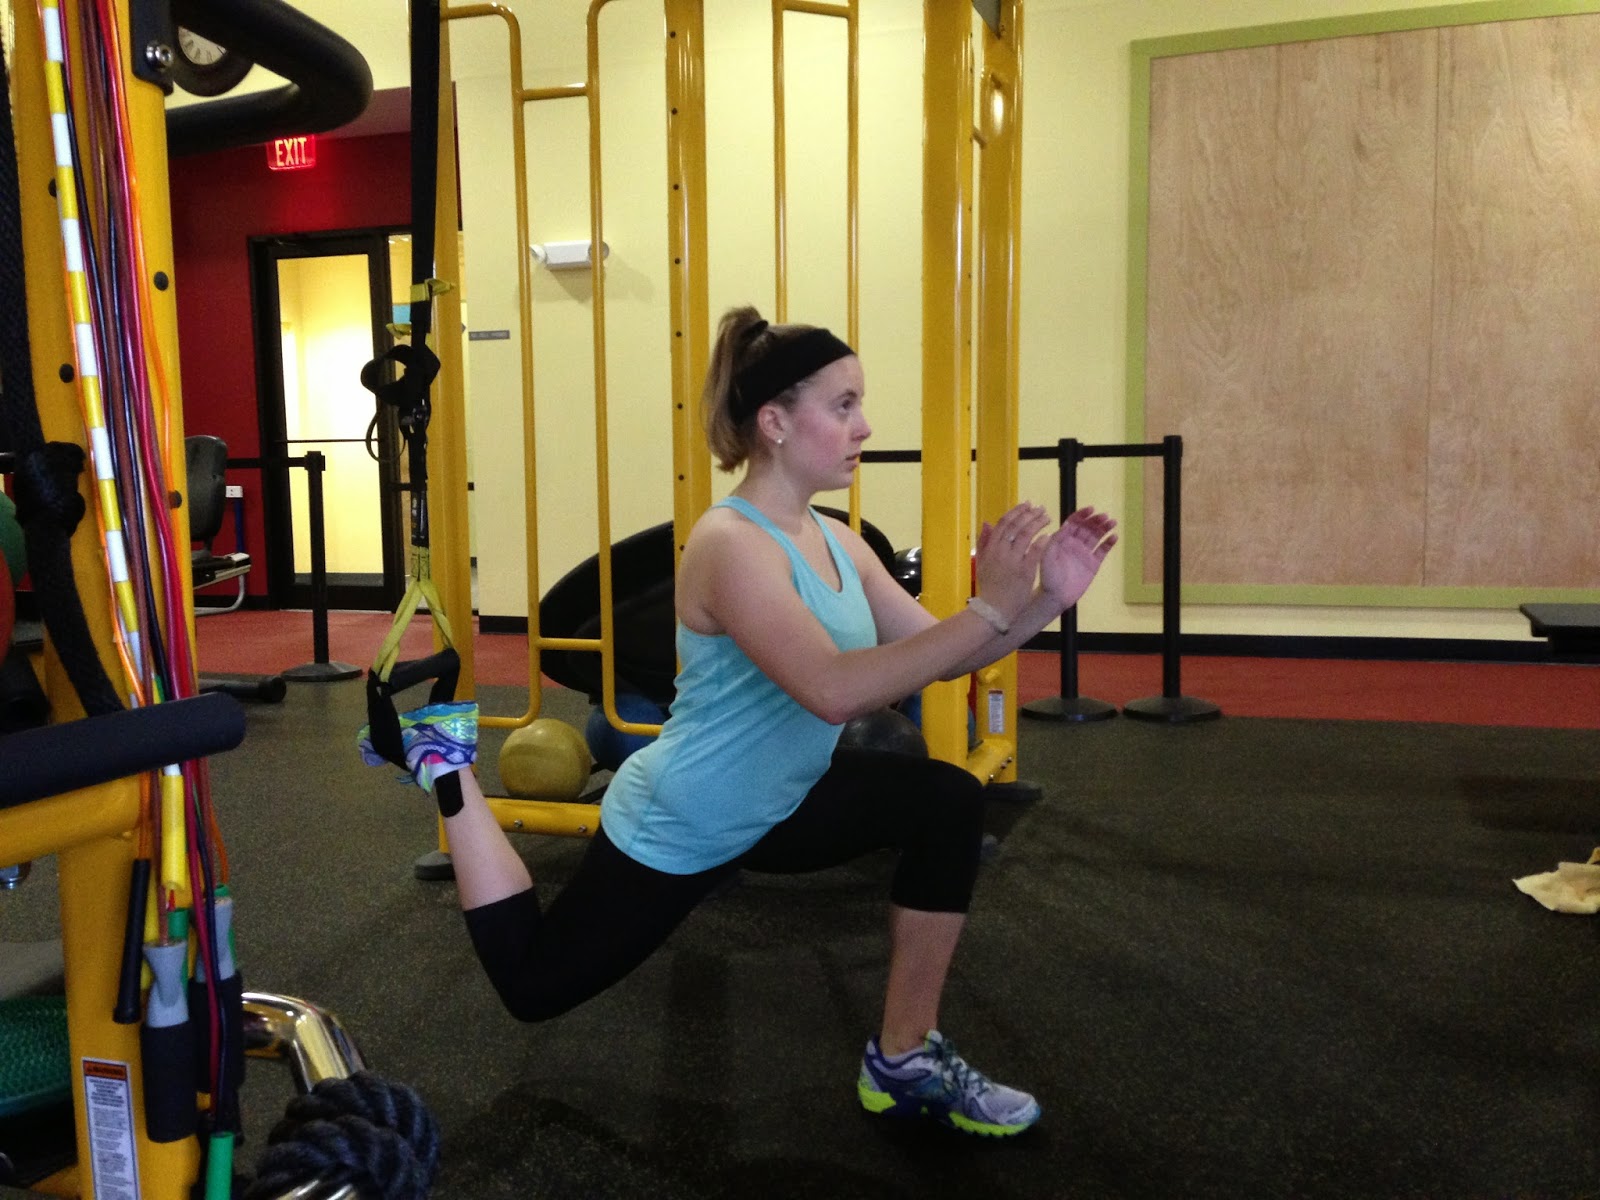
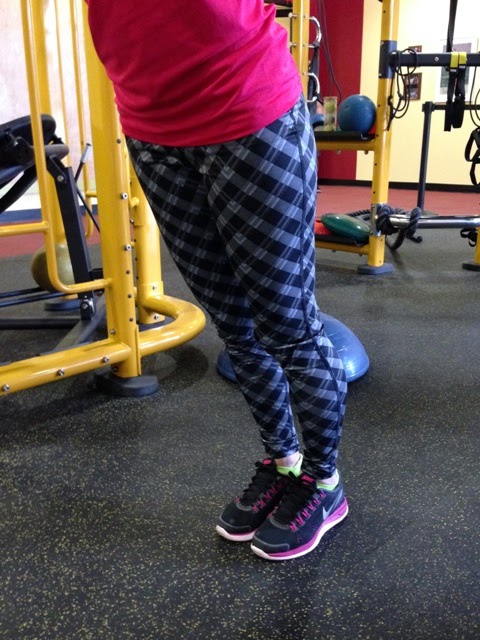
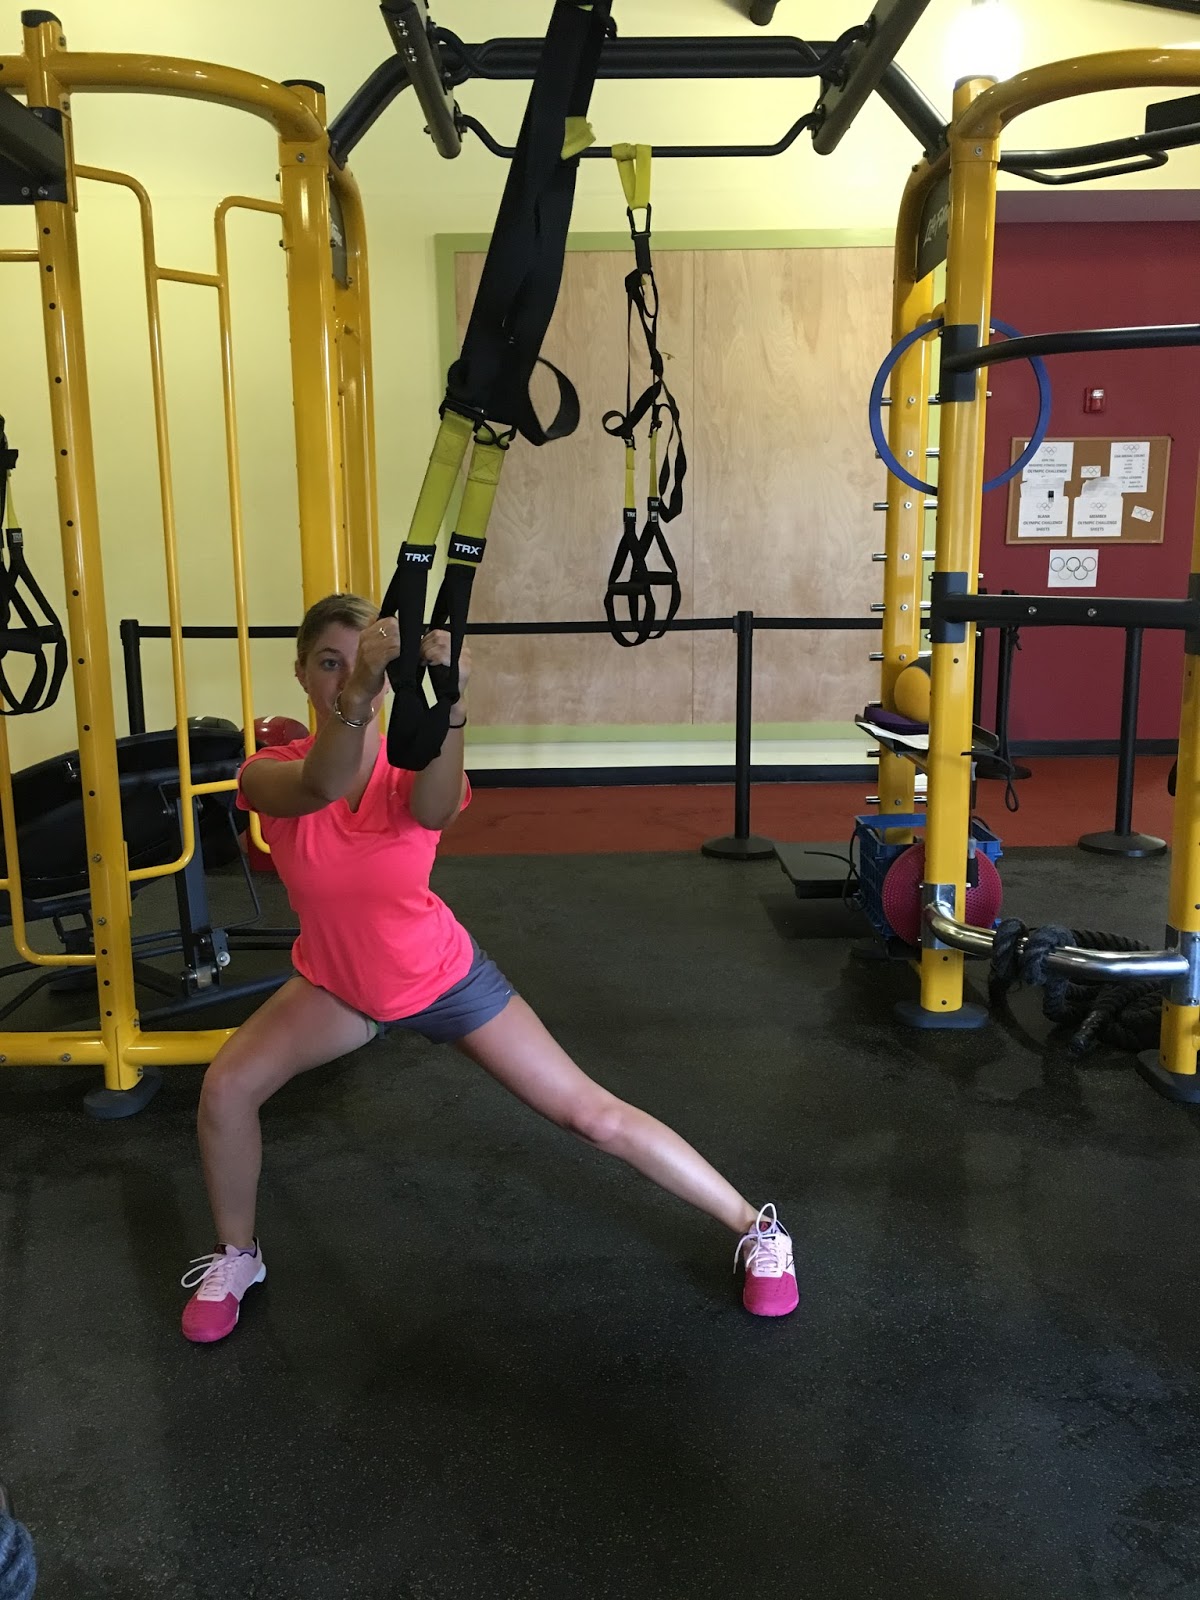
Alternating Side Lunge
Hold the TRX handles and stand with your feet together. Take a large step out the side keeping toes
pointed straight ahead. Bend the knee that you took a step with pushing hips
back and sitting into a side lunge position. Return to the start position and step
to the other side.
pointed straight ahead. Bend the knee that you took a step with pushing hips
back and sitting into a side lunge position. Return to the start position and step
to the other side.
2×10
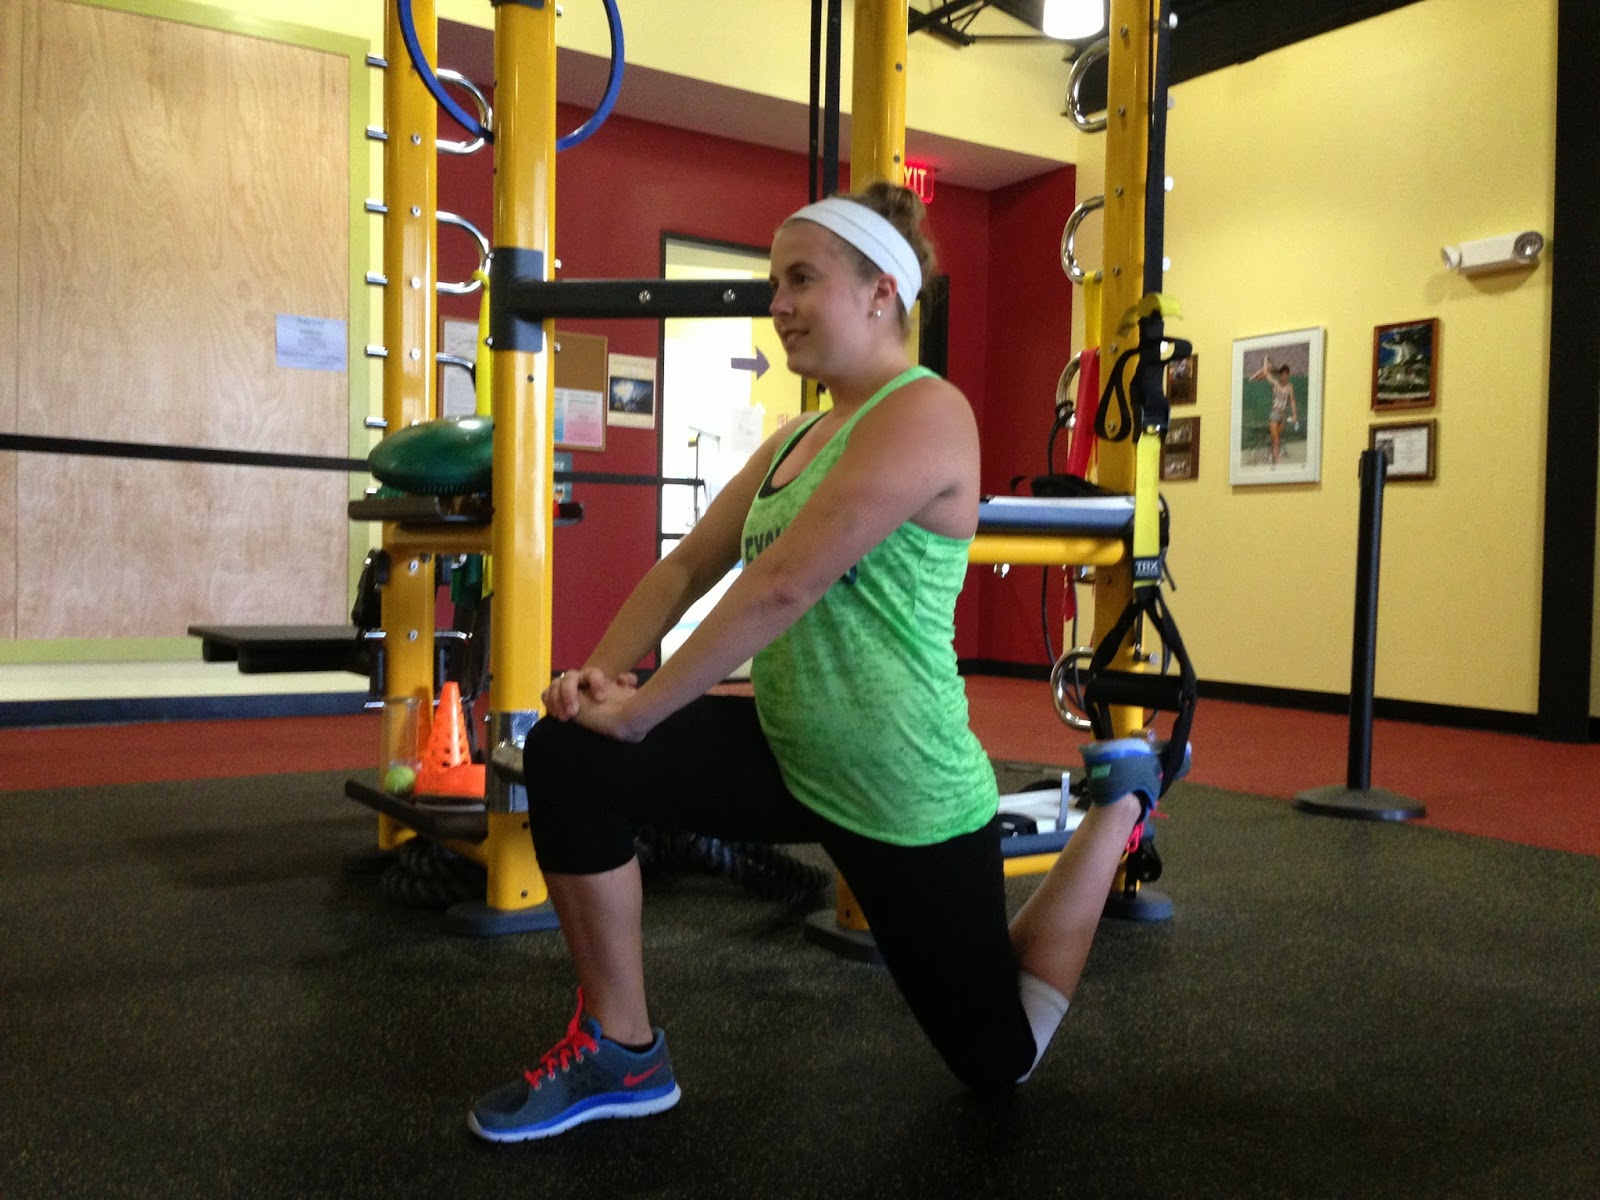
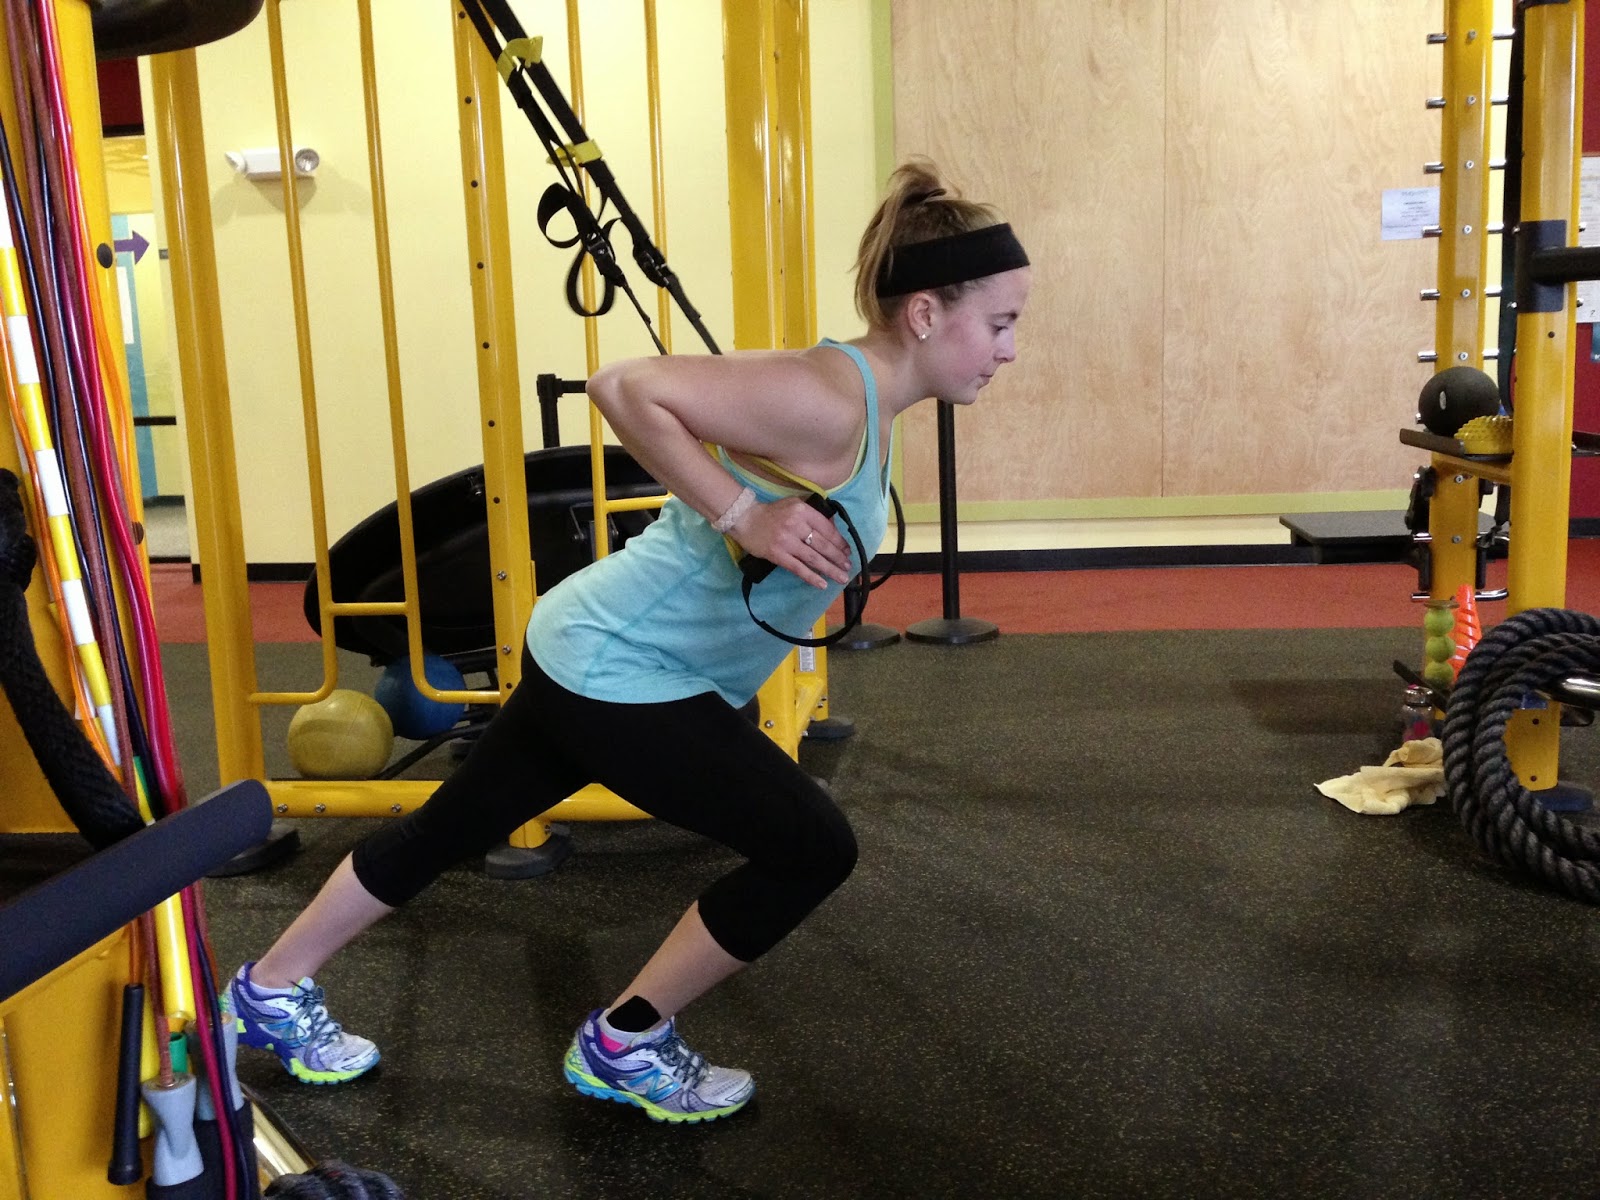
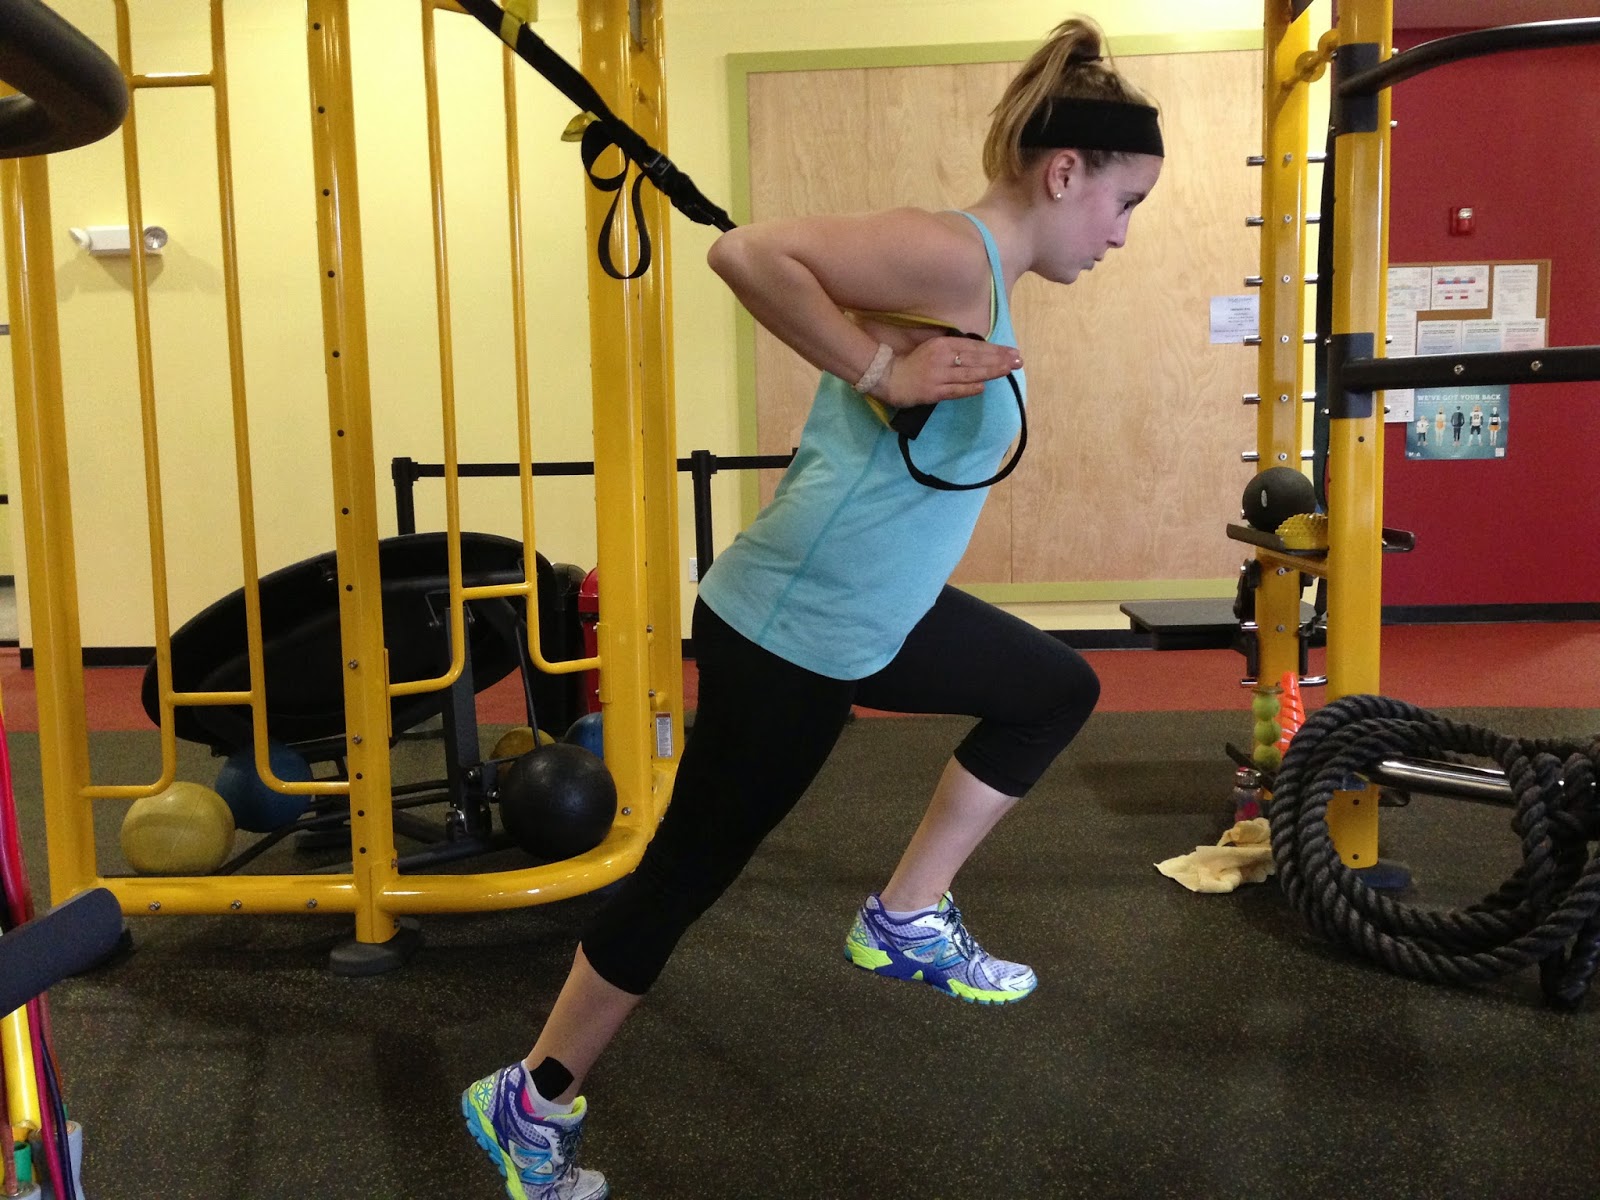
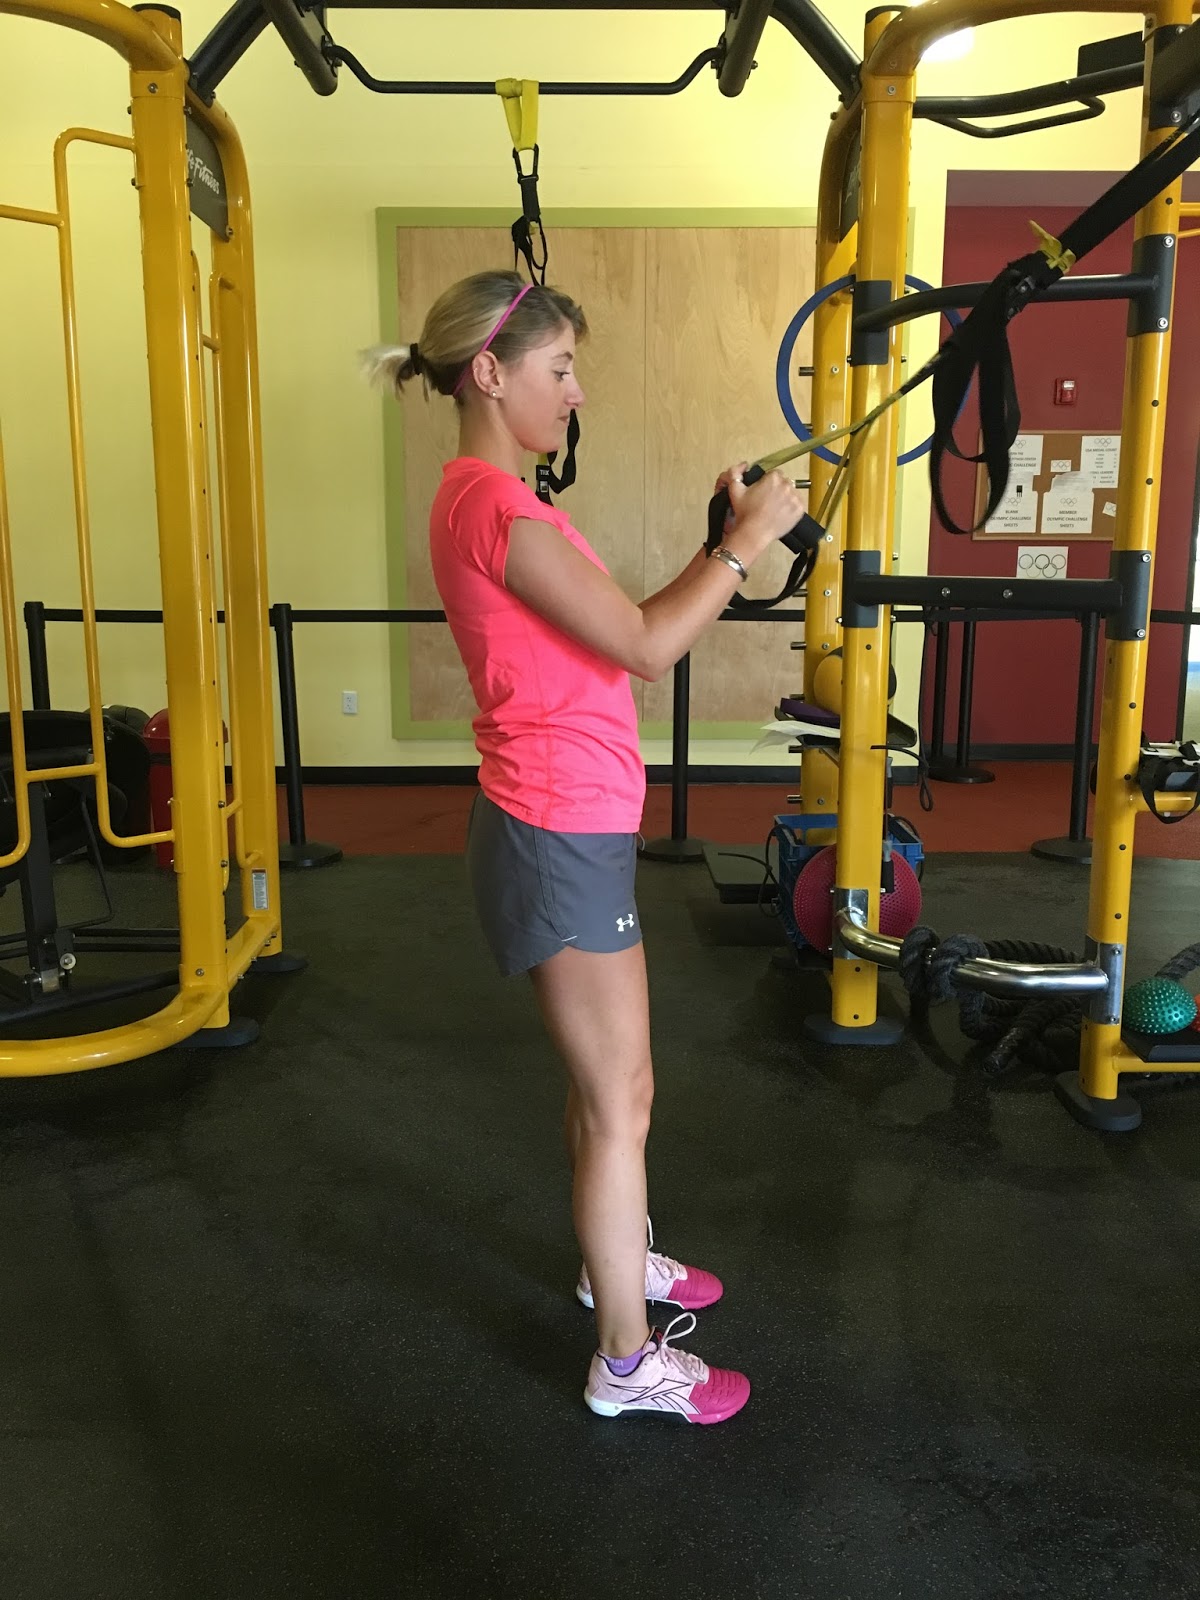
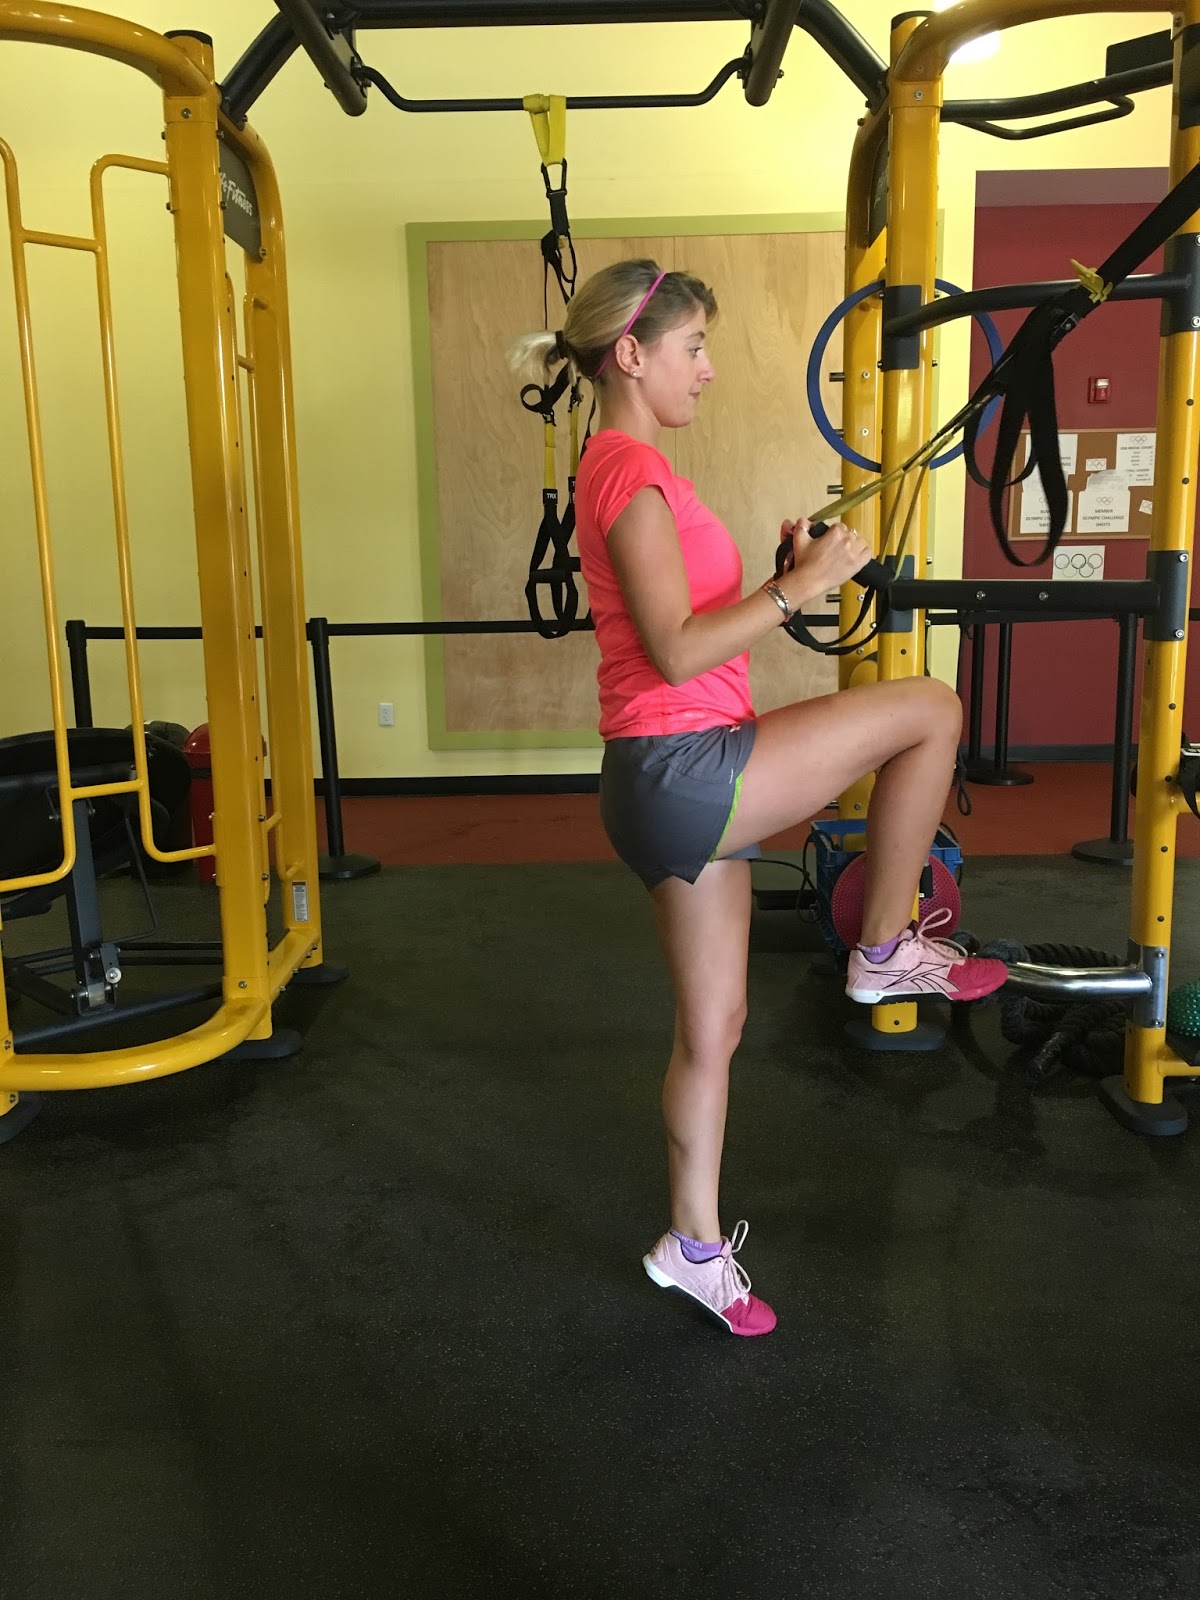
Balance Lunge with Knee Drive
Hold the TRX handles and stand with your
feet together. Step back into a reverse lunge. For a challenge: keep the back foot off the floor in a
balanced position! Stand up on your
stance leg driving your knee forward into a march position. Do all repetitions on one side then the
other.
feet together. Step back into a reverse lunge. For a challenge: keep the back foot off the floor in a
balanced position! Stand up on your
stance leg driving your knee forward into a march position. Do all repetitions on one side then the
other.
2×10 each

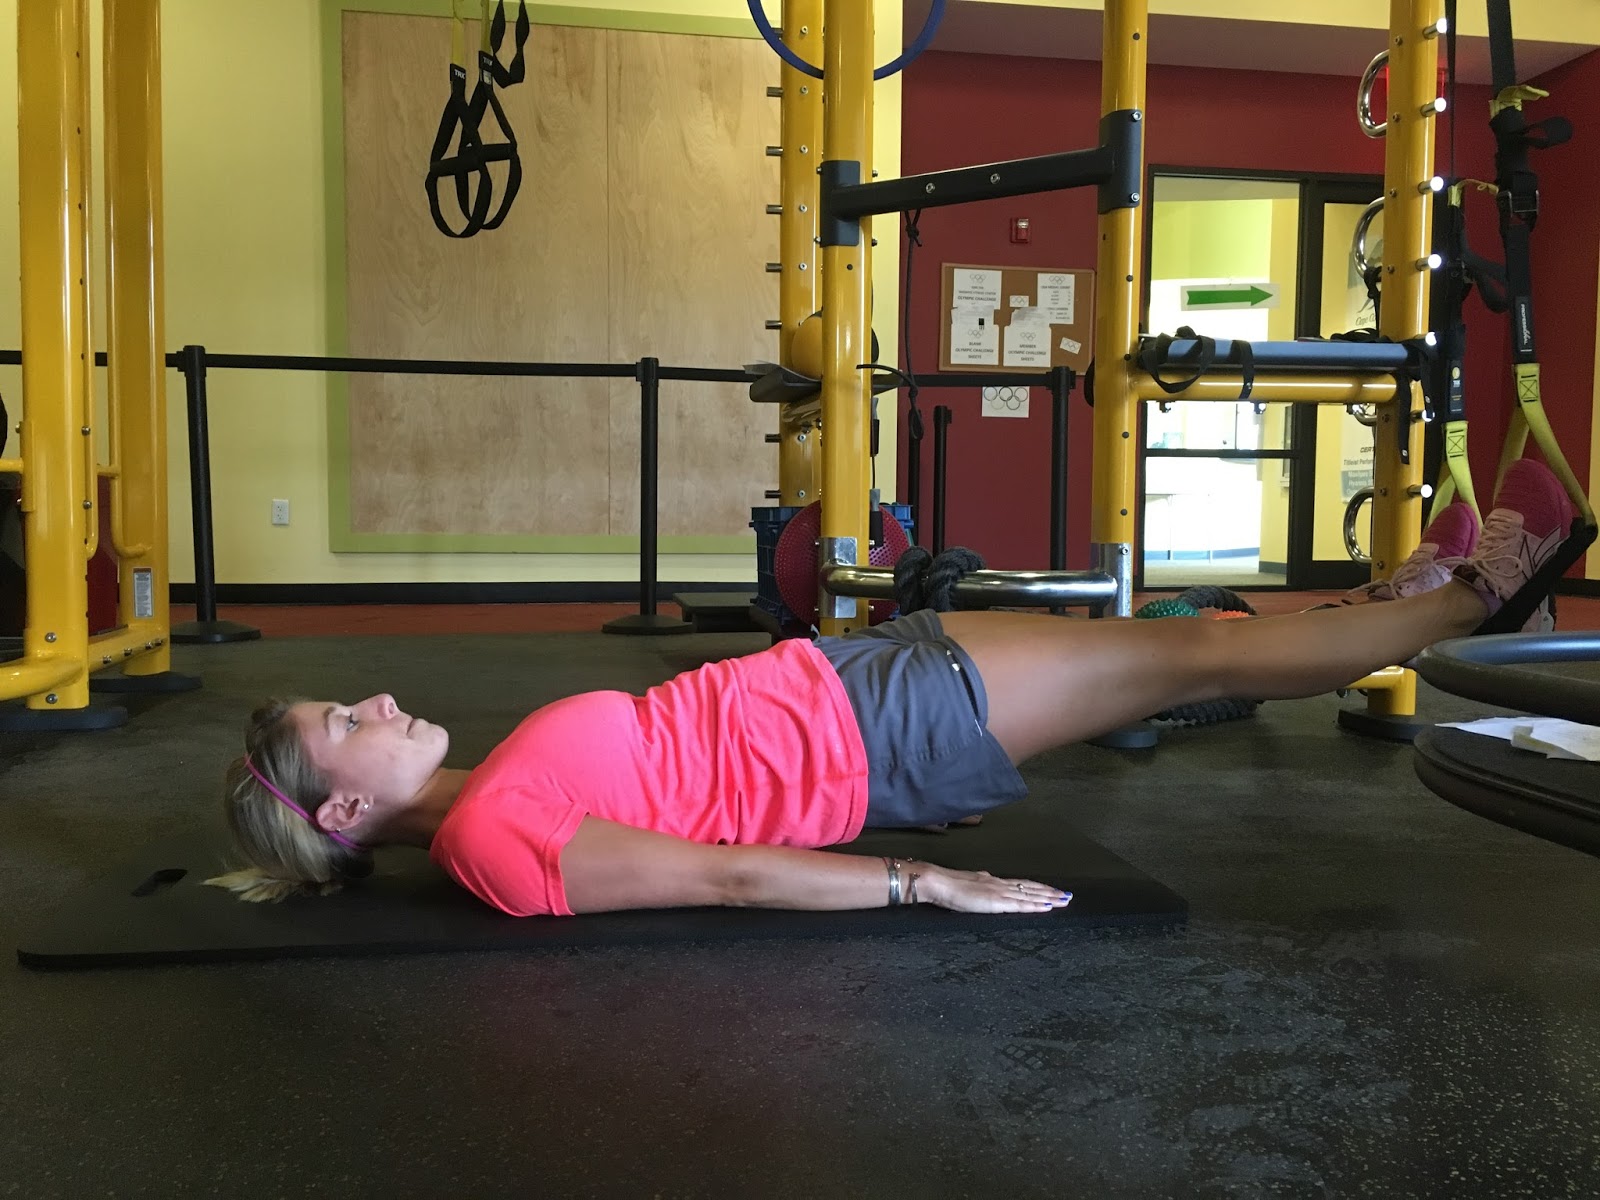
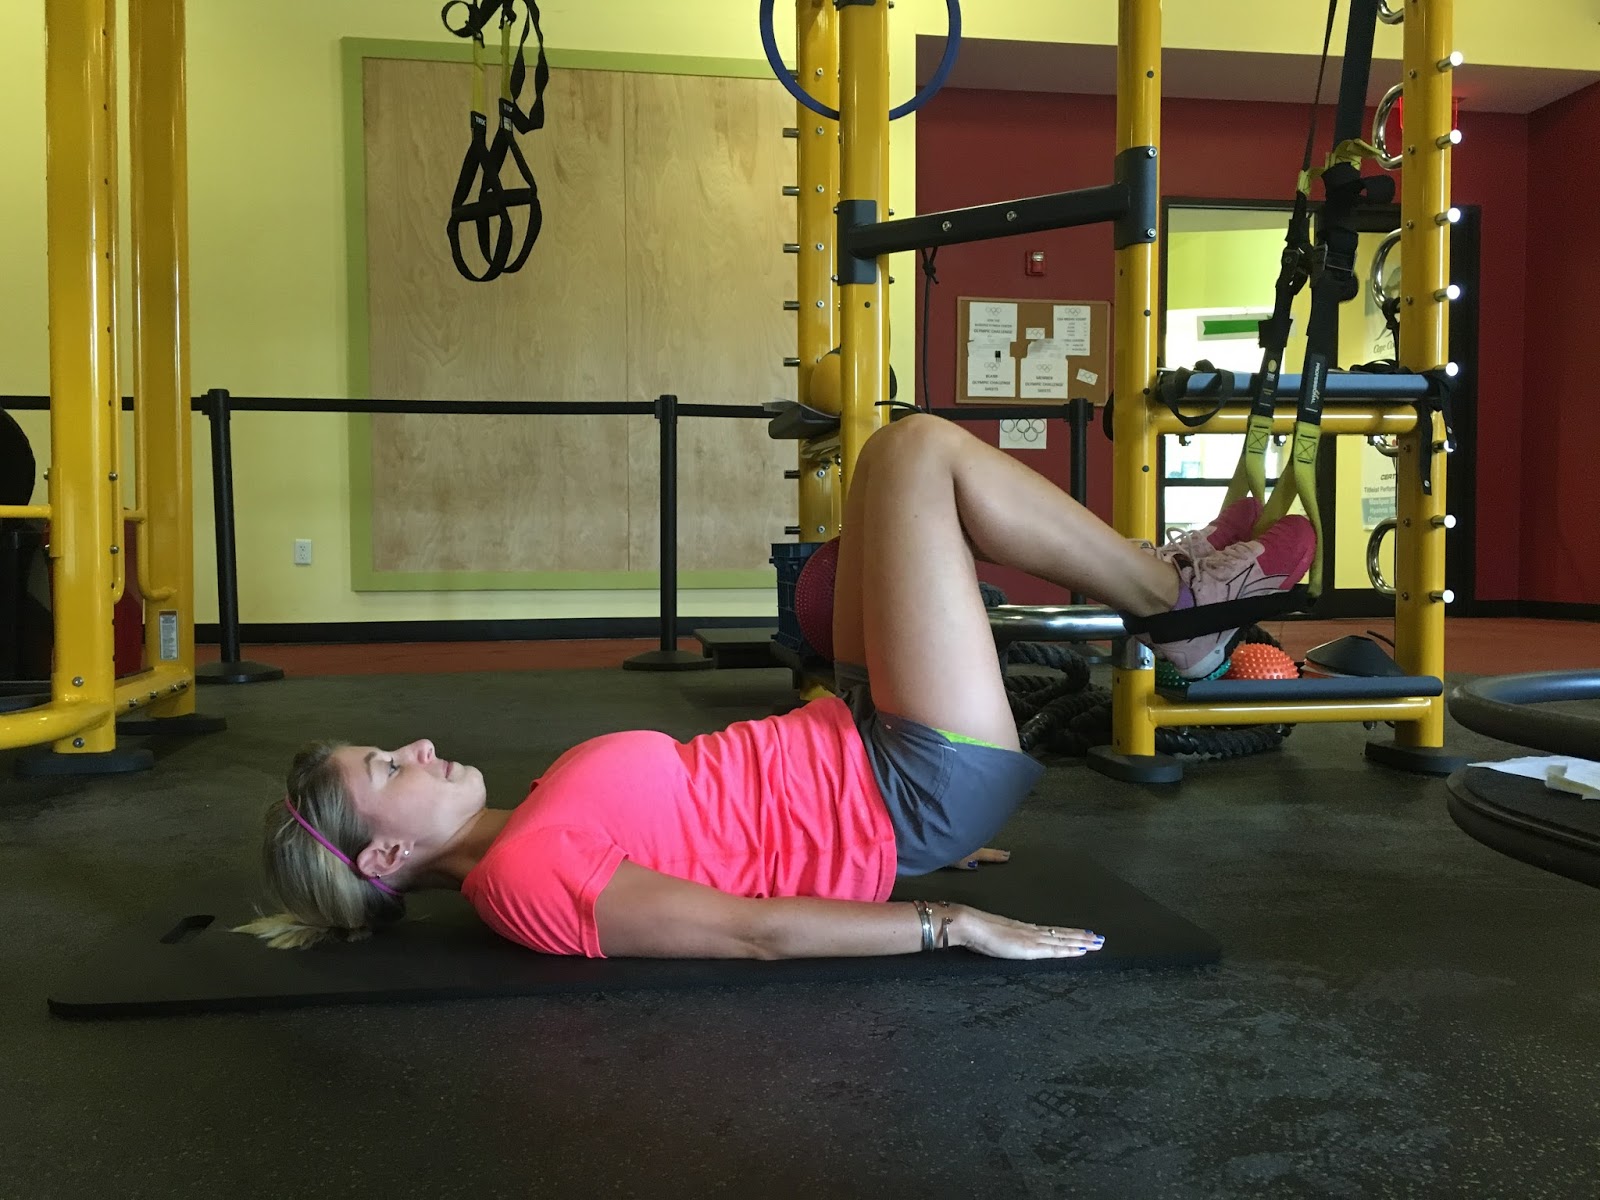
Bridge with Hamstring Curl Series
Lay on the floor with your heels in the TRX cradles (handles should be about 12” off
the ground). Raise your hips into a bridge position. Keeping hips level draw one knee in towards
your body. Extend leg out and repeat
with the other leg. Repeat with both legs. Lower body back to the floor.
the ground). Raise your hips into a bridge position. Keeping hips level draw one knee in towards
your body. Extend leg out and repeat
with the other leg. Repeat with both legs. Lower body back to the floor.
2×10


Watch Meaghan demonstrate all the TRX Strength Training for Runners exercises…
Bonus! Runner’s TRX Core Circuit
Complete the three exercises in a row
without rest. Try the circuit 3 times.
without rest. Try the circuit 3 times.
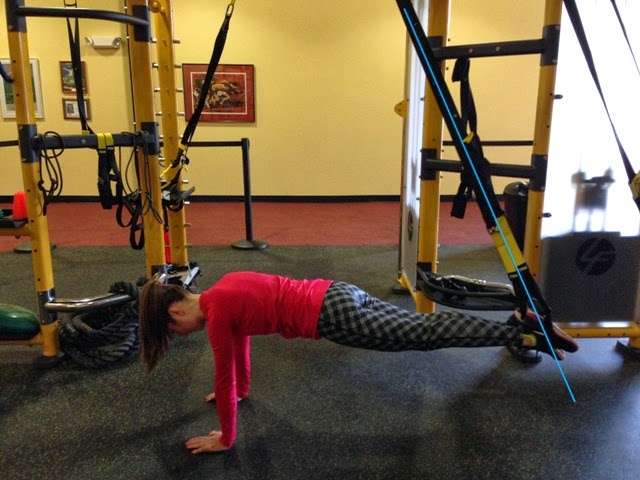
Mountain Climbers
Start in a push up position with your feet in the straps.
Maintain a flat back as you march knees towards your chest in an alternating
pattern. As the knee comes in towards
your body your hips should rise slightly.
Maintain a flat back as you march knees towards your chest in an alternating
pattern. As the knee comes in towards
your body your hips should rise slightly.
10x
Three Position Crunch
Start in a push up position with your feet in the straps. Maintain a flat back as pull both your
knees towards your chest. Return to the start position and pull both knees in
towards your right elbow, return to the start position and pull both knees
towards your left elbow. Repeat the series of 3 movements 5x.
knees towards your chest. Return to the start position and pull both knees in
towards your right elbow, return to the start position and pull both knees
towards your left elbow. Repeat the series of 3 movements 5x.
Pike
Start in a push up position with your feet in the straps. Keep your legs straight and drive your hips
towards the ceiling as you pull your feet towards your hands.
towards the ceiling as you pull your feet towards your hands.
10x
Blog post by Eric Chandler.
About
Eric Chandler
Eric joins the Cape Cod Rehab Running
Team with a background in Exercise Science. He is a Certified Strength &
Conditioning Specialist (CSCS), certified in Part I & Part II of the
Burdenko Method, a Certified Functional Movement Screen (FMS) Specialist, and
has also been training in the TRX Suspension Training Method. Eric looks for
his clients’ strengths and uses those strengths to help them get the most out
of each session. A recreational runner, Eric has served on many of the CCR
Flyers Cape Cod Marathon relay teams as has a goal of breaking 20 minutes in
the 5k.