While data on
exercise changes as new studies are done, one thing that remains constant is that planks
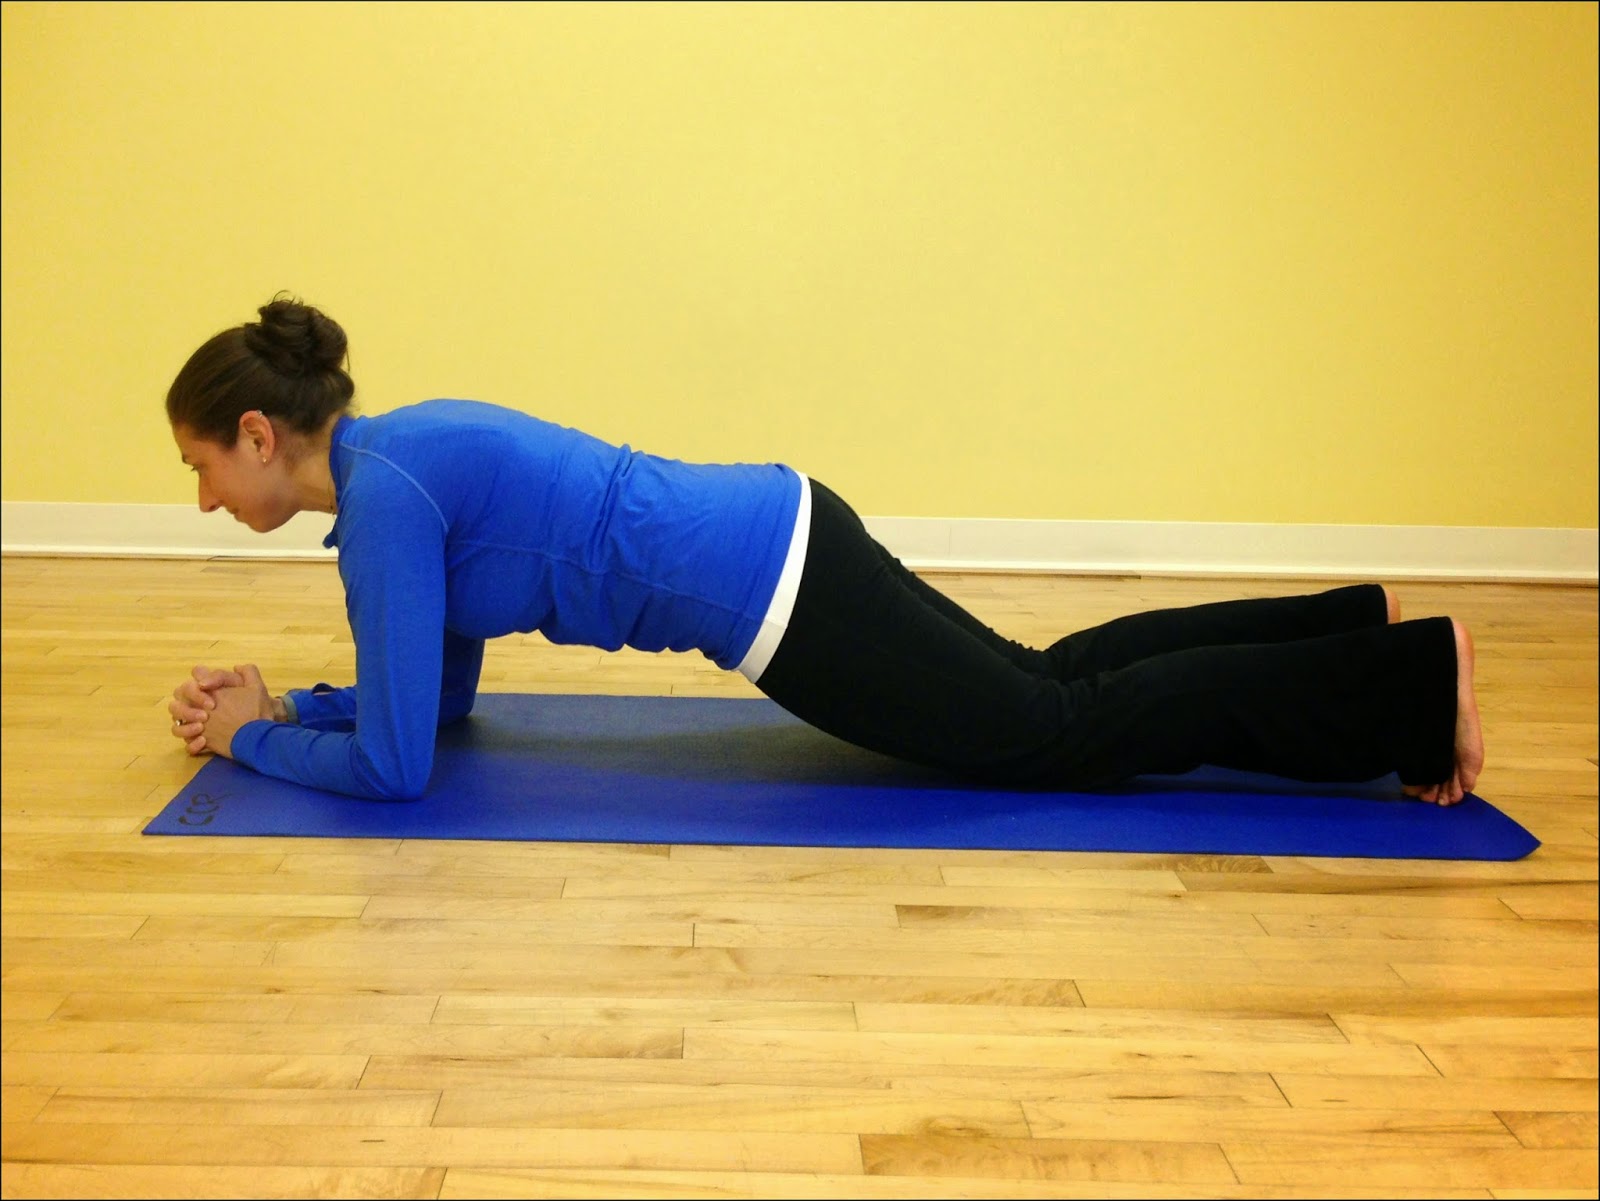
are great… but only when you do them properly!
exercise changes as new studies are done, one thing that remains constant is that planks
are great… but only when you do them properly!
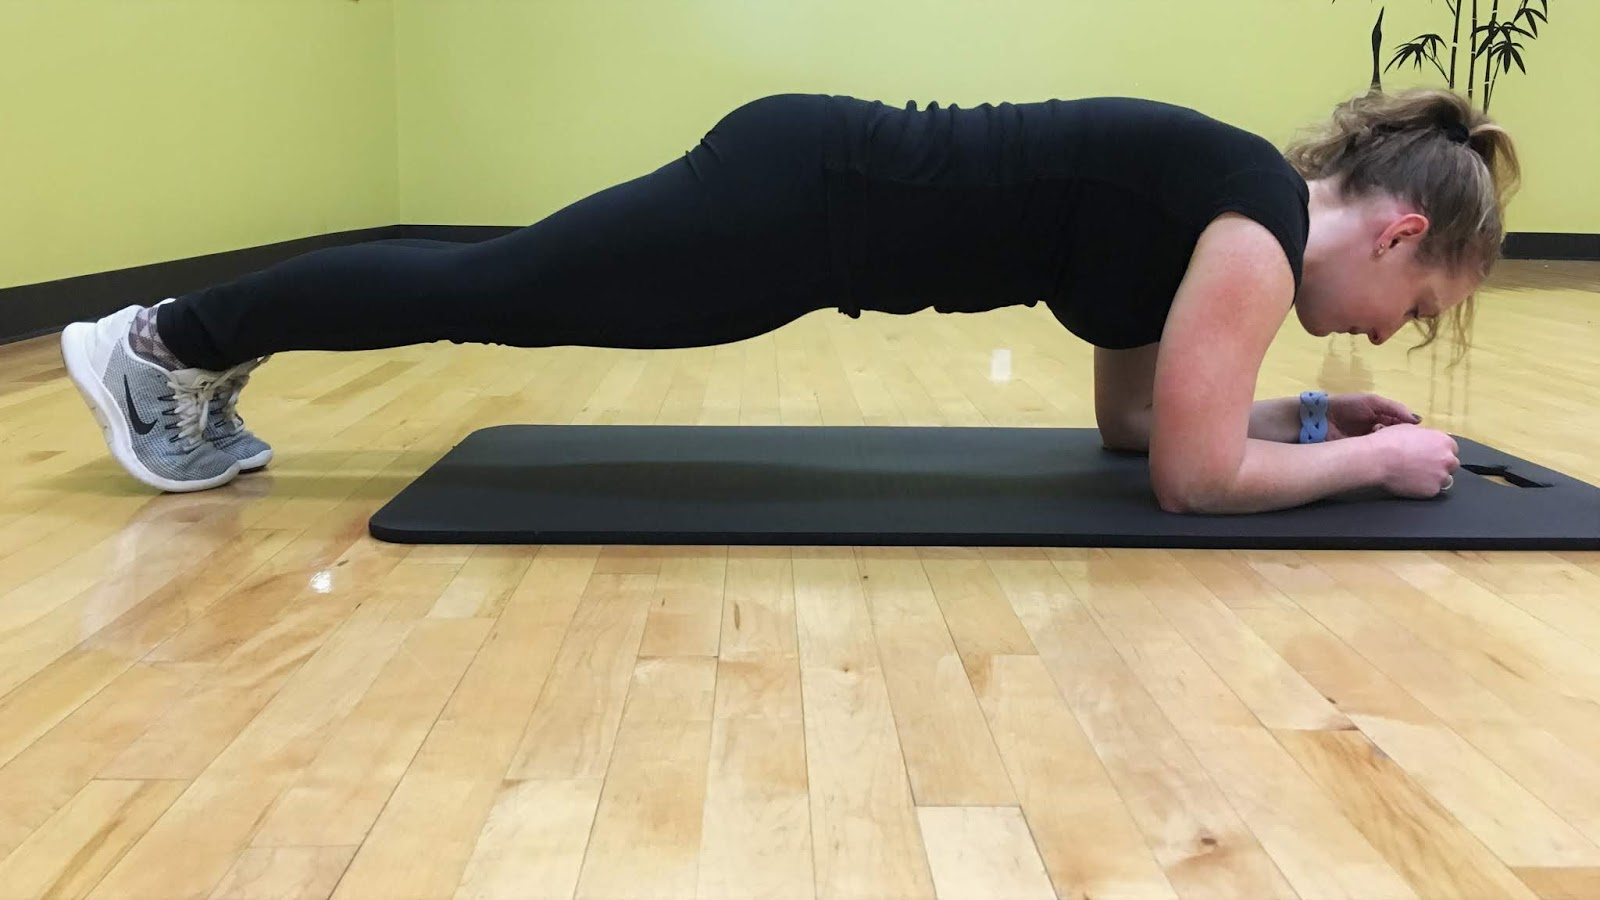
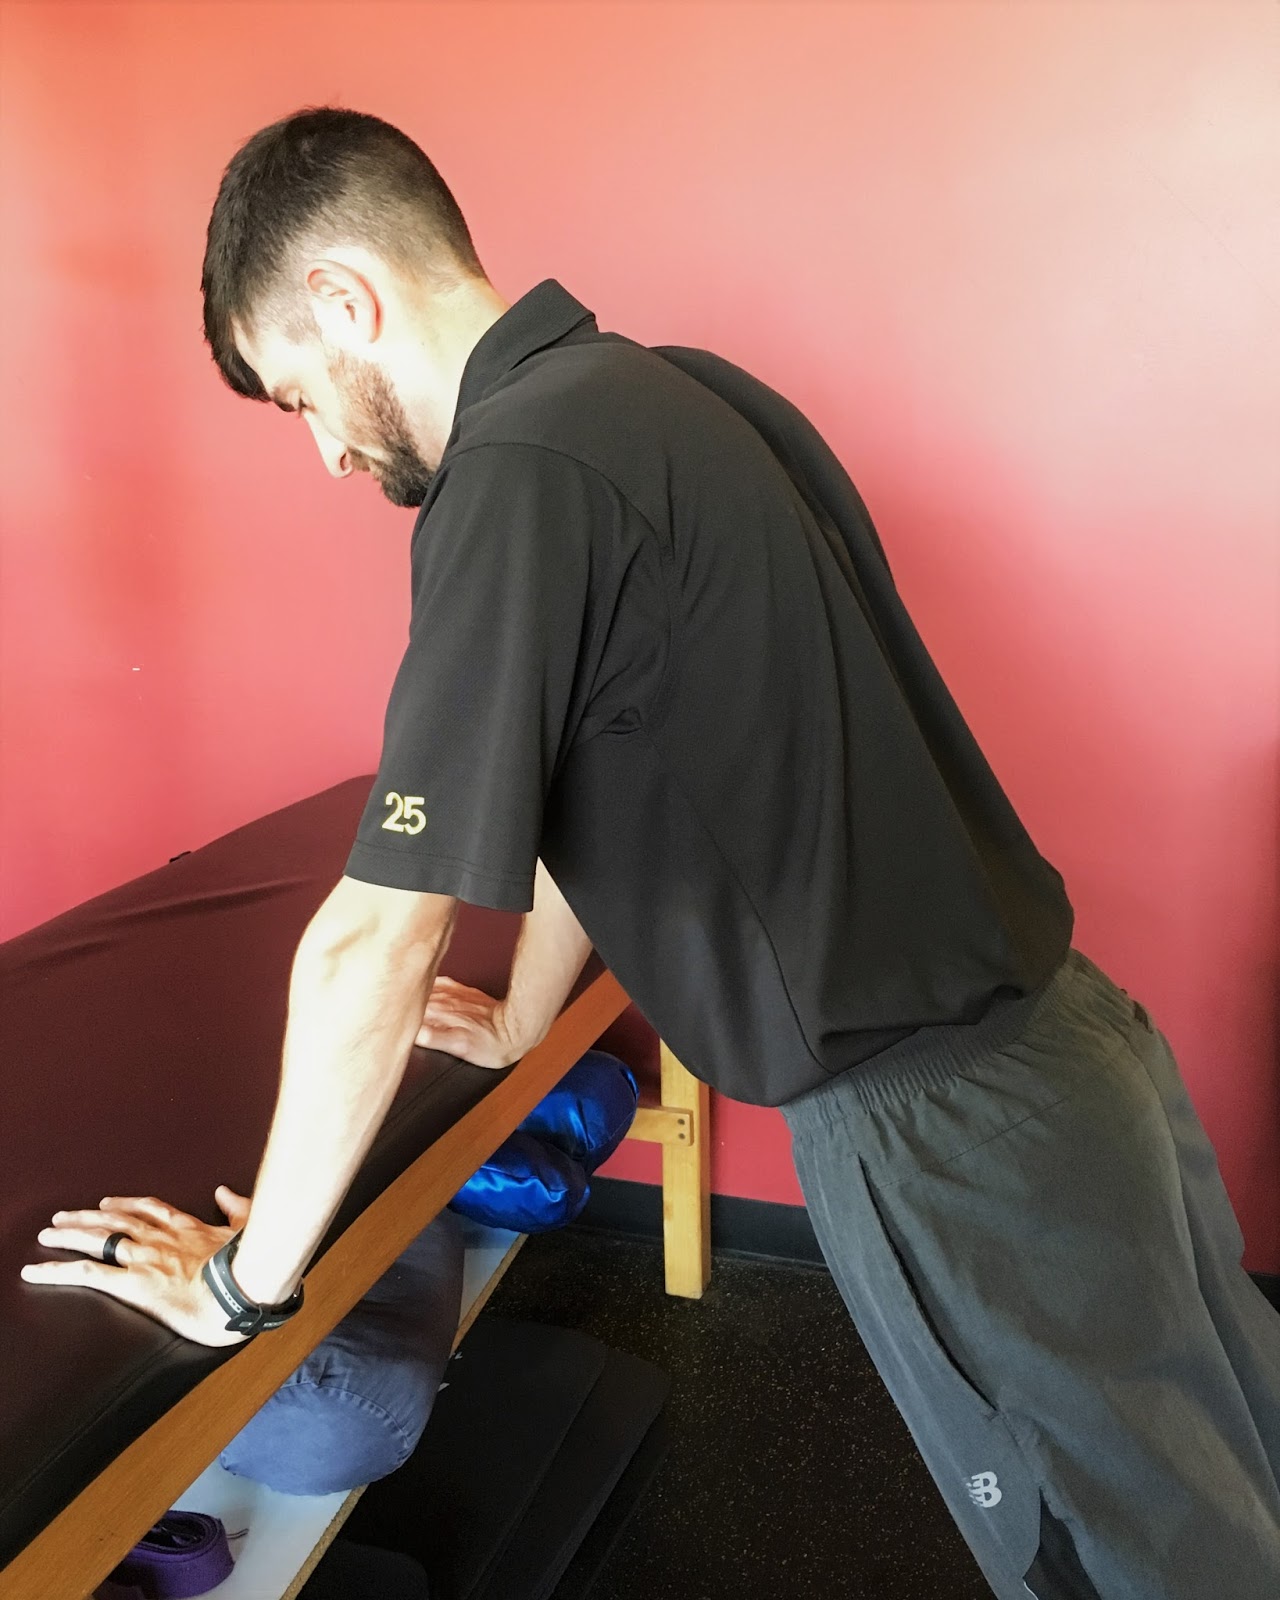
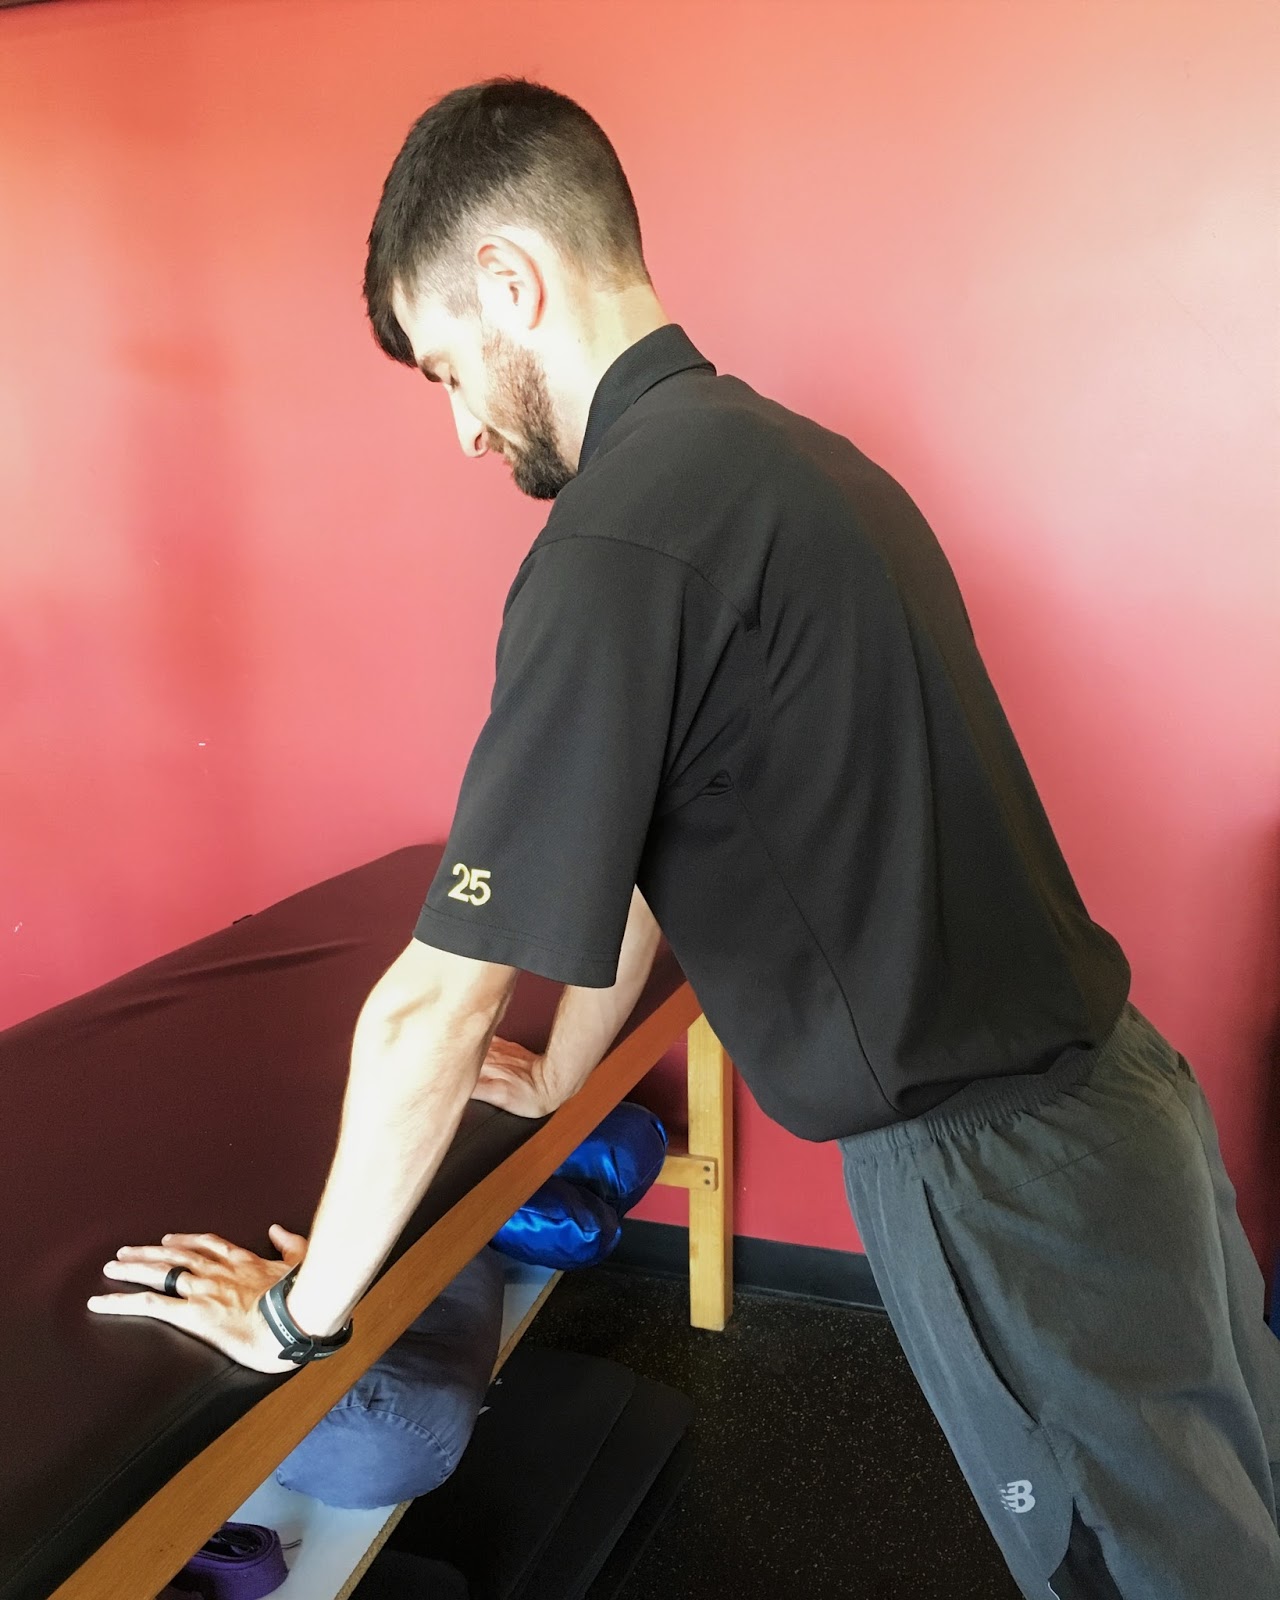
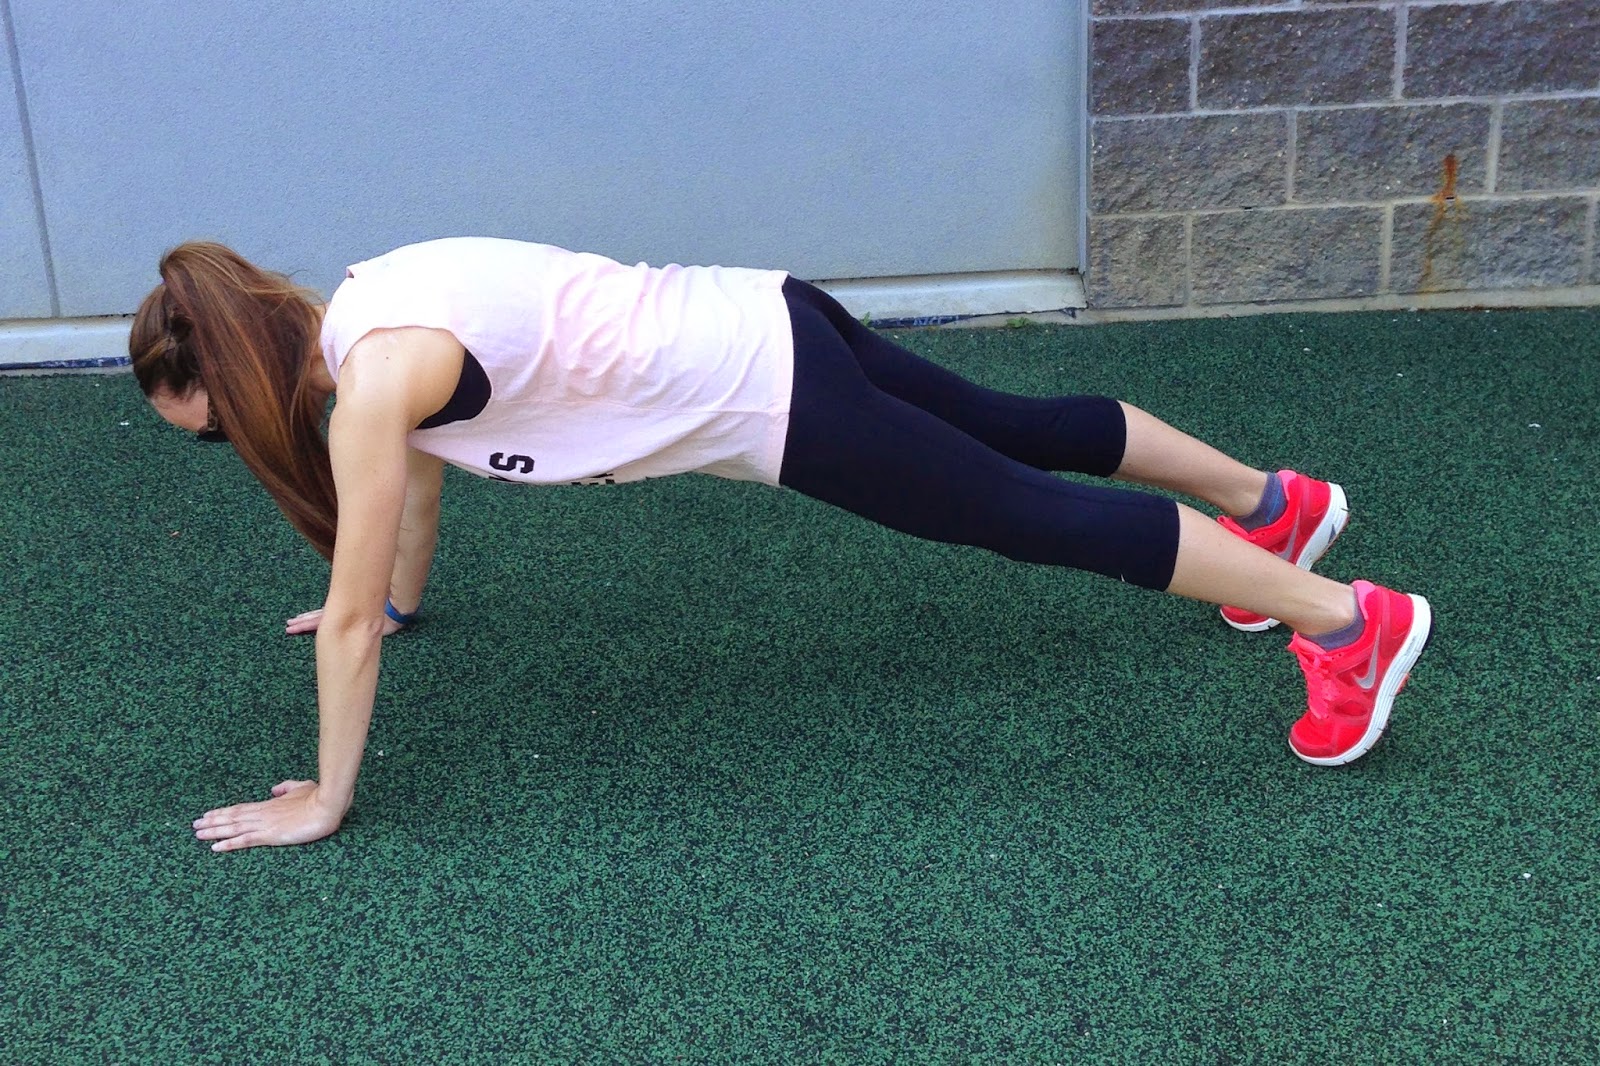
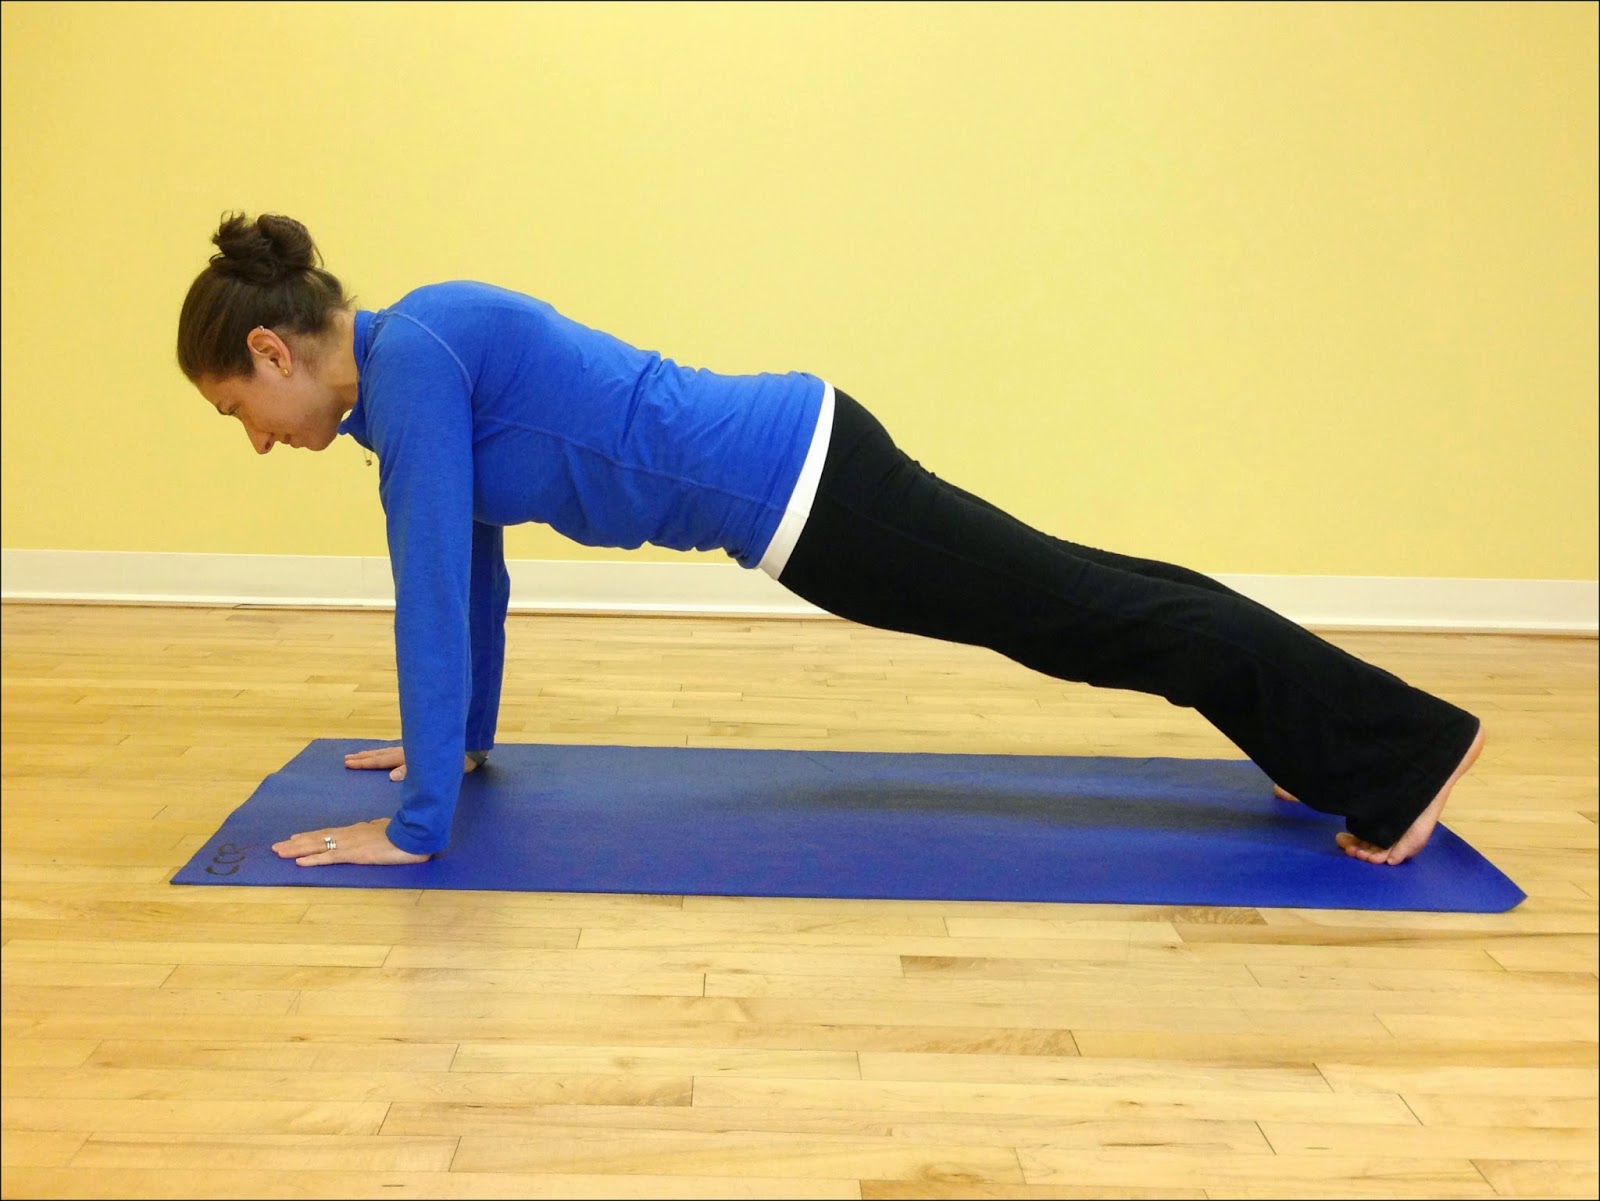
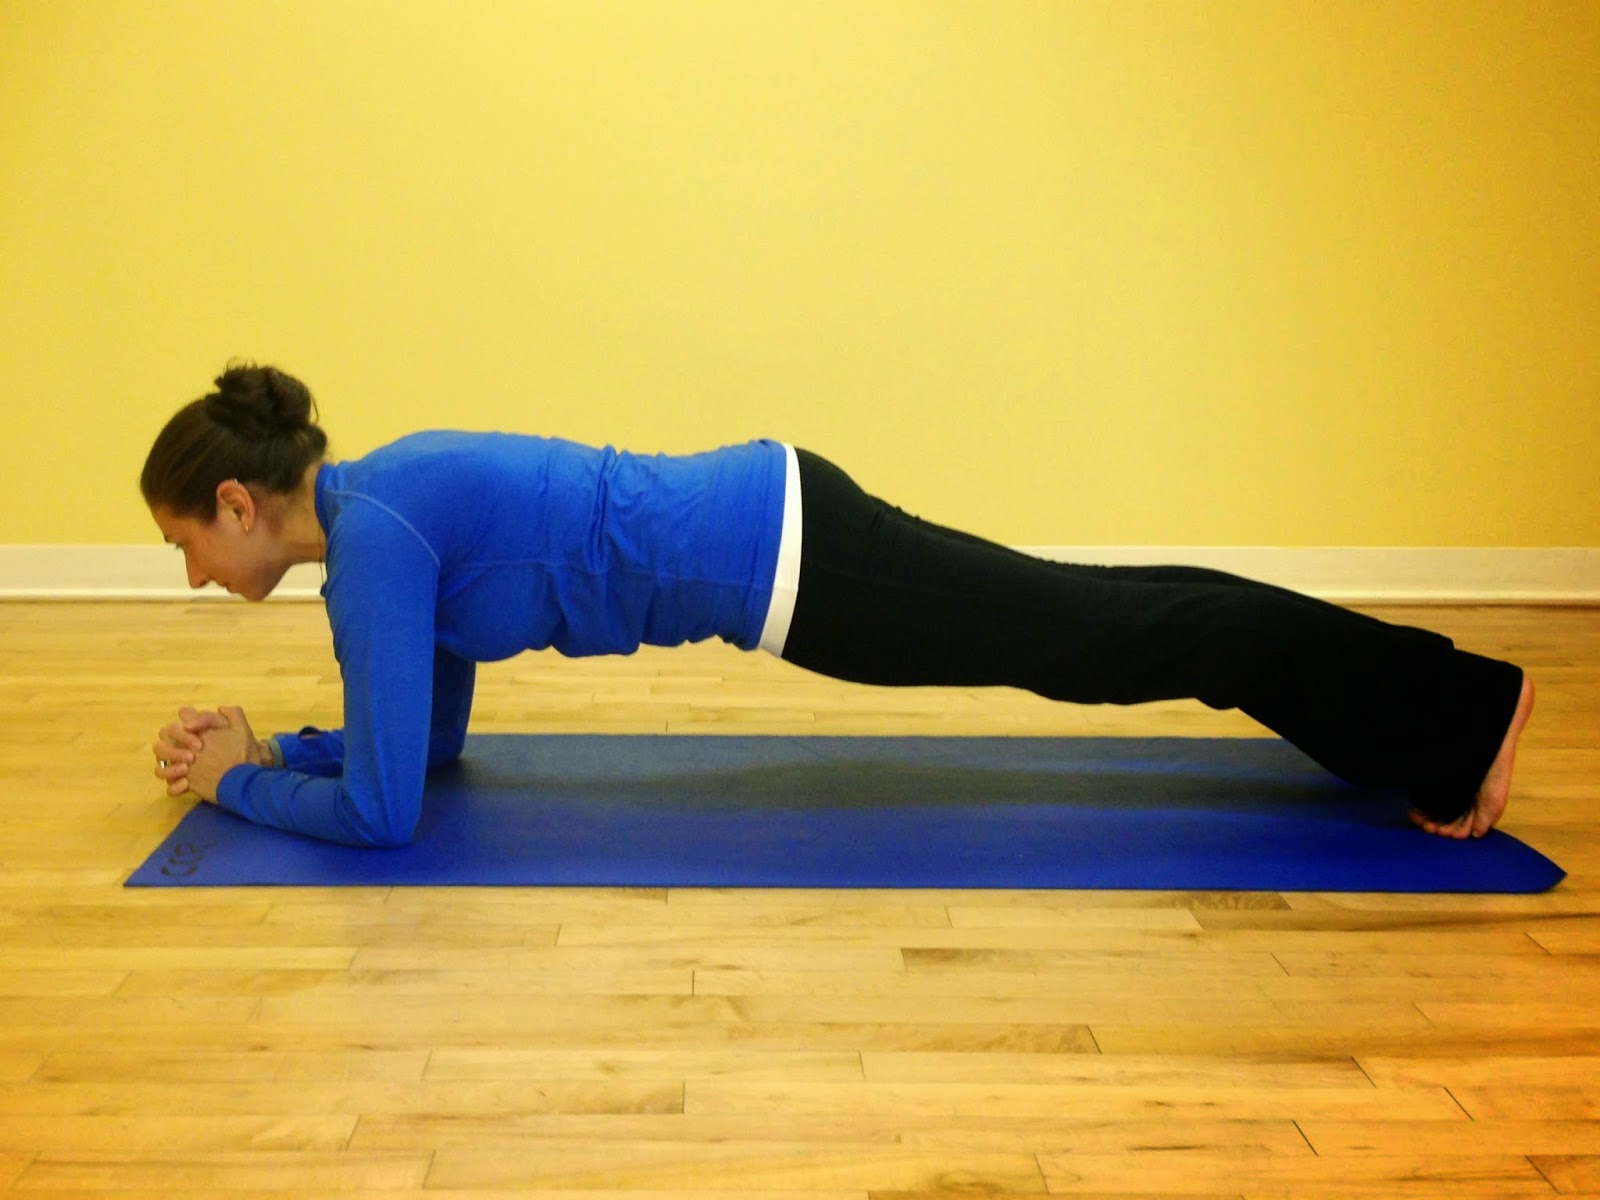
The traditional plank (shown above) targets more than just your
abdominals. It requires contraction of the quads, glutes, shoulders, biceps and
triceps. It is a stabilizing exercise that can lead to improvements in other
exercise moves.
3 Common Plank Form Mistakes
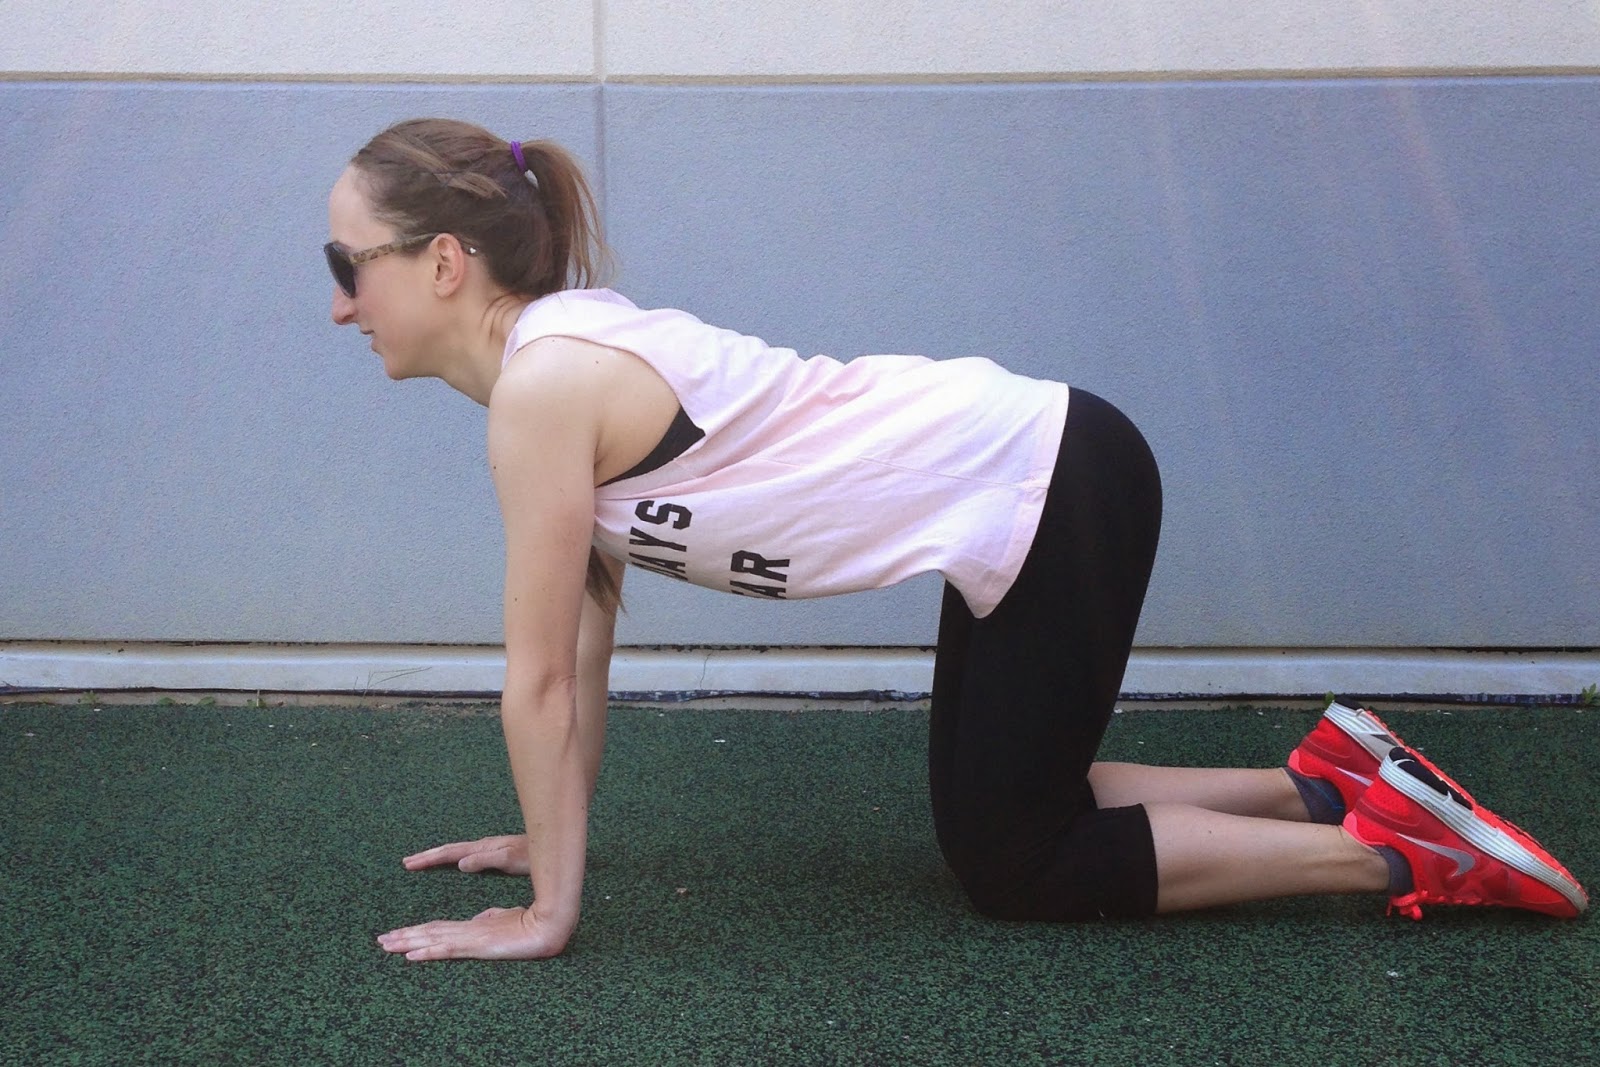
Arched Back
Note: In this position your abs will be inactive. This also put a lot of strain on your lower back!

Hips Too High

Uneven Hips

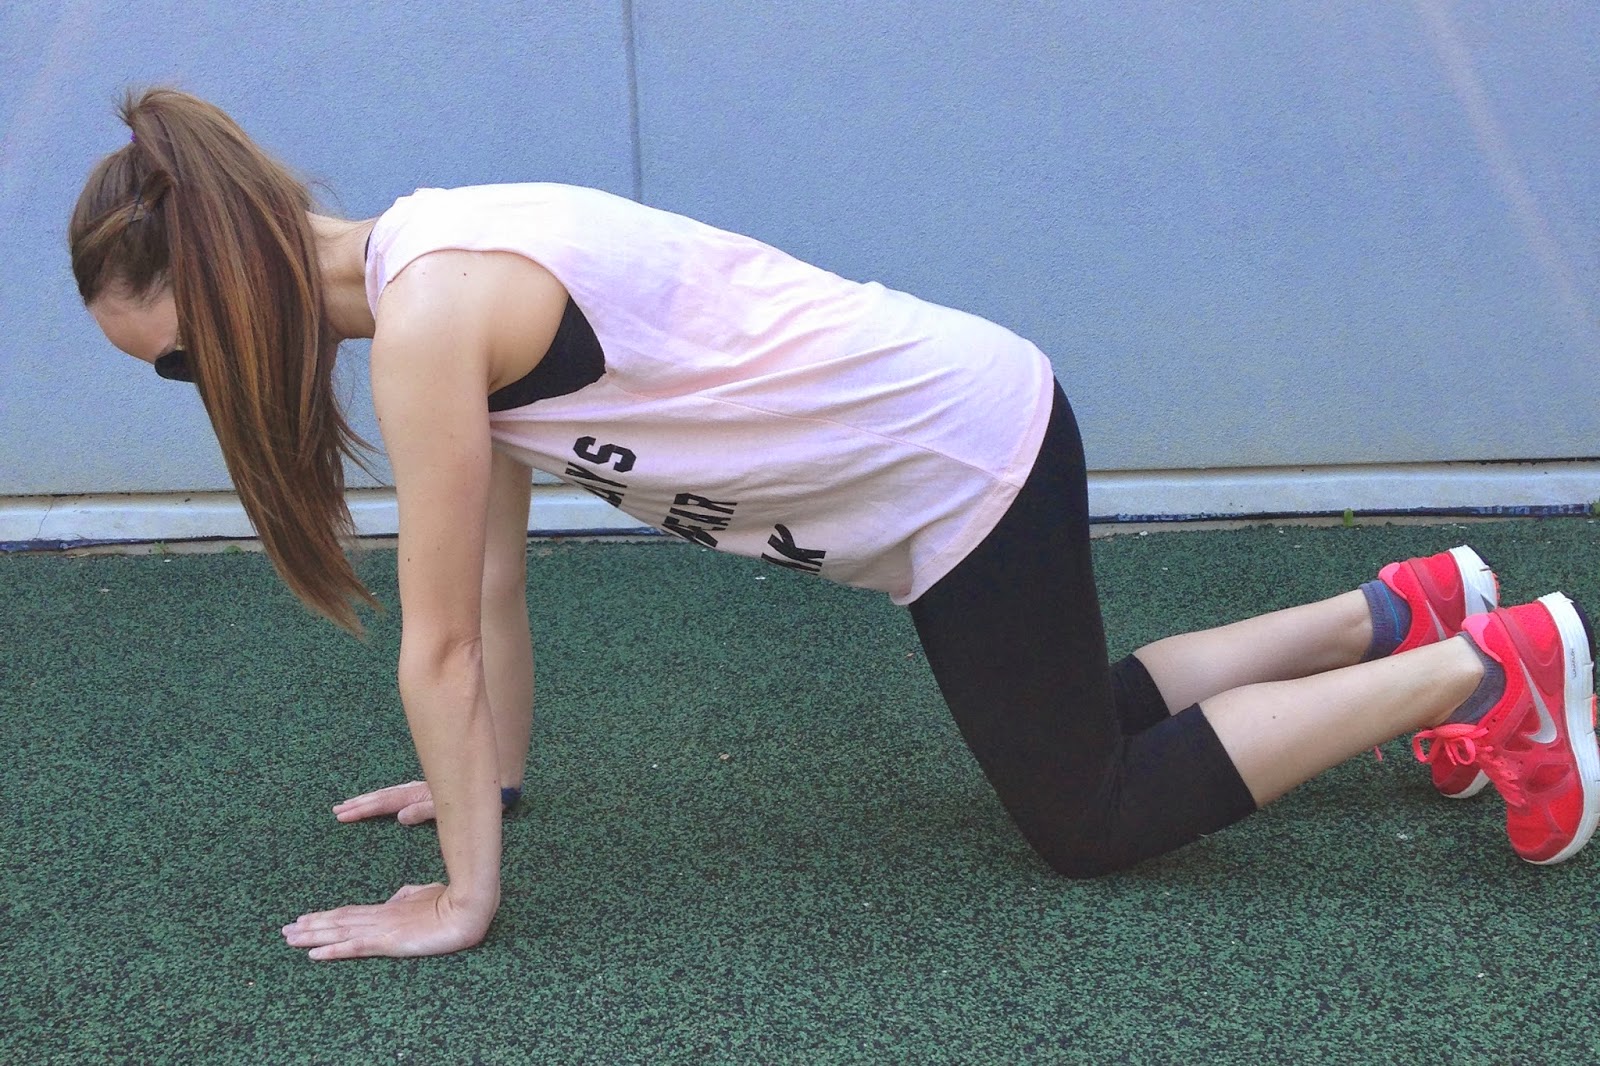
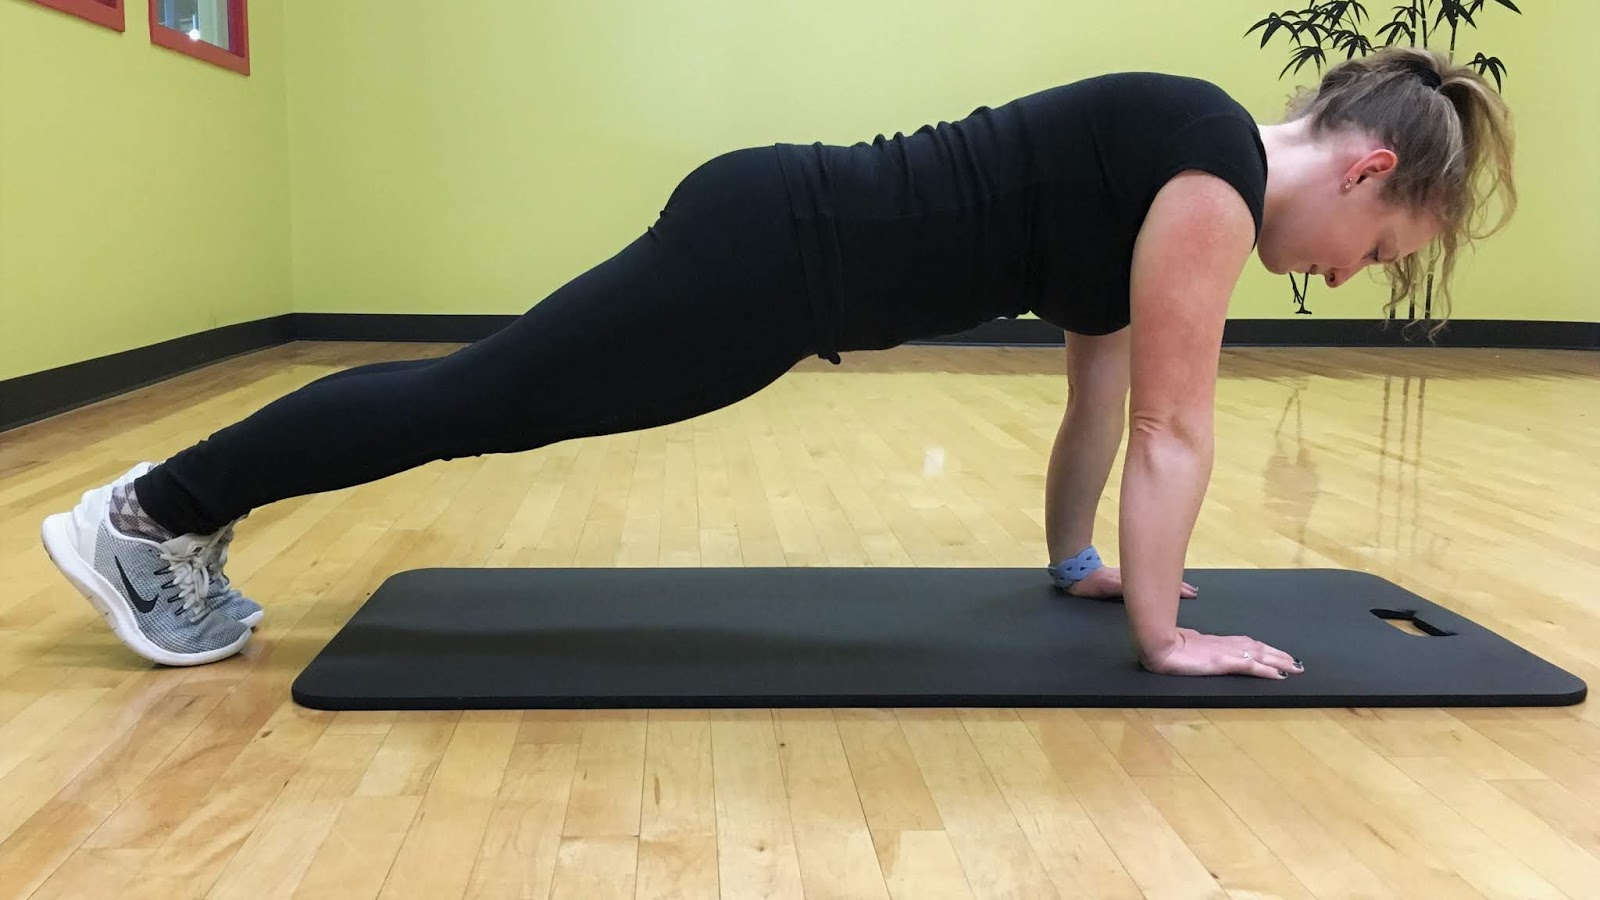
Other Plank Variations
On Hands
Side Plank

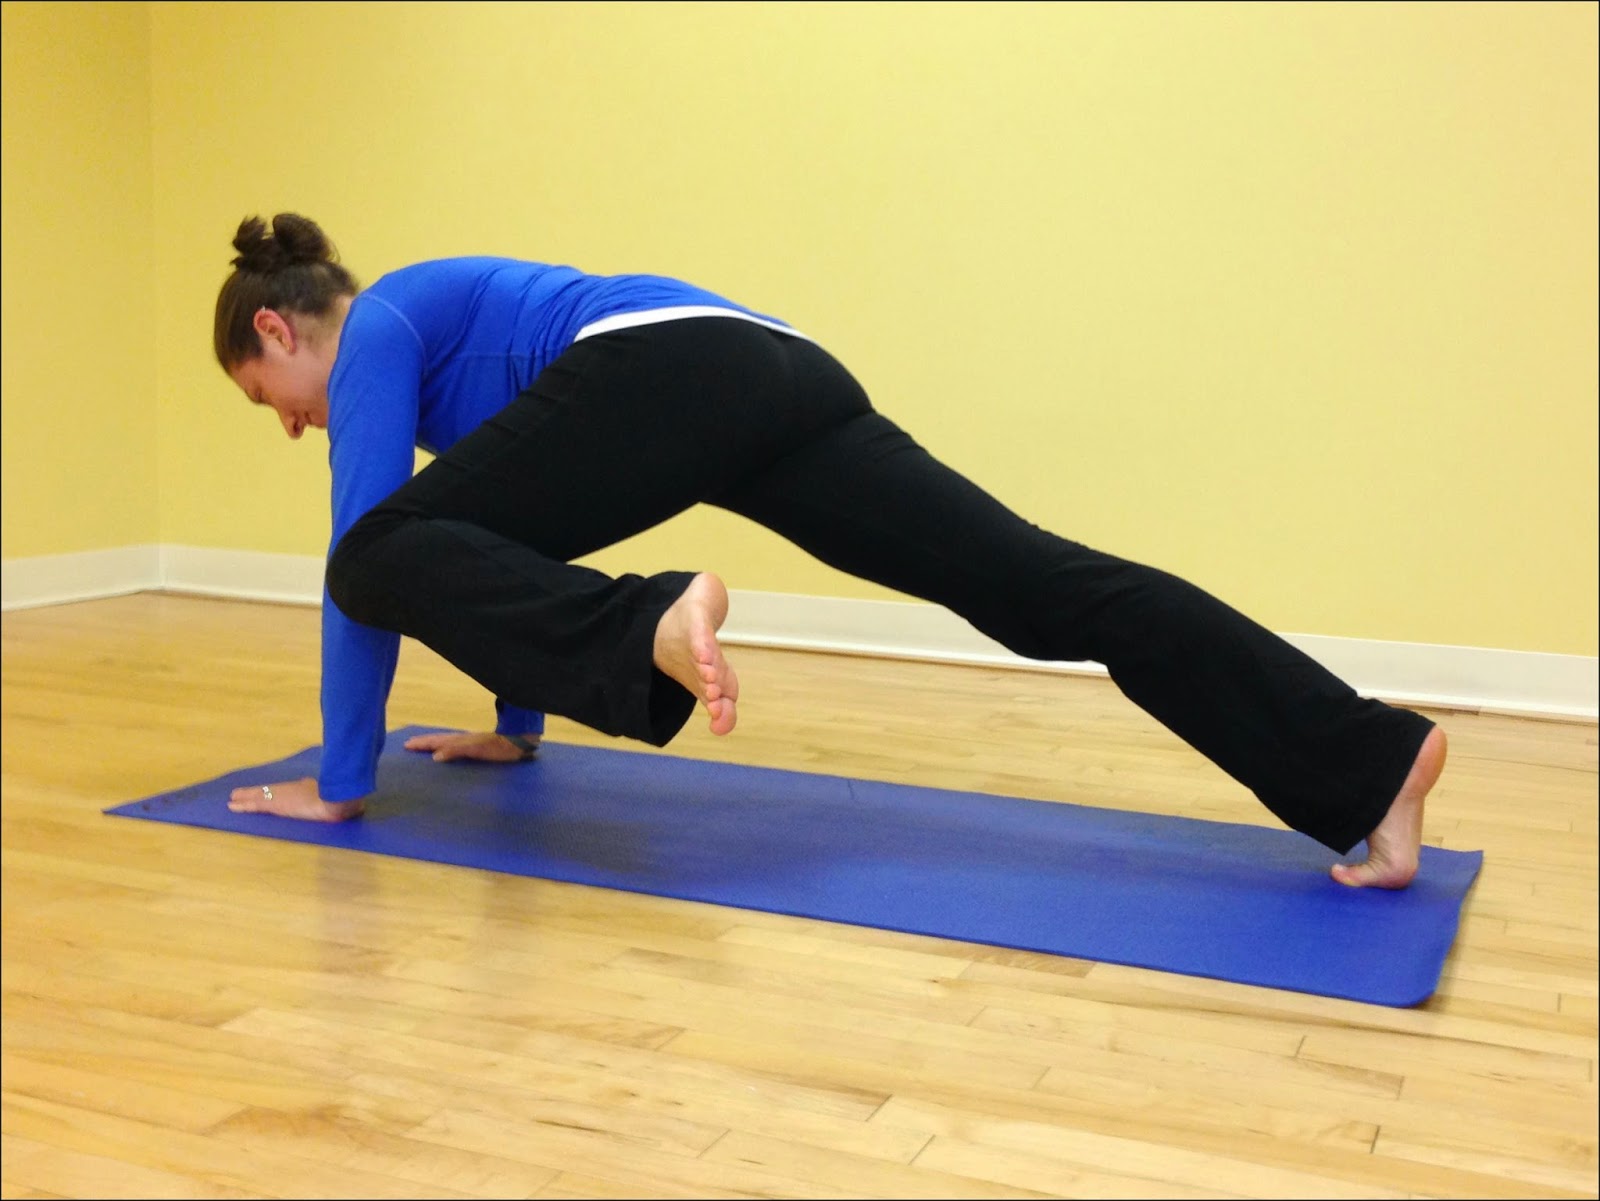
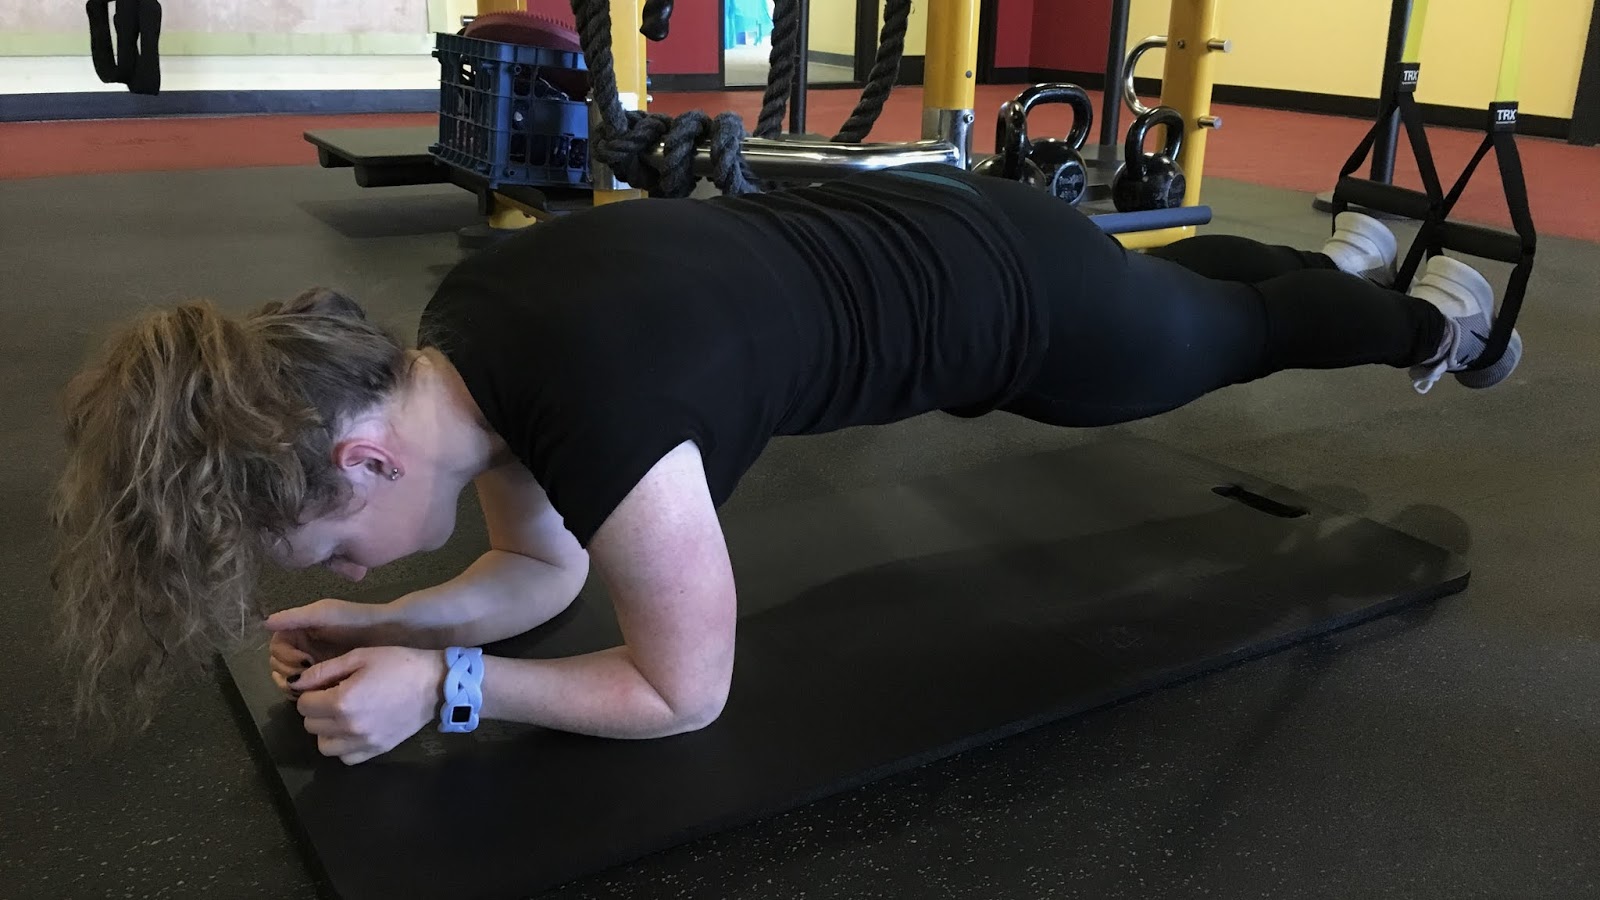
Taking Your Plank to the Next Level
Alternating Leg Lifts
Up, Up, Down, Down
Side Plank with Rotation
Side Plank with Hip Dips
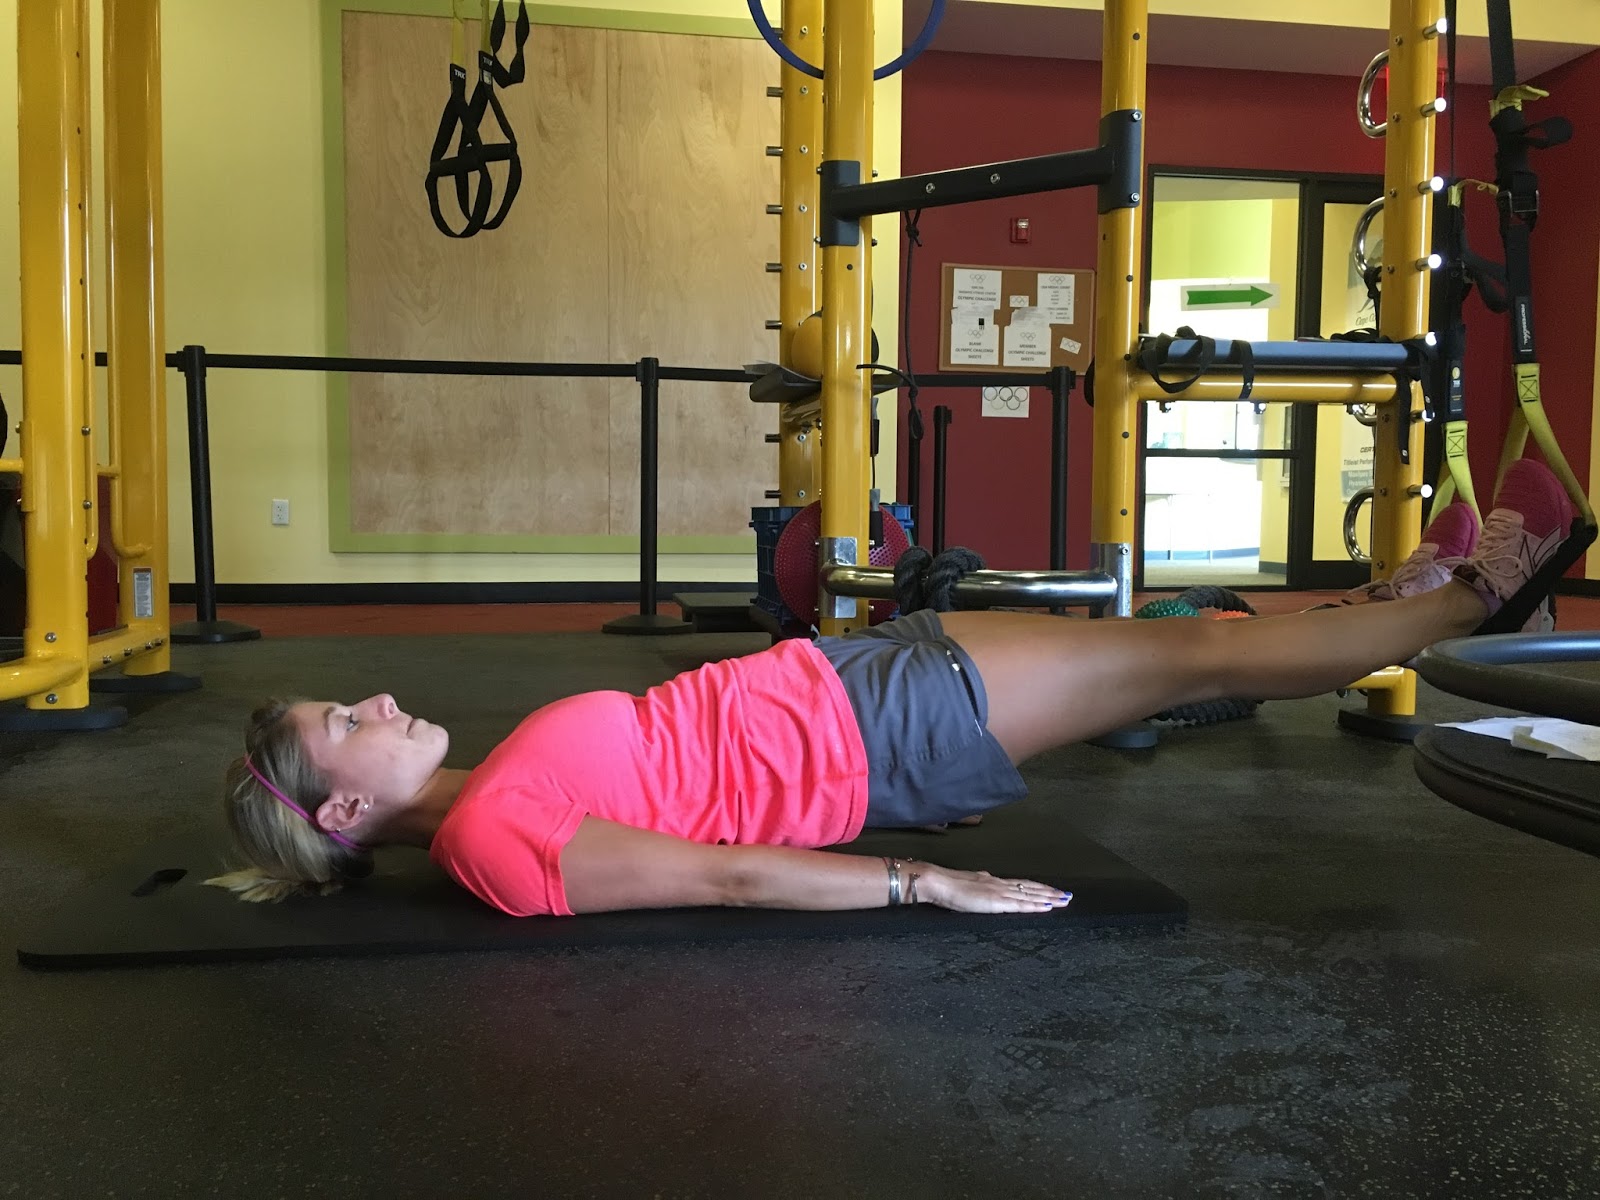
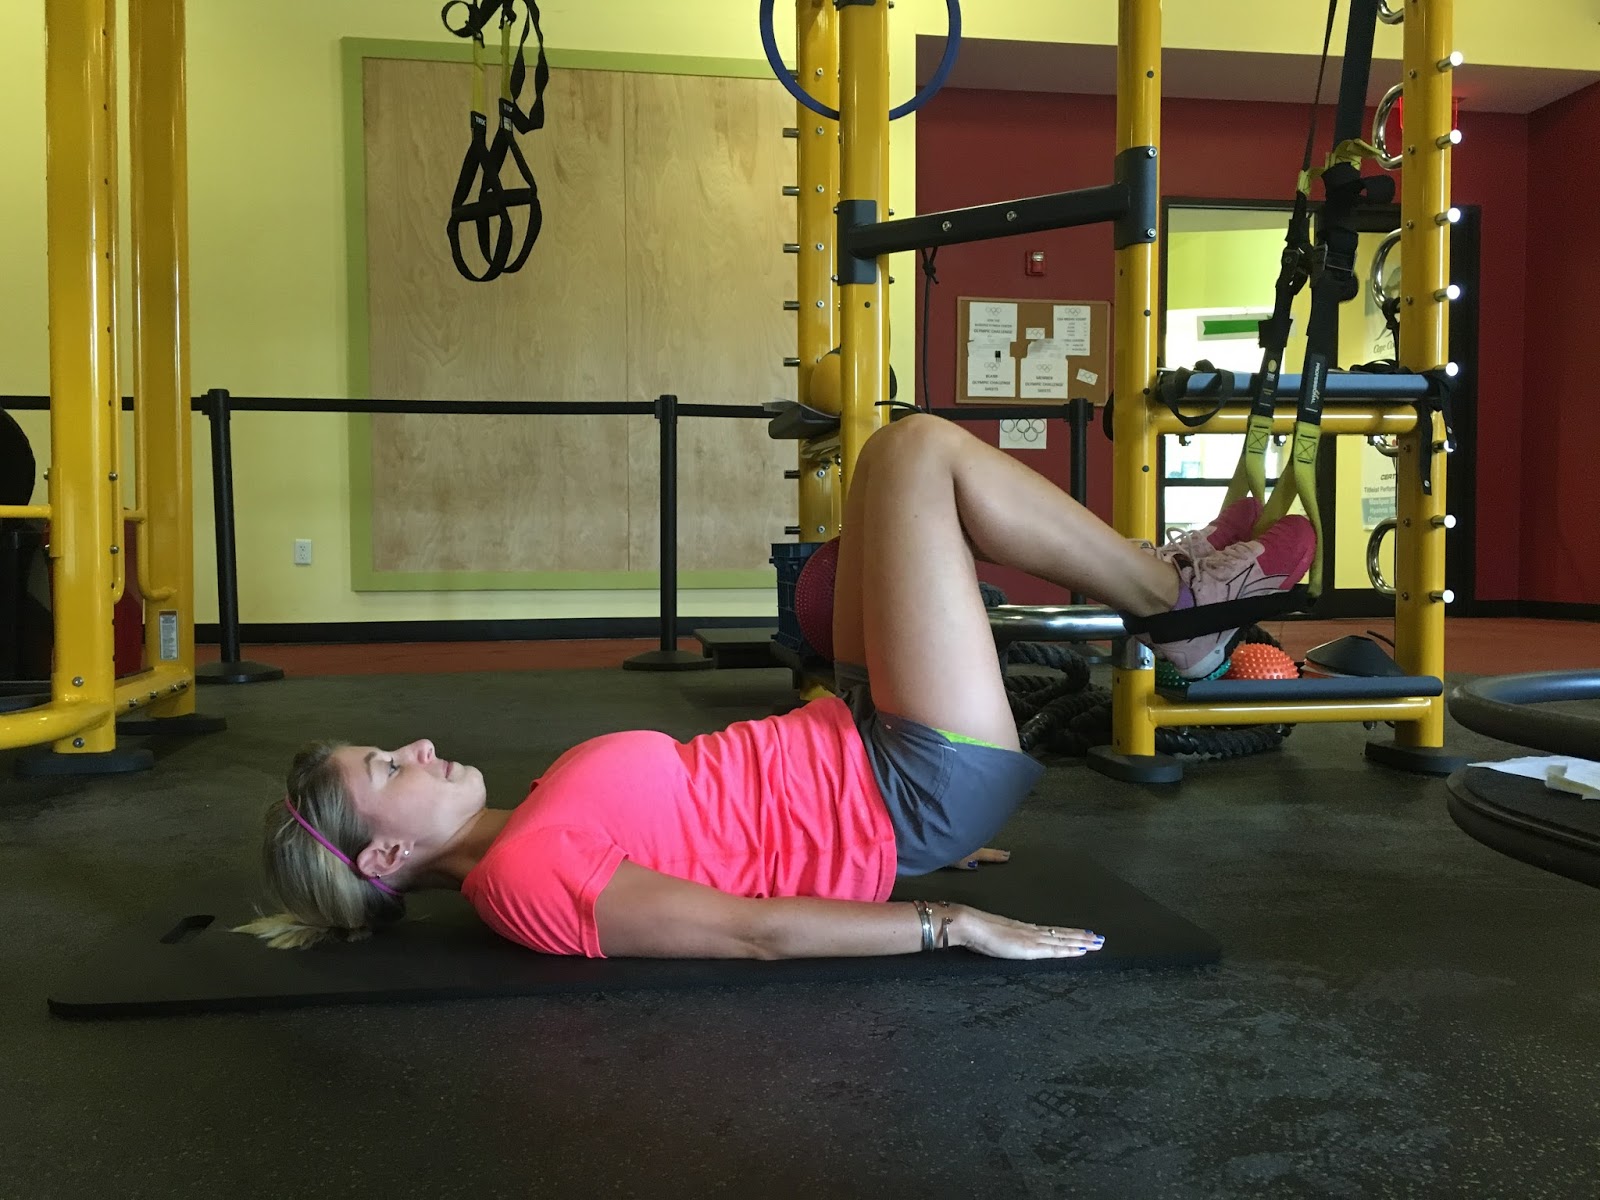
Physioball Planks

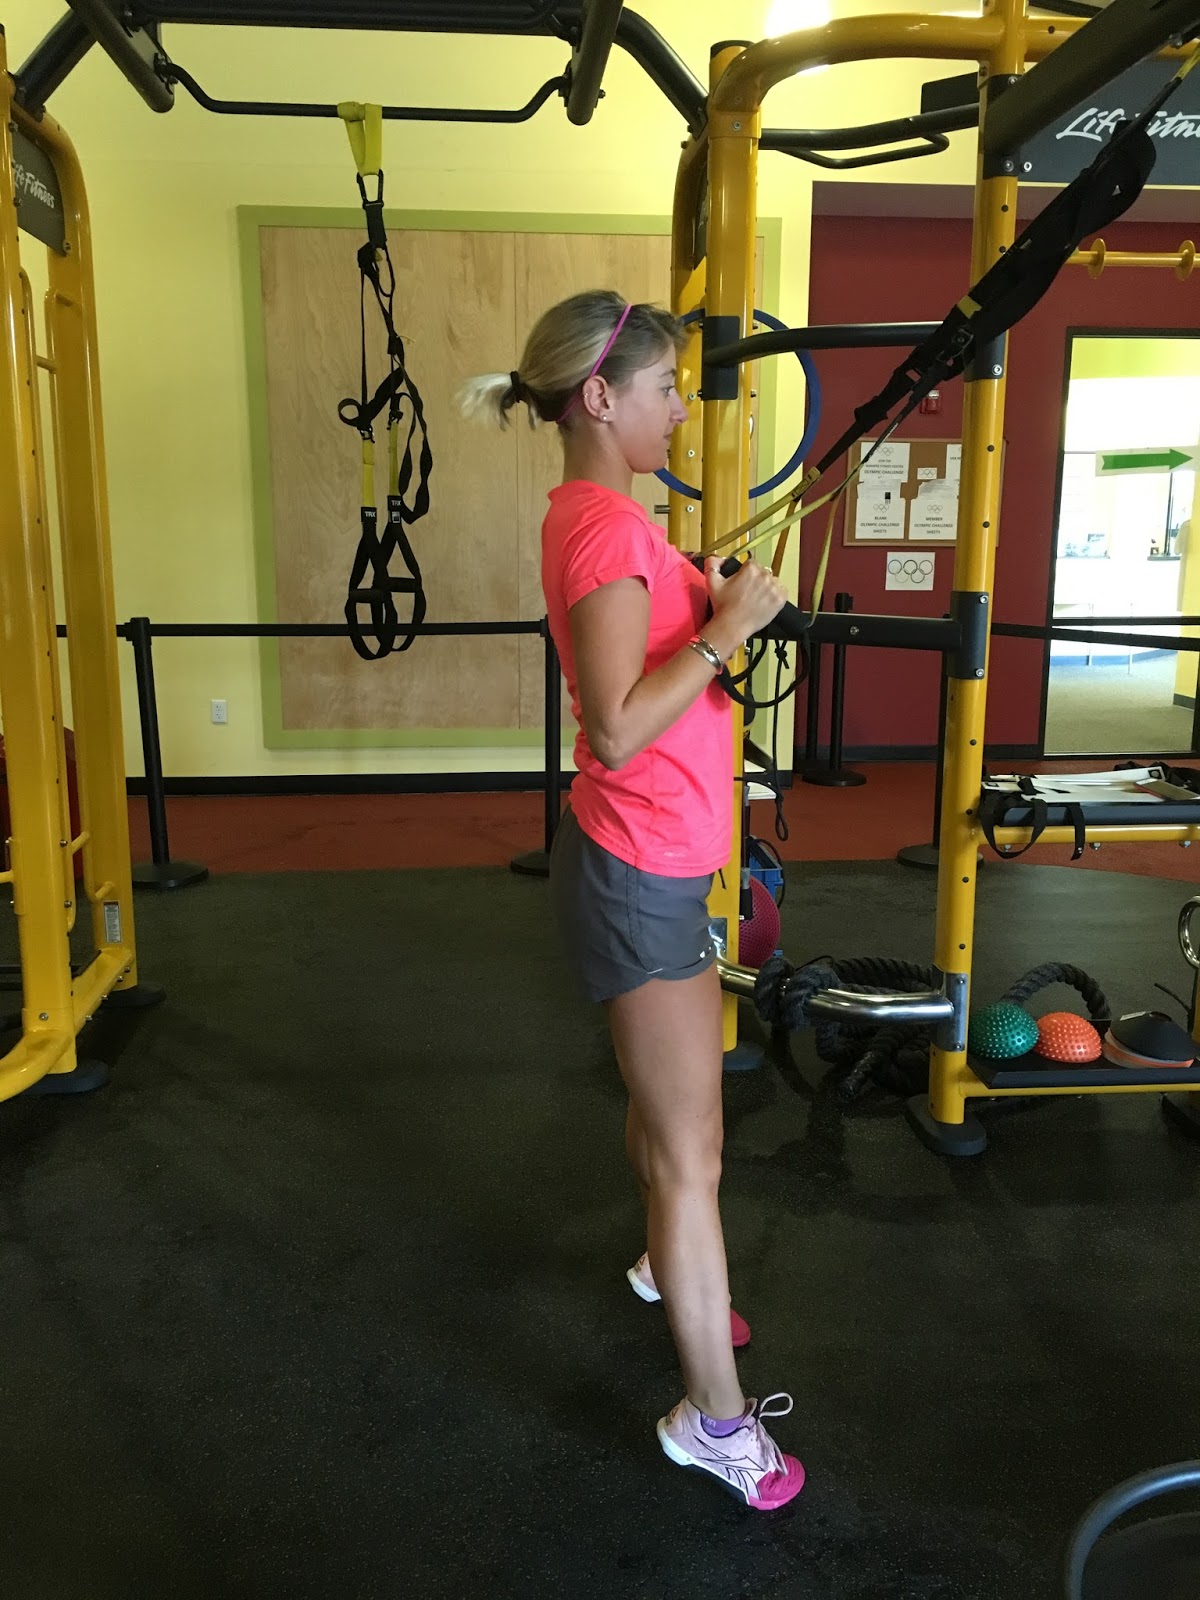
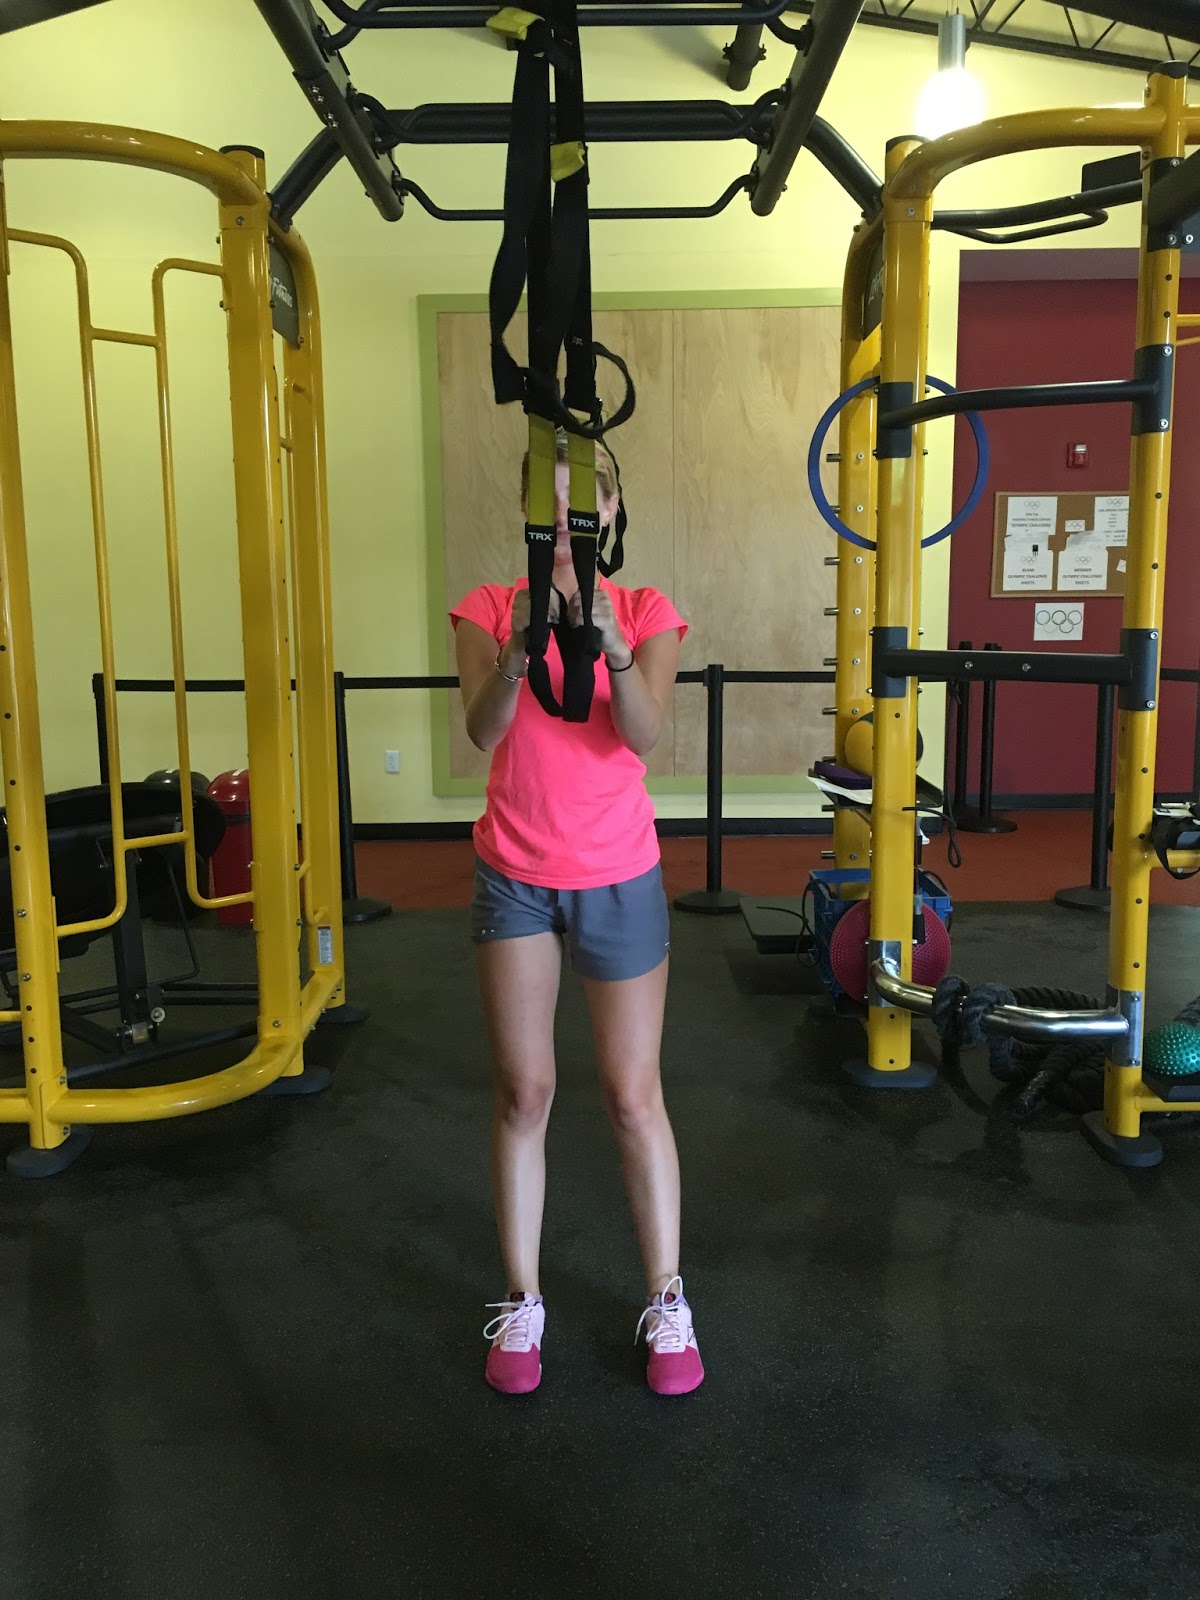
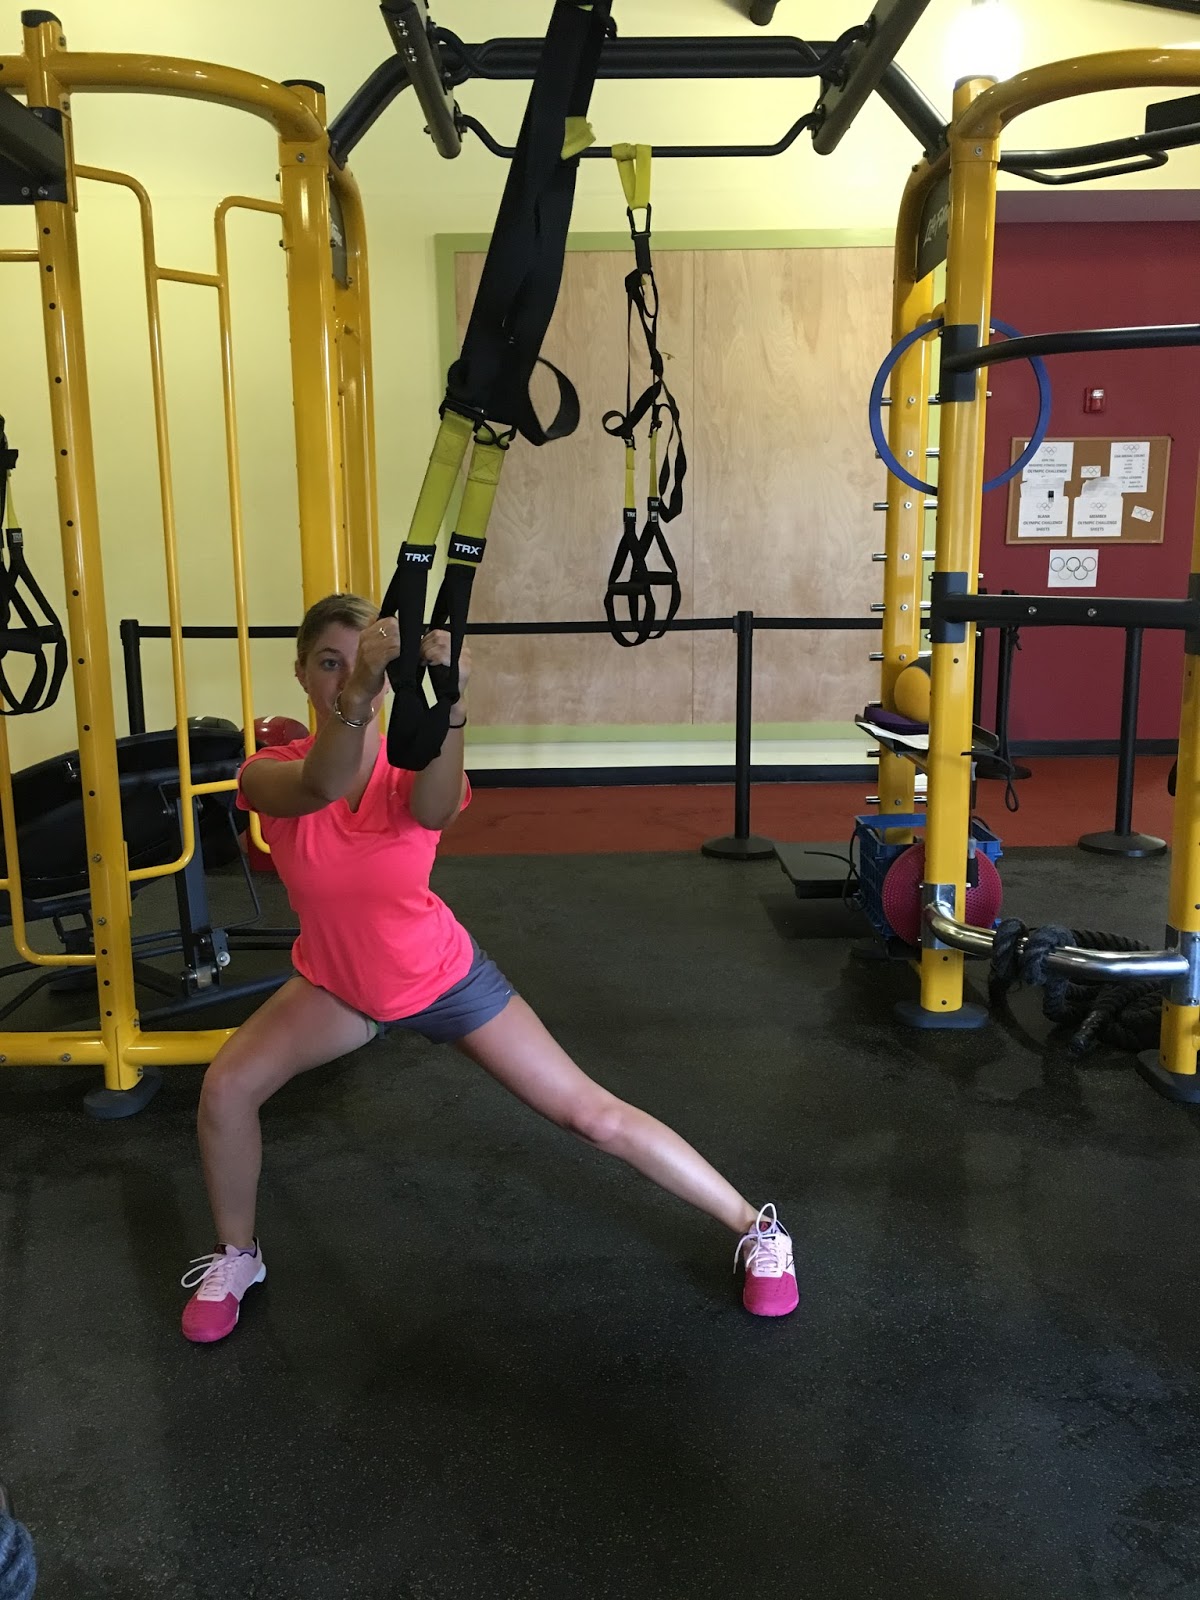
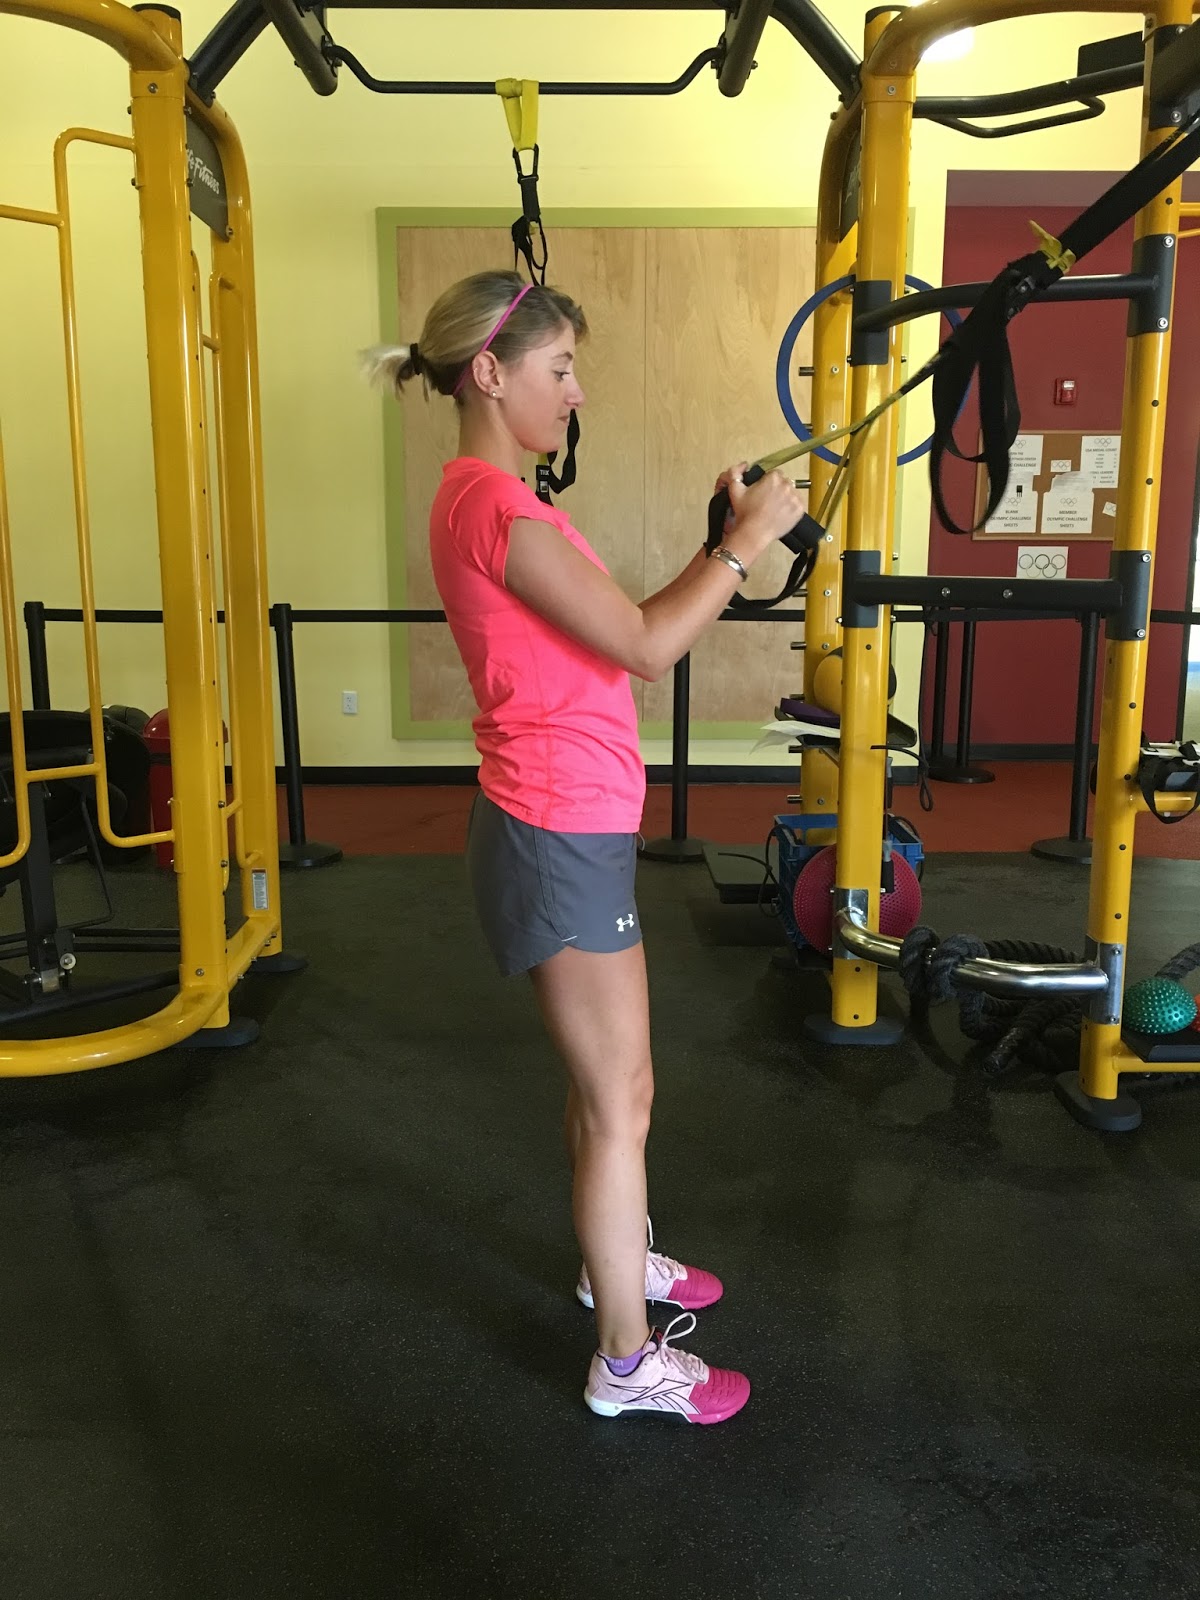
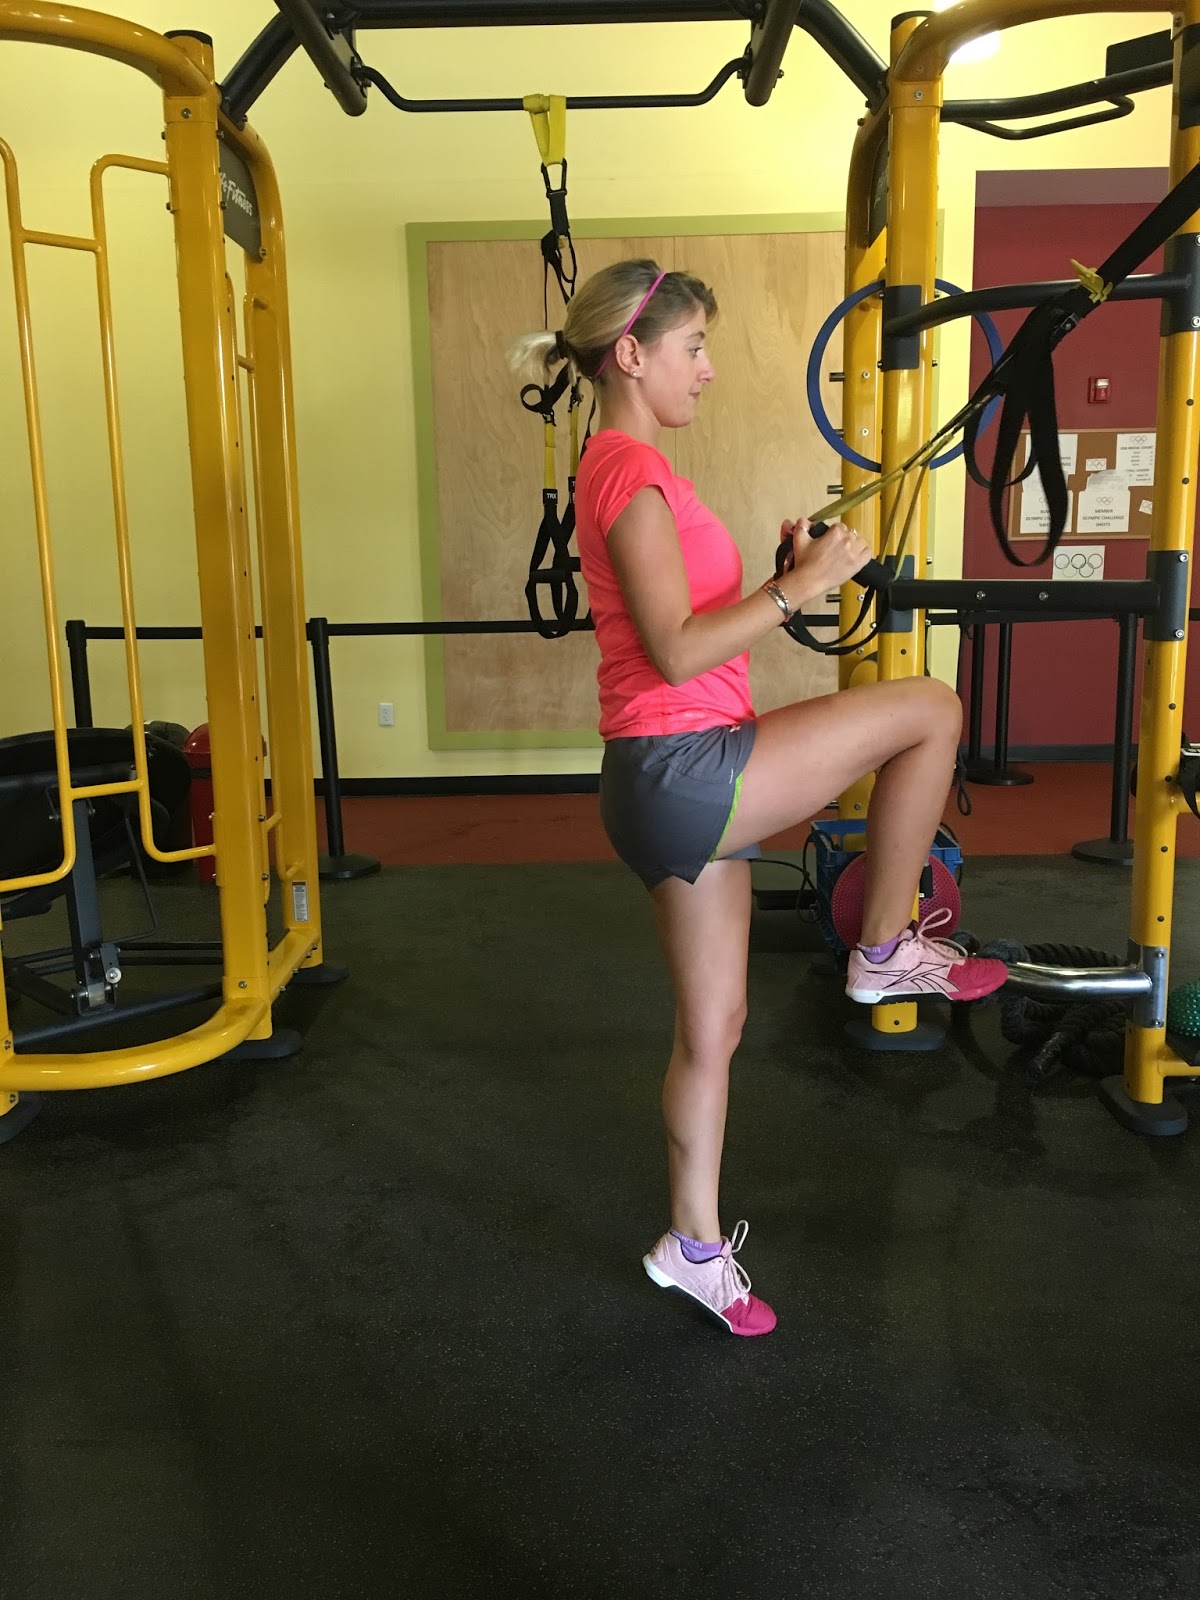
TRX Plank
Planks can assist in many other areas!
Balance
The core
stability provides and increases in your overall stability and balance. Example: if you are
bumped into while walking, having a stronger core can assist you in regaining
your balance faster.
stability provides and increases in your overall stability and balance. Example: if you are
bumped into while walking, having a stronger core can assist you in regaining
your balance faster.
Maintain Proper Running Form
A stable core helps a runner’s body stay in proper alignment, rather than twisting mid stride.
Maintain Form in Many Other Lifts
One of the first steps in many lifting exercises is to
engage your core. Having a stronger core can make it easier to keep proper form
in many activities and can prevent injury to the back.
engage your core. Having a stronger core can make it easier to keep proper form
in many activities and can prevent injury to the back.
Happy Planking!
Blog
post by Erin Womboldt.
post by Erin Womboldt.