Reasons to Hire a Personal Trainer in 2015

Happy 2015!

  1. Consistency and Motivation  

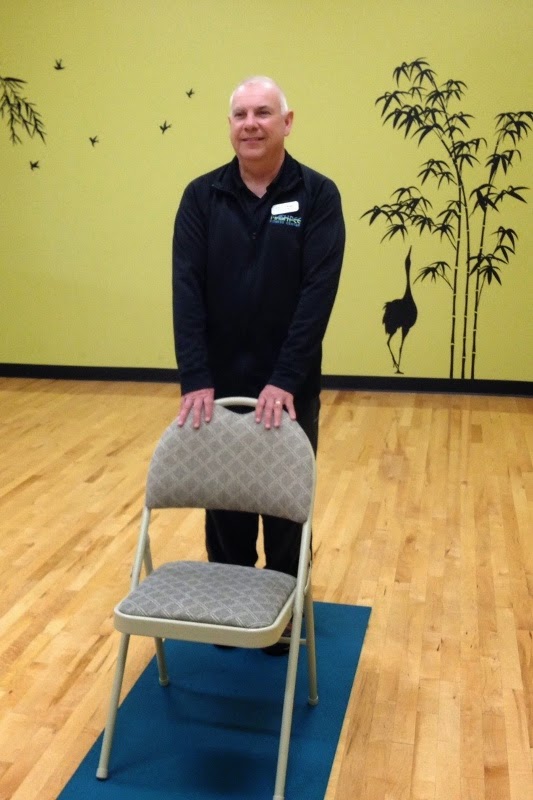
Having trouble just getting to the gym?  Hire a personal
trainer.  Having scheduled appointments
will help you get there regularly and you will have someone to keep you
motivated to finish your workouts.
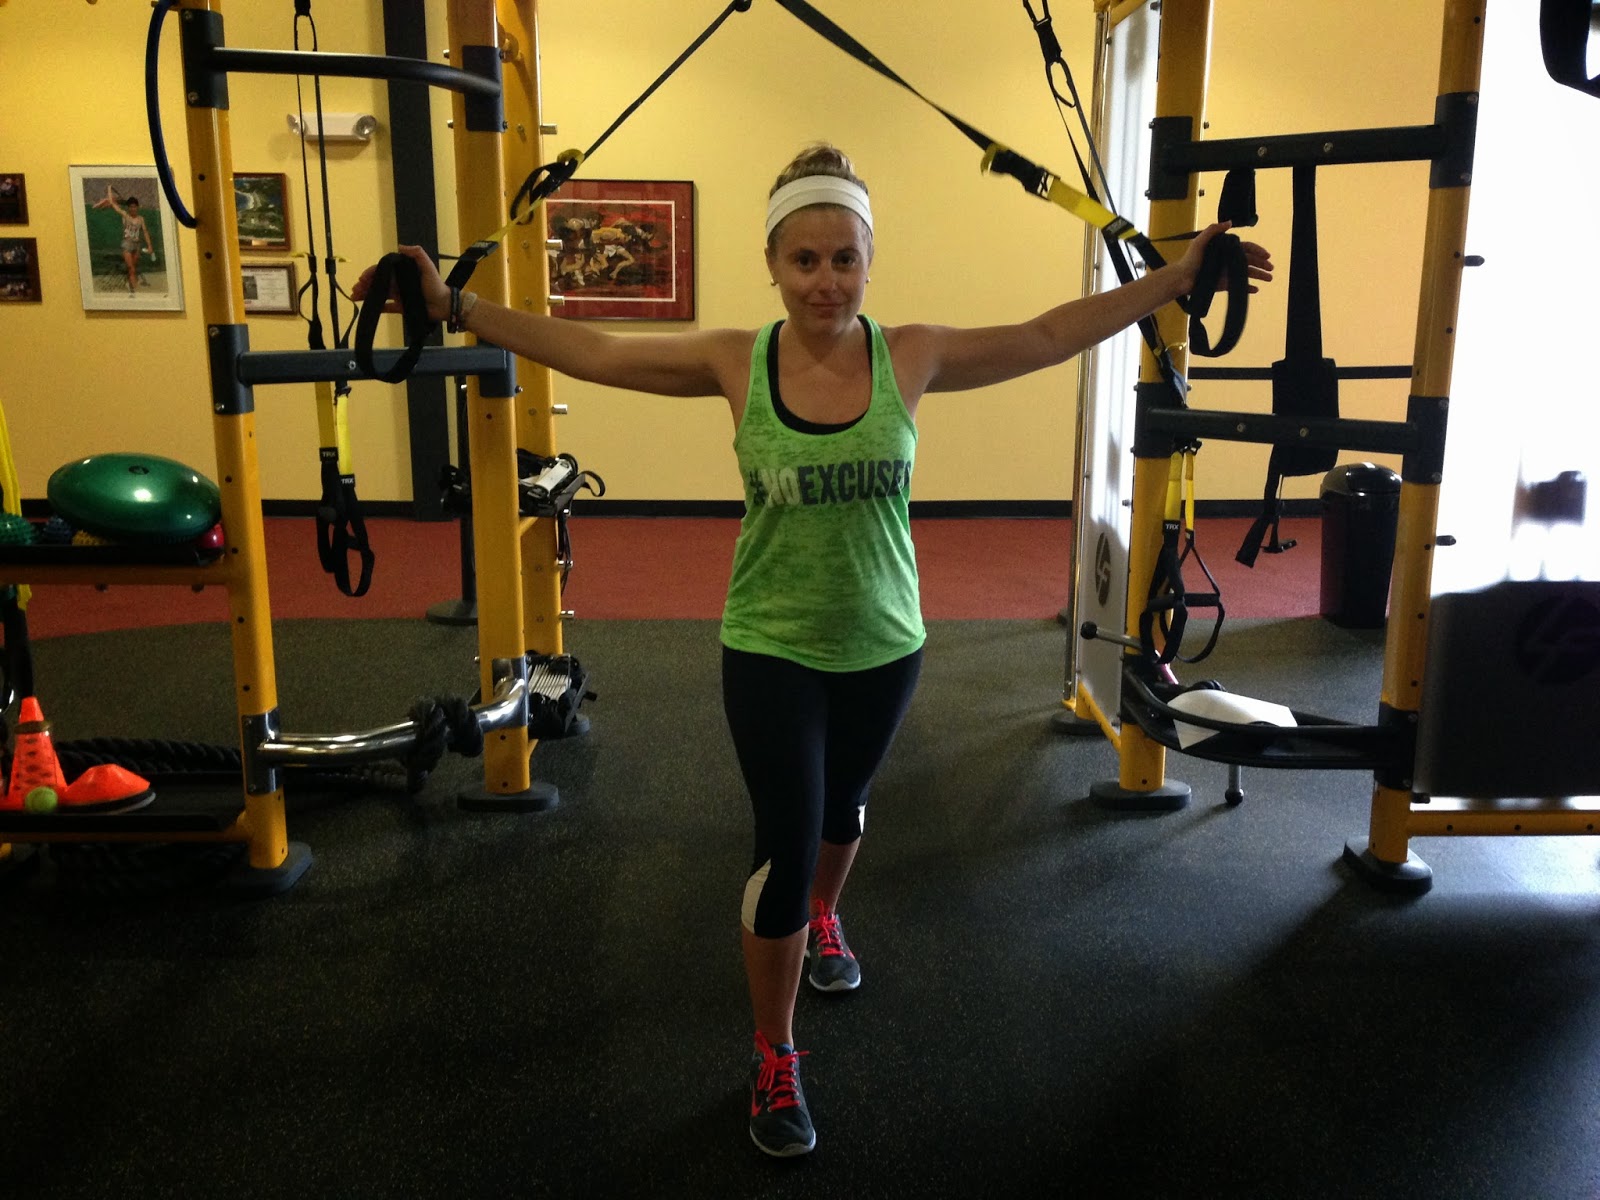
  1. Safety

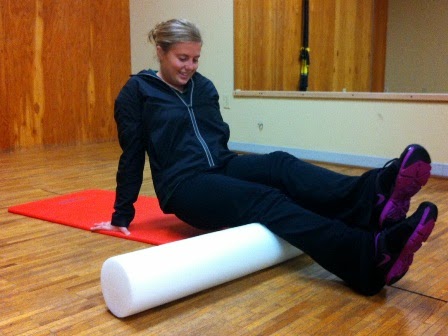
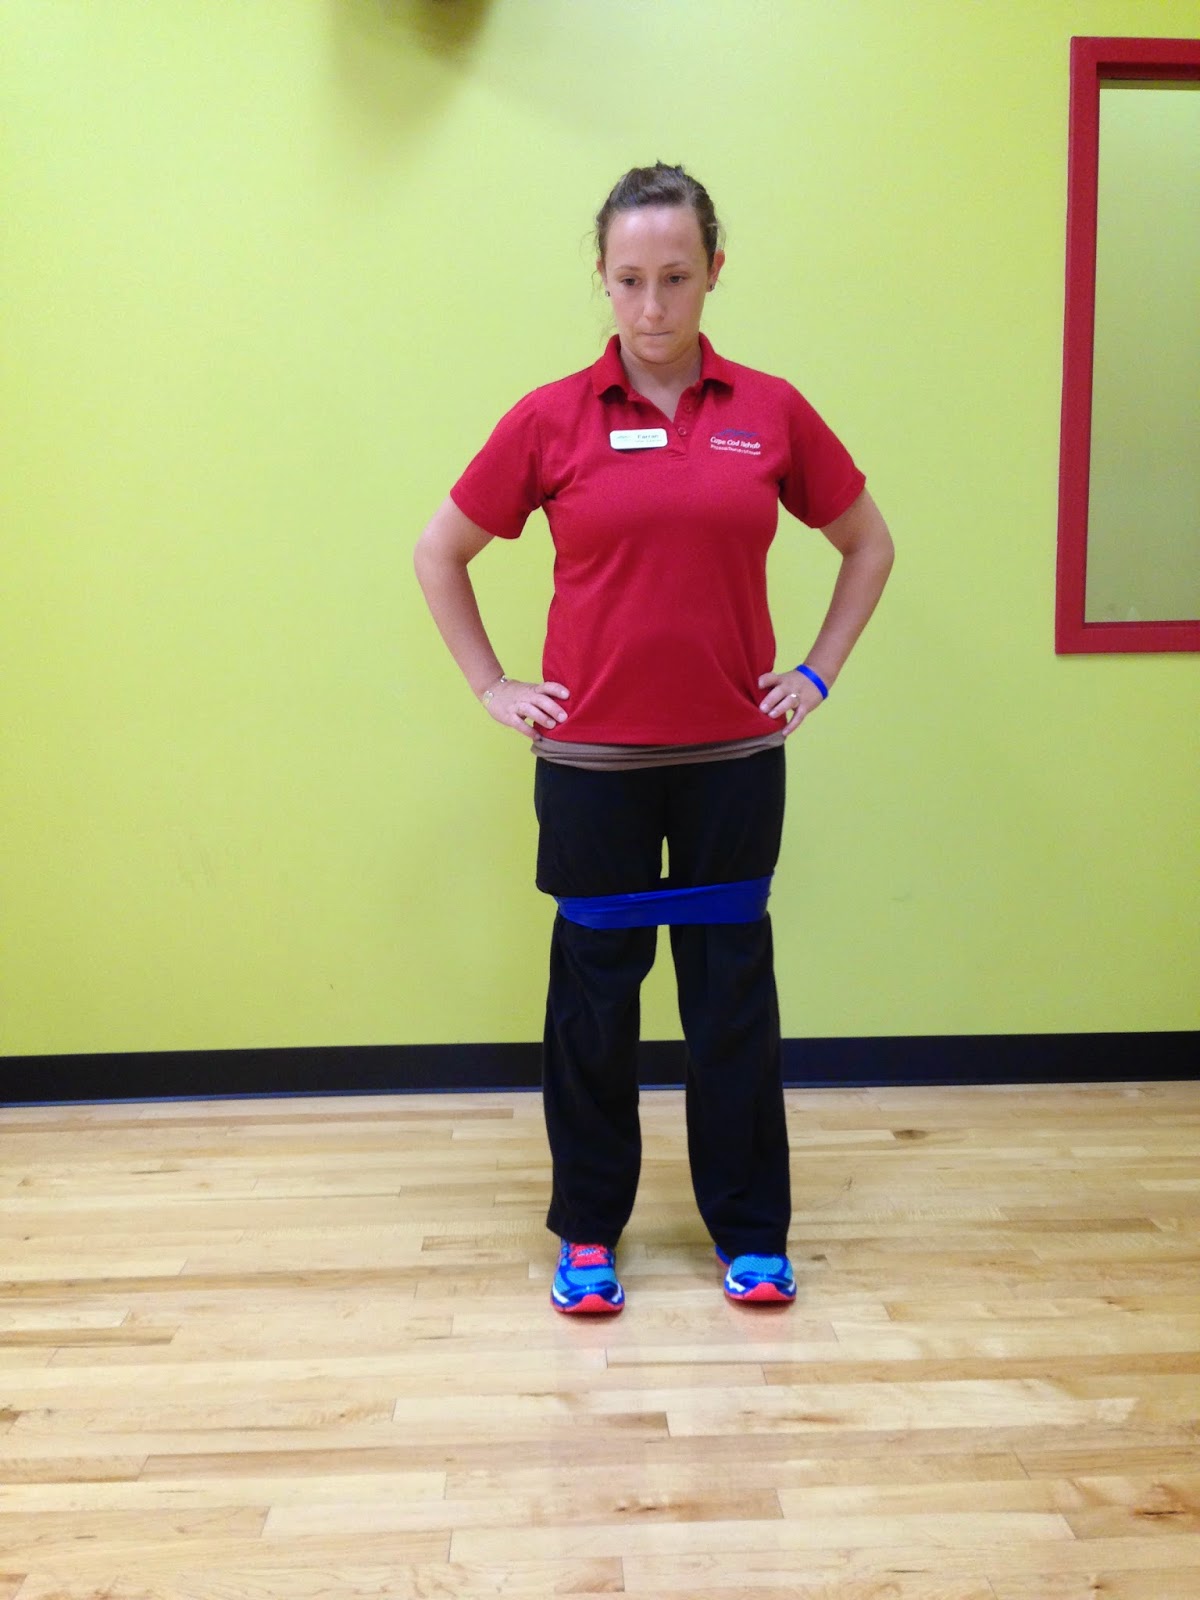
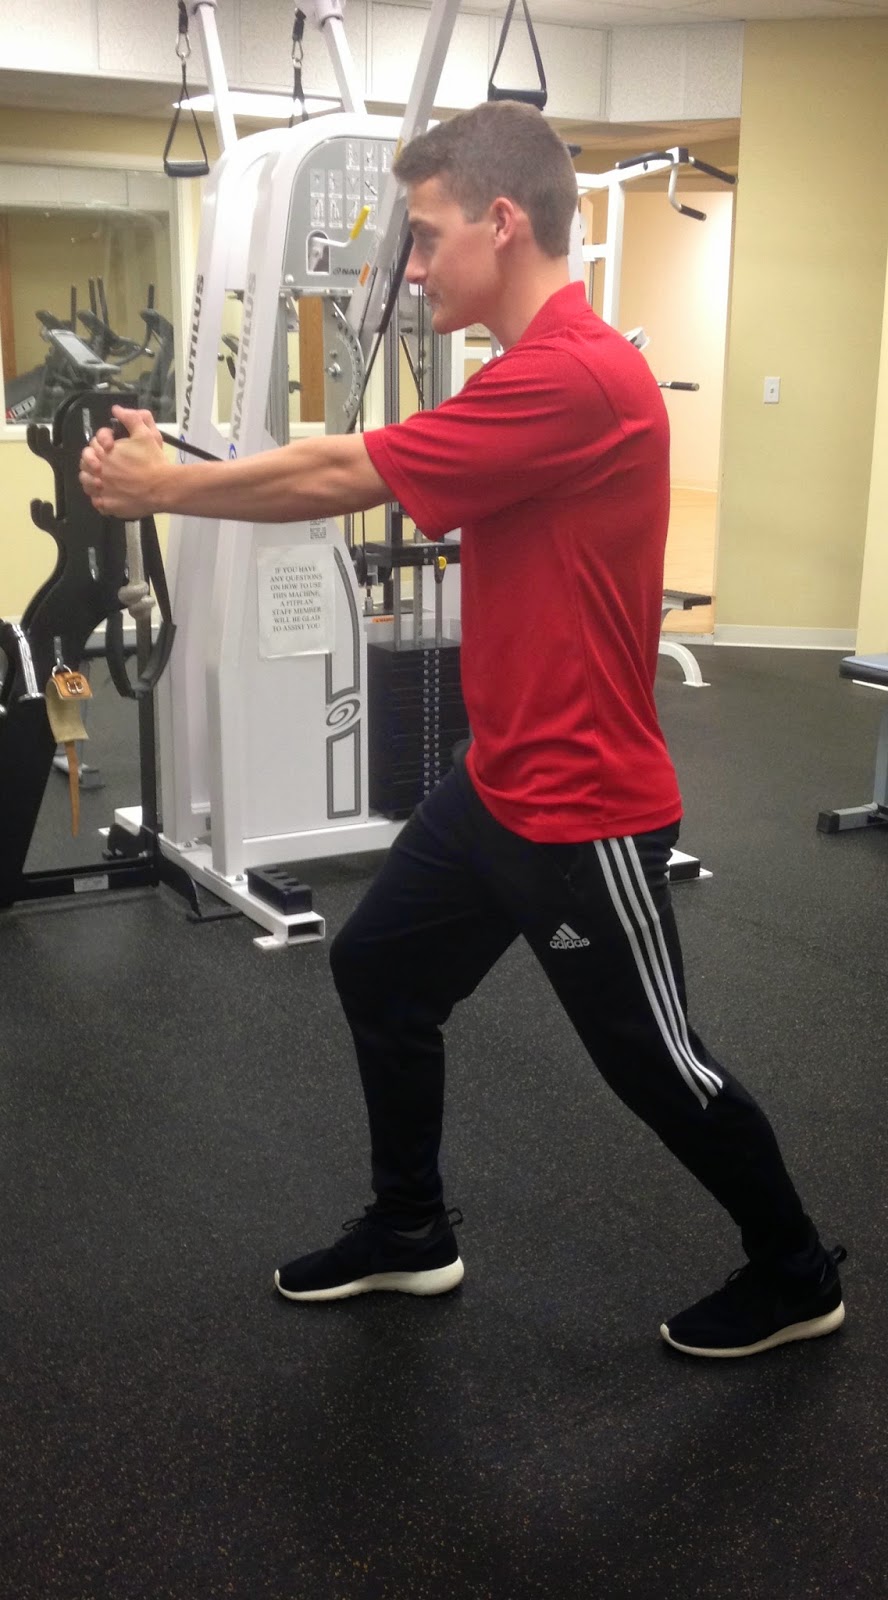
Unsure how to use the equipment at the gym or how to perform
exercises without hurting yourself?  A
personal trainer will show you how to exercise safely and instruct on proper
use of equipment.

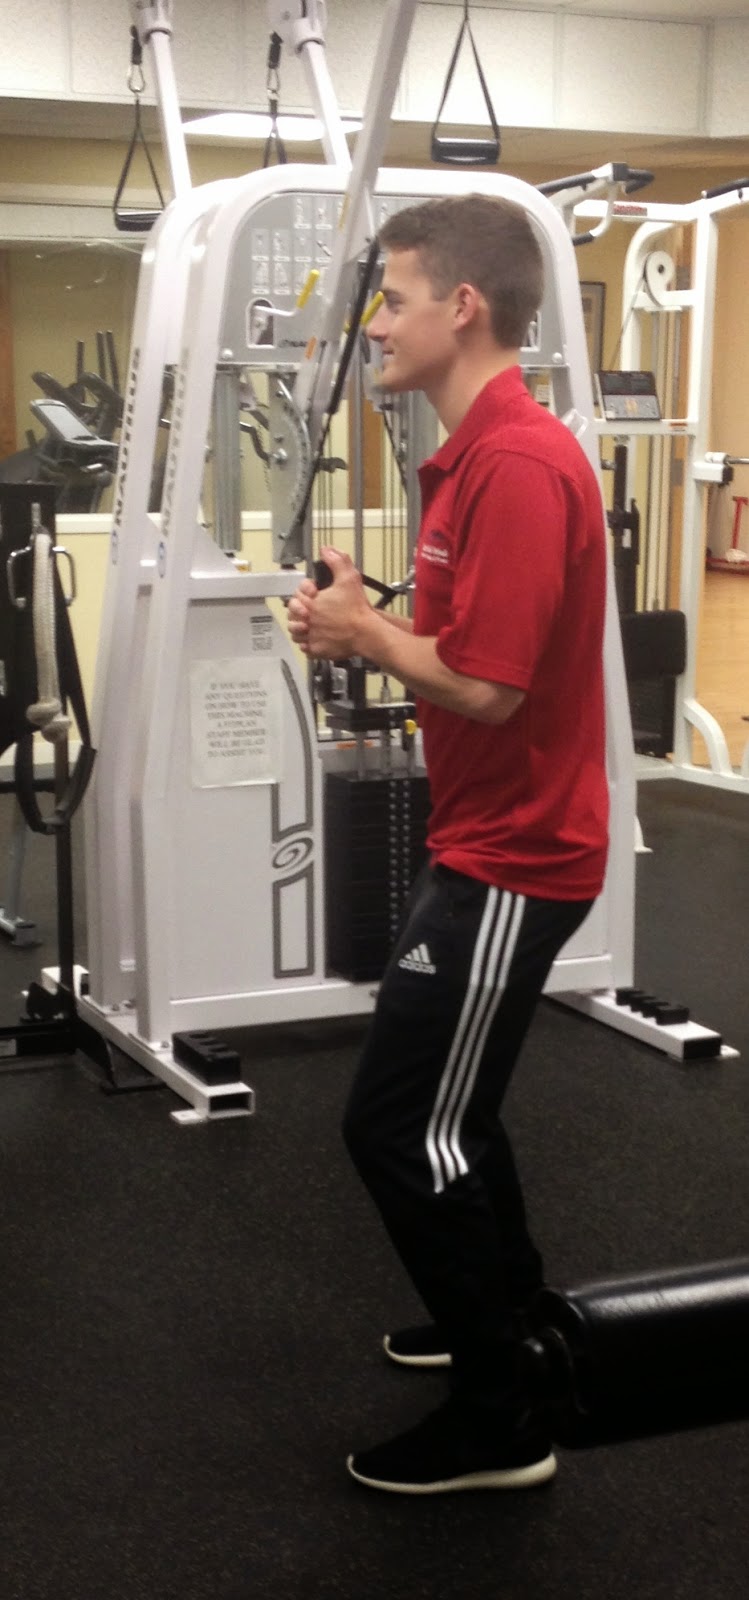
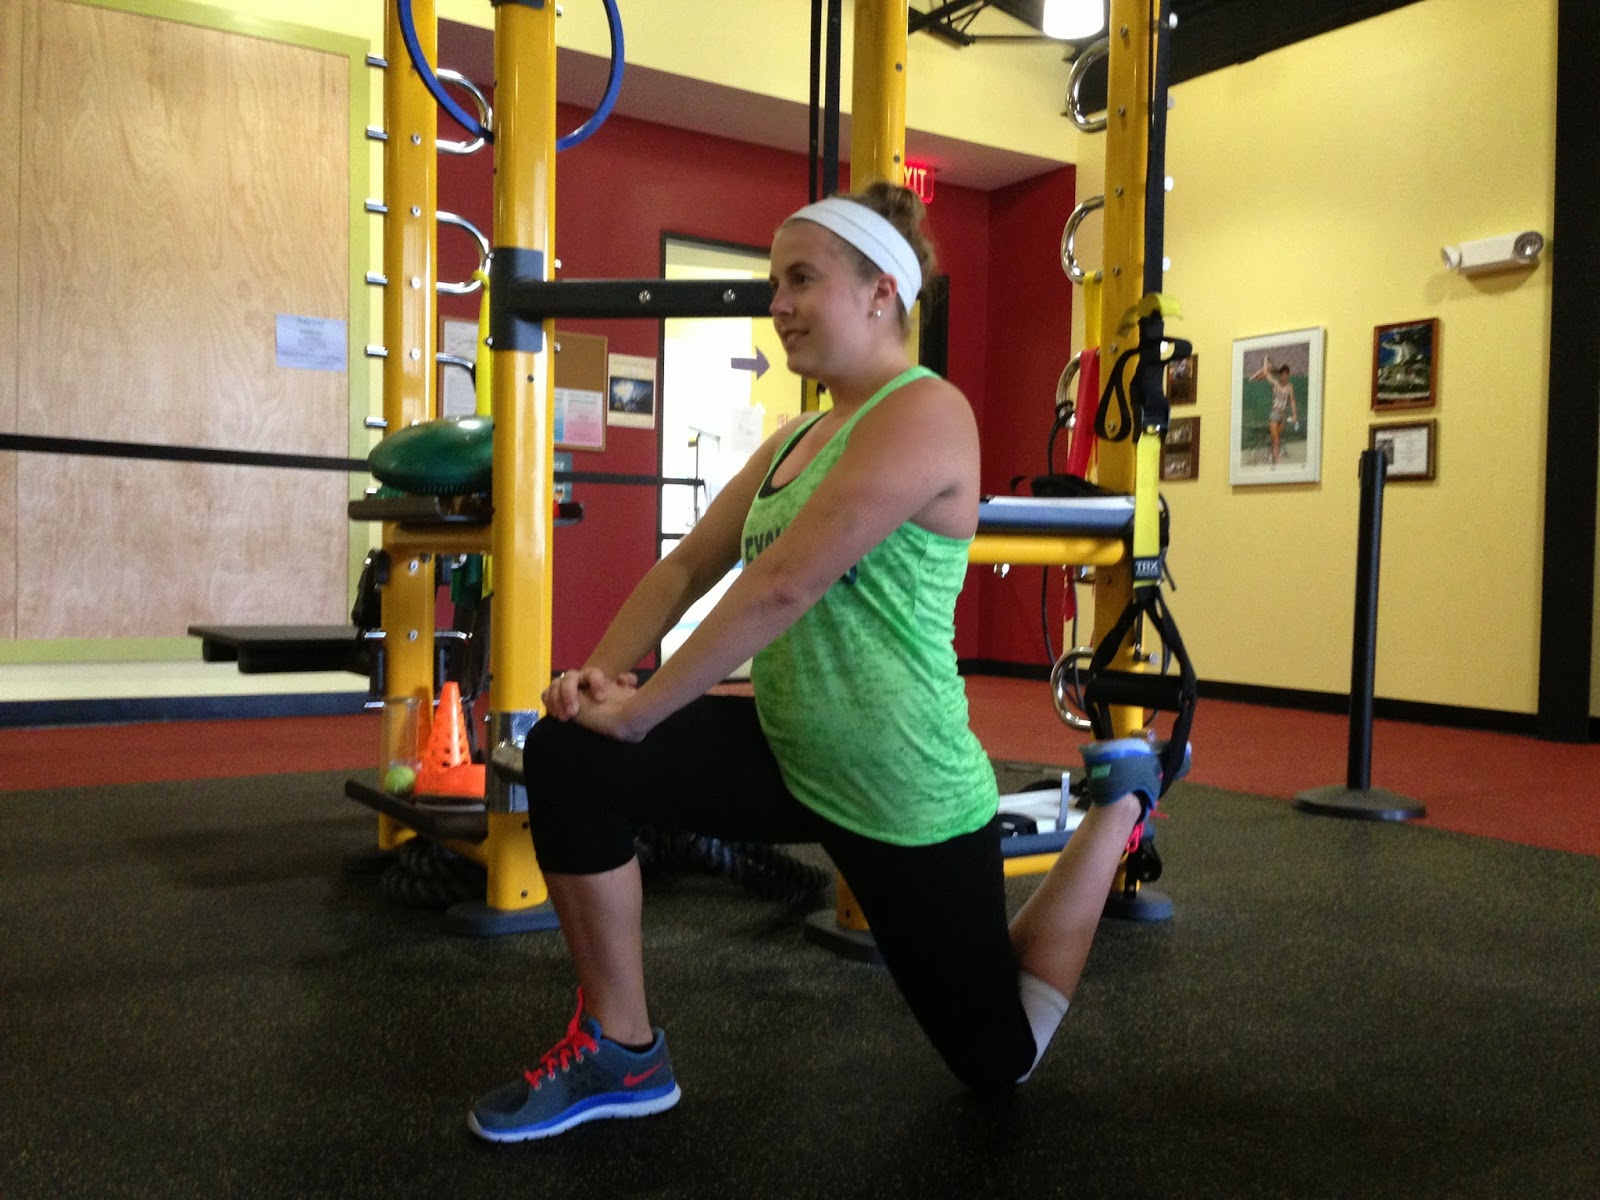
  1. Individualized Workouts  

What works for one person may not work for another. A personal
trainer will develop an effective program for you based on the results of your
fitness assessment and your personal goals.
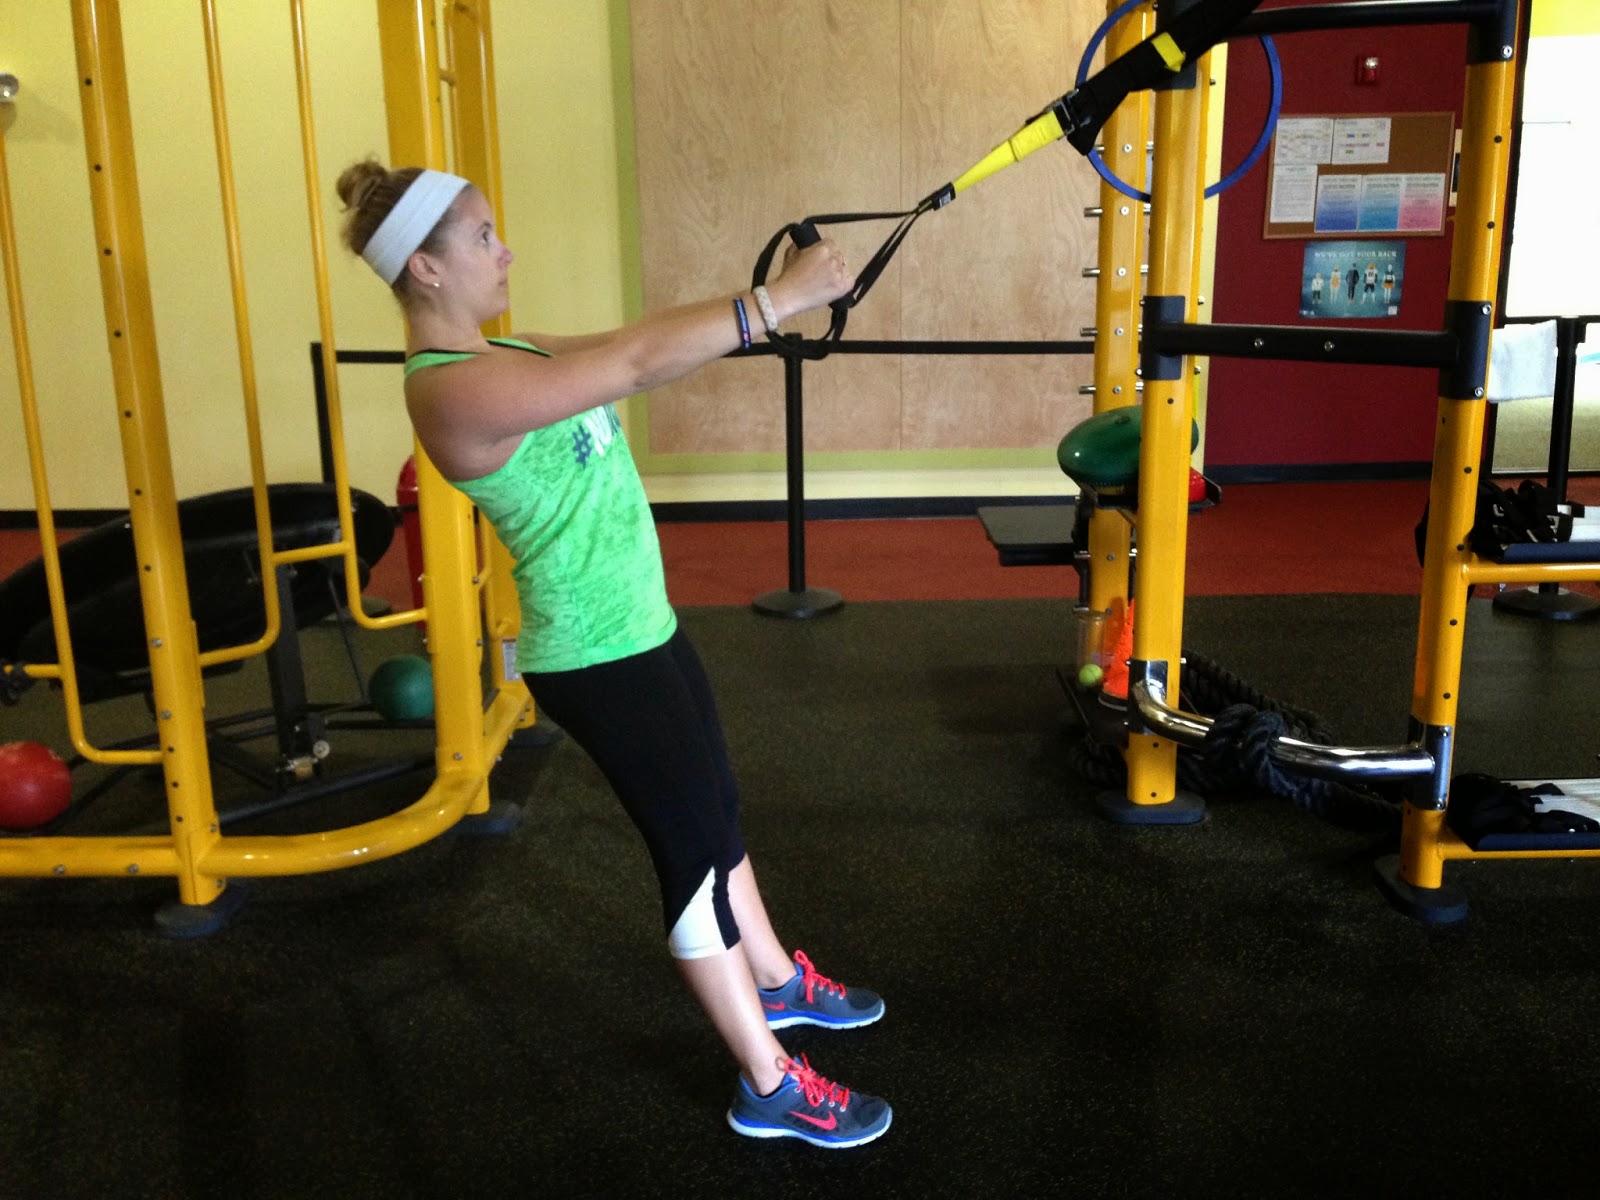
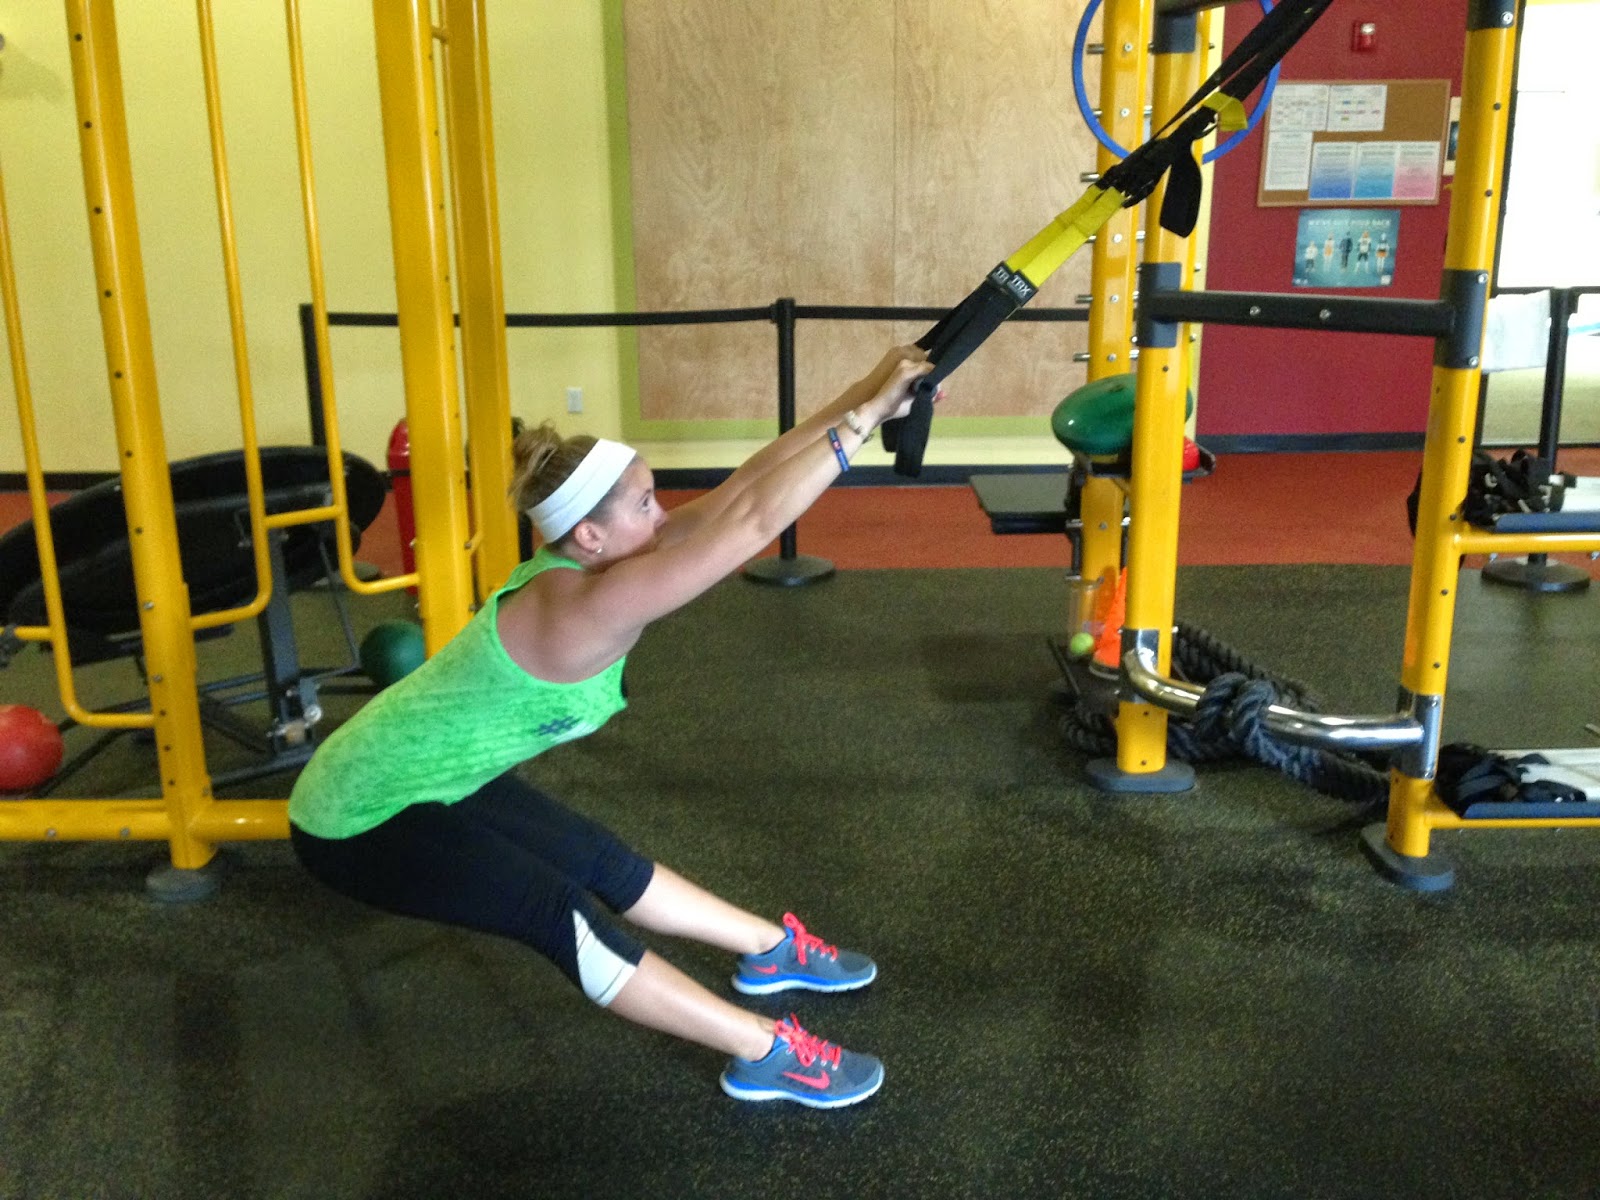
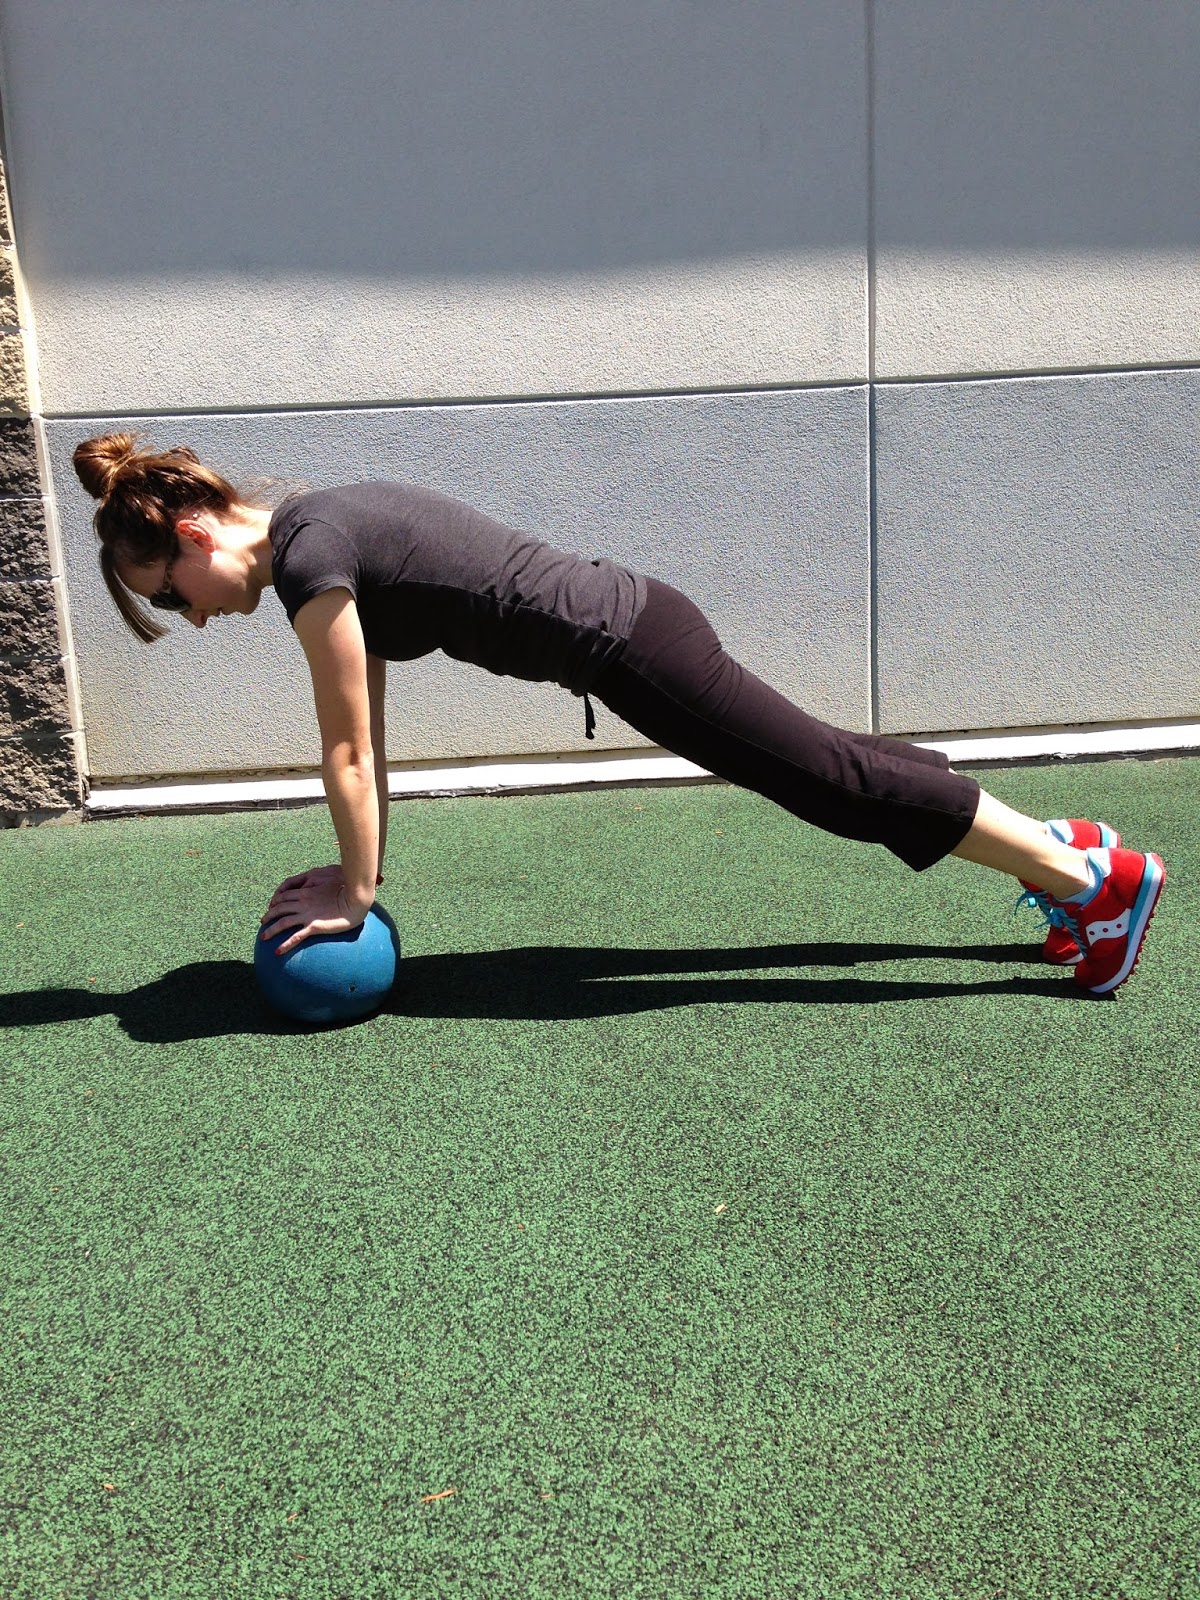
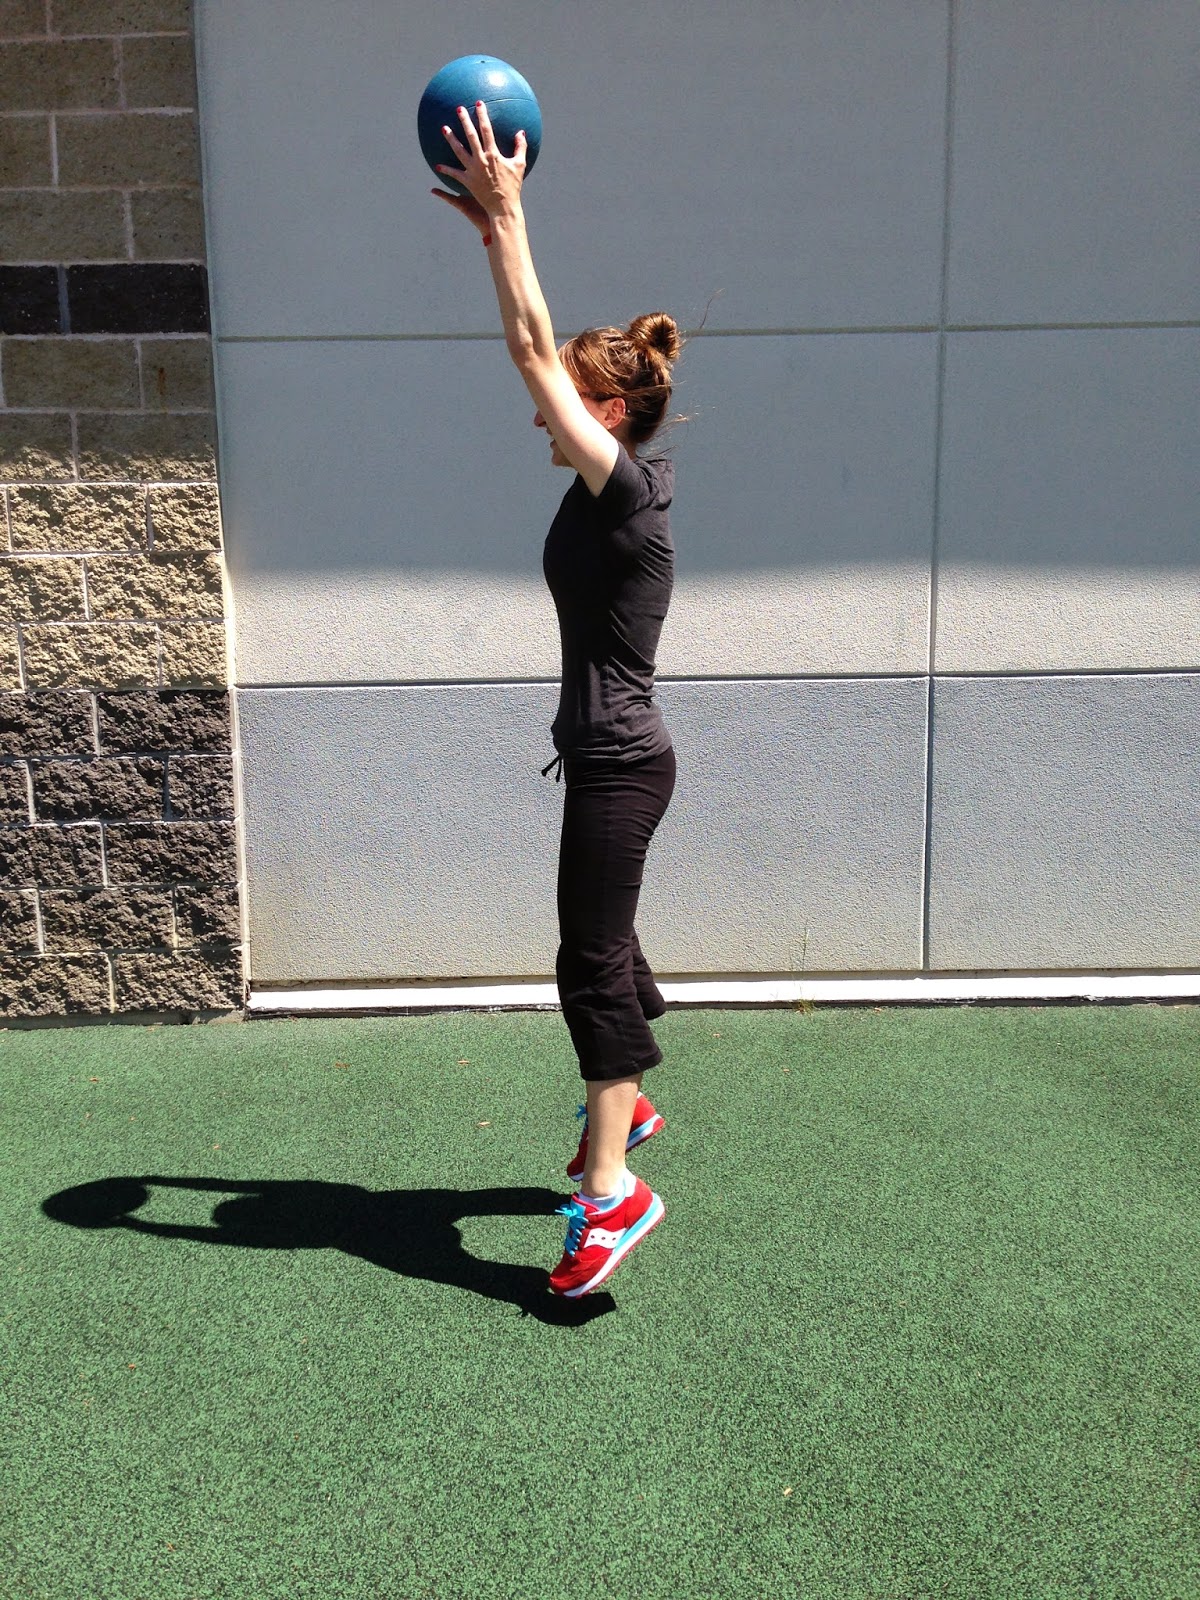
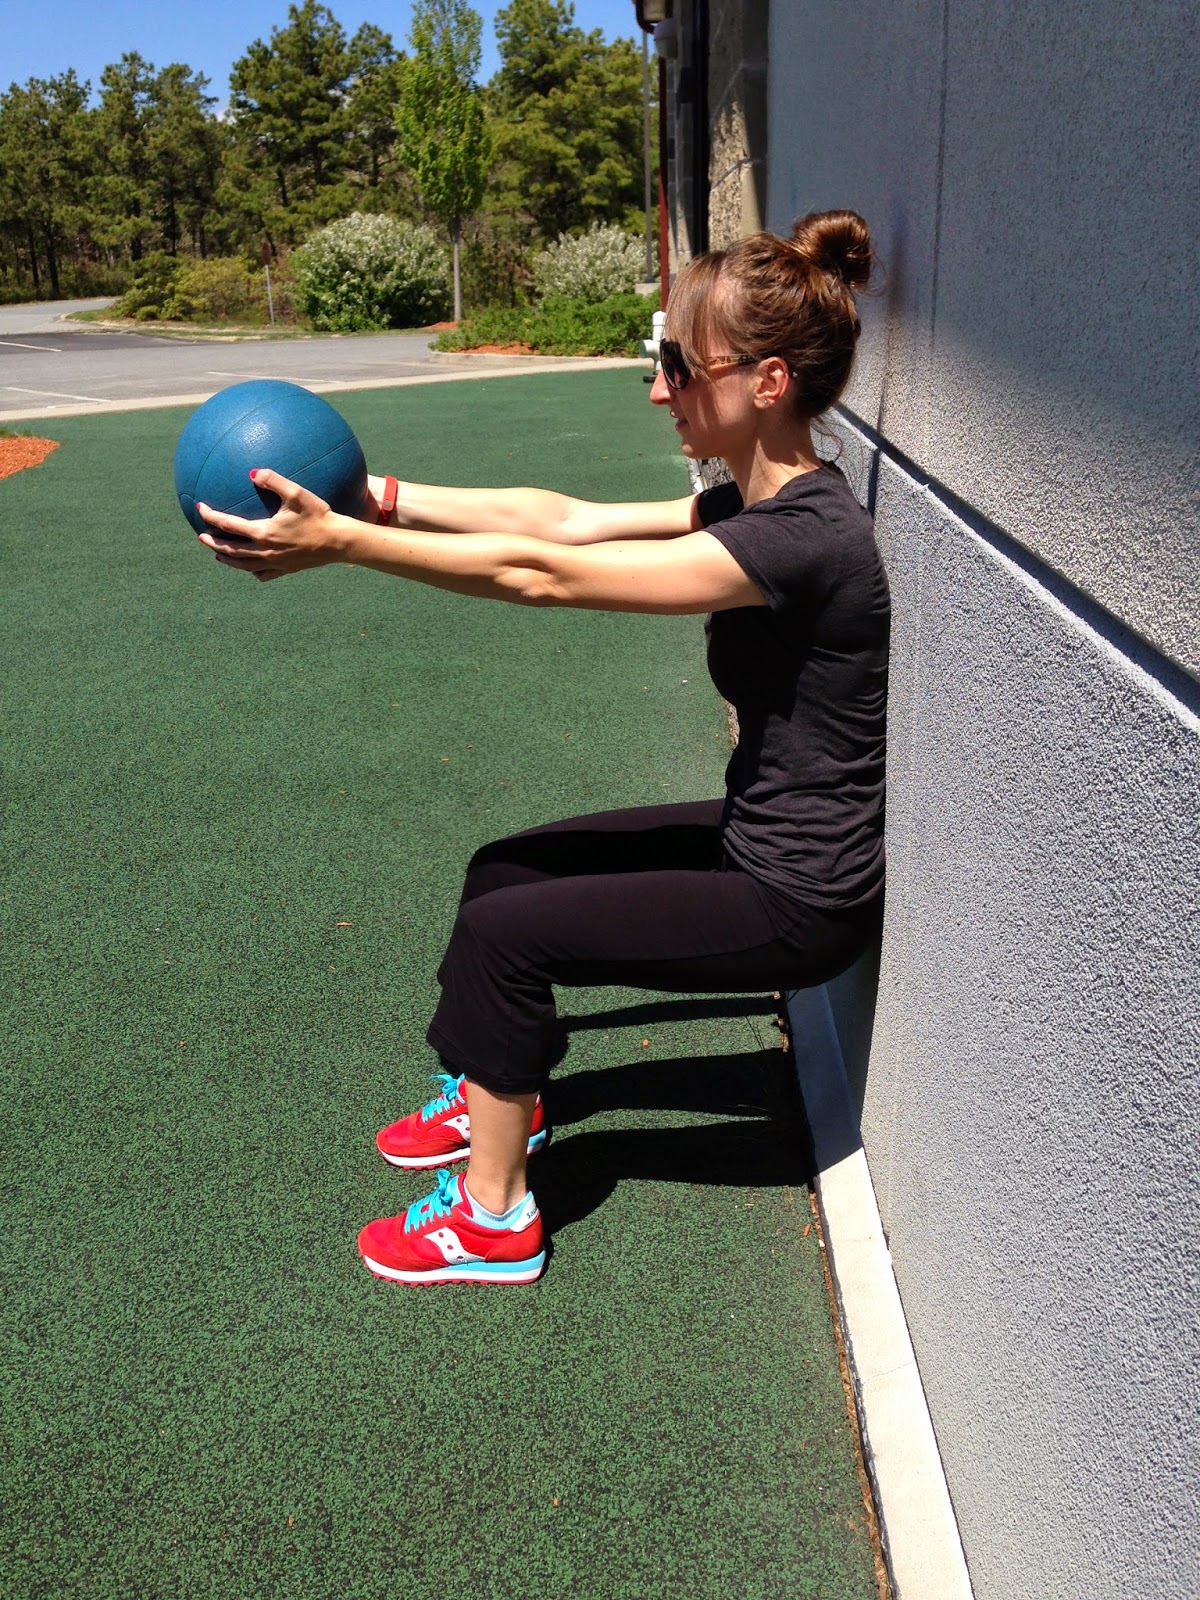
  1. Effective Workouts

A personal trainer can help maximize your time by
providing workouts designed to meet your goals efficiently in the time you
have available.

  1. Injury Rehabilitation

Are injuries and/or accidents preventing you from participating
in your favorite activities?  An
experienced personal trainer can make the road to recovery easier by
recommending exercises that emphasize overall muscular balance to prevent
future injuries.

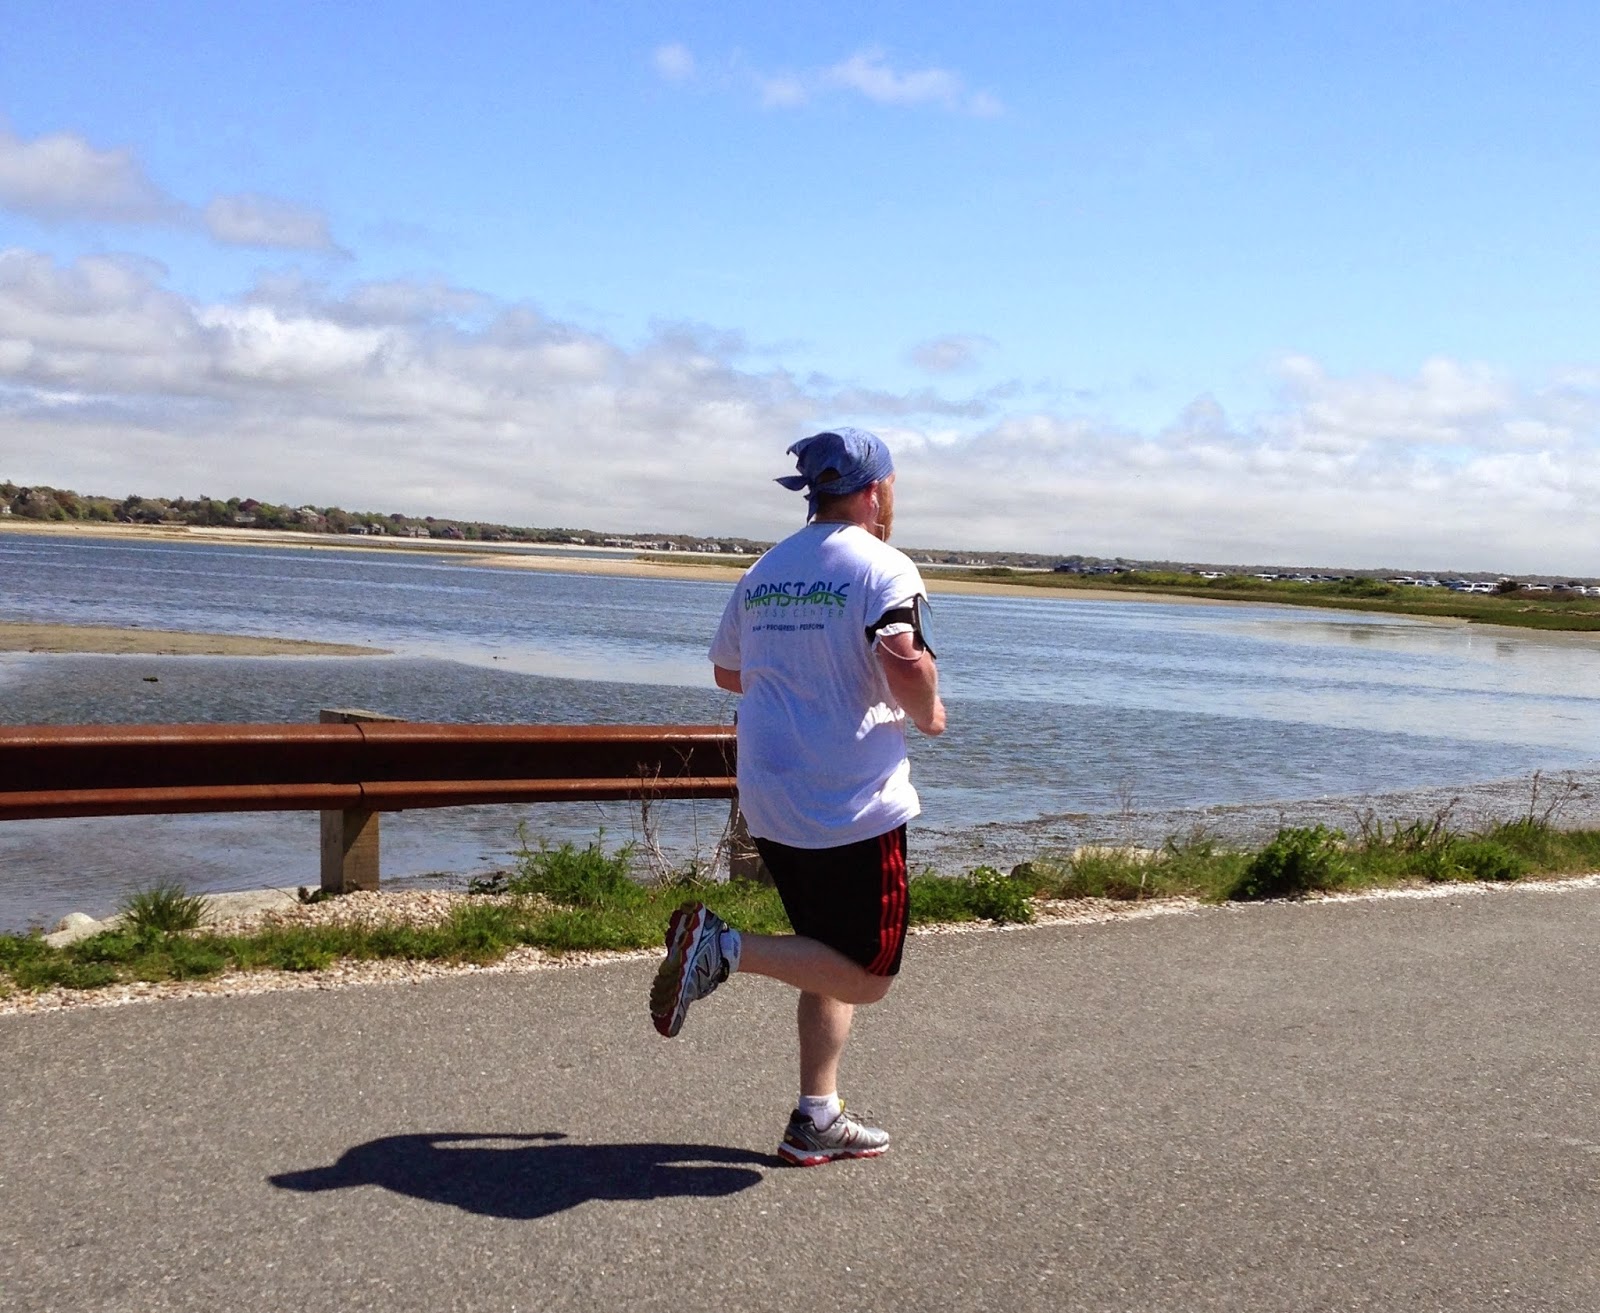
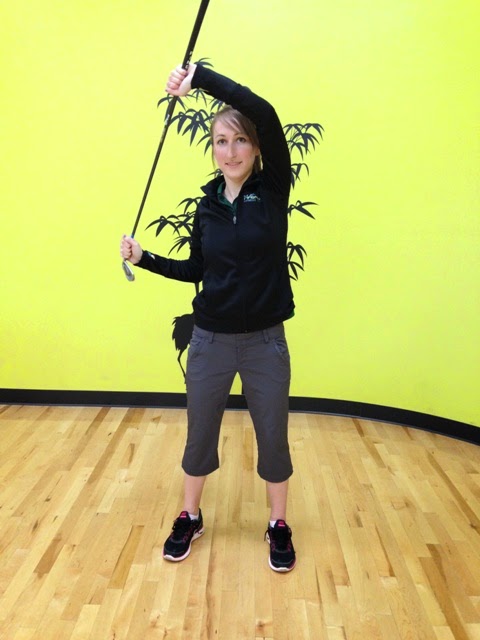
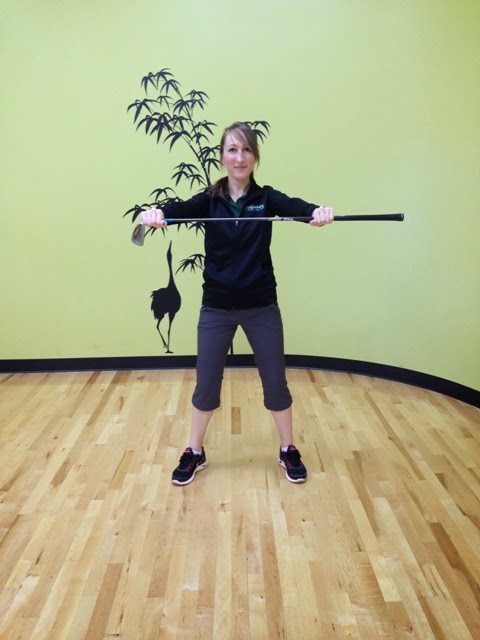
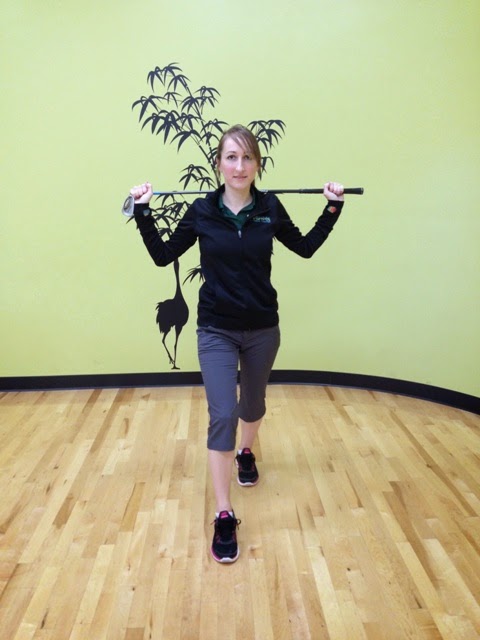
  1. Sports Specific Training  

Many amateur and professional athletes work with personal trainers
during the off season to prepare for inseason competition.  Your trainer can personalize your
program to the sport of your choice.  Time to think about improving that
golf game, tennis, soccer, running a marathon.

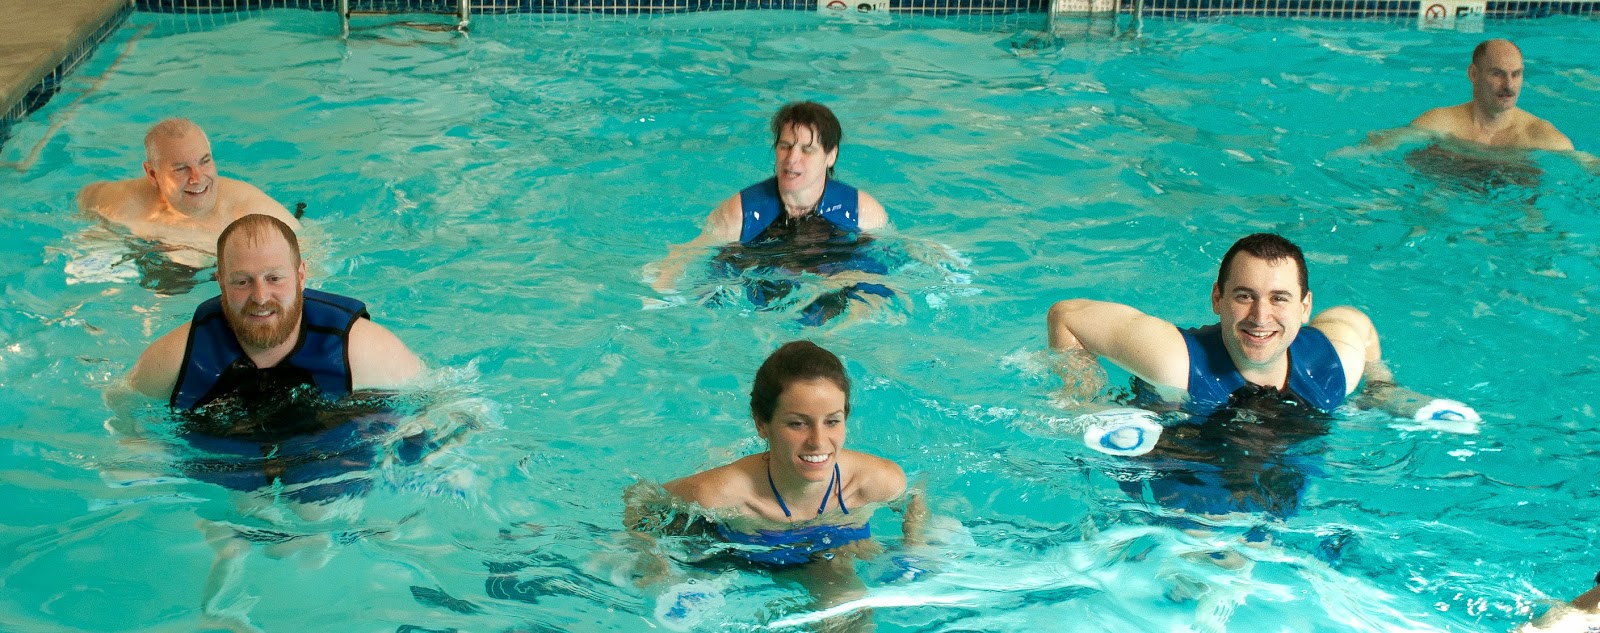
  1. Focus on your unique health concerns  

People with health challenges such as diabetes, asthma, osteoporosis,
heart disease, and arthritis can benefit greatly from regular physical
activity, however exercising with these conditions can be a safety challenge.
Have your trainer design a program that addresses your special needs.

  1. Education

Your trainer is there to teach you the hows and whys of exercise
and help you find out what will work best for you!!
Not seeing
results from that same old workout?  It’s
time for an update!

Blog post by Colleen Britton.

Exercise & Pregnancy: Why it’s beneficial and what you can do


Exercising
during pregnancy can be beneficial in many ways, not only by keeping certain
pregnancy conditions at bay but also by making you feel better about yourself.
Here are some reasons why you shouldn’t put away the gym sneakers just yet.


  • Energy
    Booster- Pregnancy can wipe you out, consuming most of your daily energy to
    complete tasks. Even small bouts of exercise can make you feel energized. With muscles that are
    strong and toned, you need less effort to engage in any activity, whether that
    means grocery shopping or sitting through meetings at the office.  According to the American
    College of Obstetricians and Gynecologists (ACOG), you can safely take part in
    30 minutes or more of moderate exercise every day, as long as you don’t have a
    medical condition or complication that your doctor or midwife has told you
    rules out exercise or limits your activity level.

  • Better Sleep- When you’re carrying an extra 15
    pounds (or more!) in front of you, finding a comfortable sleeping position can
    be a real challenge. But exercise will help you work off any excess energy and
    tire you enough to lull you into a more restful sleep.

  • Reduce Discomfort- Stretching and strengthening can
    better help the body adjust to the normal aches and pains of pregnancy. For
    example: Stretches ease back pain, walking improves your circulation,
    and swimming can strengthen your
    abdominal muscles.

  • Preparation for childbirth- The better shape you’re
    in, the better off you’ll be when you go in to labor. The birthing process
    takes strength, stamina and determination. 
    Exercising while pregnant can ease and shorten the length of delivery.

  • Reduces stress- Having a child is a life changing
    event that brings about so many emotions, experiencing highs and lows. It’s been
    found that exercise boosts levels of serotonin, a brain chemical linked to
    mood, putting you in better spirits.

  • Improving self-image- Staying active helps you feel
    better about yourself and improves your odds of gaining a healthy
    amount of weight
    .

  • Your body after childbirth-When you’ve maintained
    your strength and muscle tone all through your pregnancy, your body will have
    an easier time bouncing back after you give birth. You’ll also gain less
    surplus weight if you exercise during your pregnancy.

Some of the
best exercises to start or stick with are walking, low impact aerobics,
swimming, prenatal yoga and stretching, whether you’re a beginner to the
exercise world or have been active all along.
If you
exercised regularly before getting pregnant and your pregnancy is
uncomplicated, you can most likely continue working out as before. In some
cases it’s not
okay to exercise during pregnancy
, though, so talk to your doctor or midwife about
your fitness routine to make sure your activities don’t put you or your baby at
risk.

Blog post by Farran Jalbert.

Fighting Falls

Falls are a huge public health problem.  1 out of 3 older adults (age 65 or older) fall
every year.
  Over 95% of hip fractures
are caused by falls.
  The good news is most
falls can be prevented.
  Follow these
guidelines.
Exercise:
  • Activities such as walking, water workouts and
    yoga can improve strength, balance, coordination and flexibility.
  • Wear
    proper footwear: properly fitted shoes with non skid soles.
  • Know your
    surroundings:
      Wet leaves, black ice and
    uneven surfaces such as cobblestone walkways can be a fall hazard.
      (BE AWARE!)

What can you do at home to prevent falls?
  • Remove
    electrical cords and phone cords from walk ways.
  • Secure
    loose rugs with double sided tape.
  • Install
    non slip mats in the shower.
  • Turn on
    lights before going up or down stairways.
  • Install a
    grab bar at the bathtub entrance.
  • Do not go
    up or down stairs in stocking feet.

BASIC EXERCISES: For improved balance
and posture the following exercises can be done using a folding chair. Stand
behind the chair holding on with both hands.  Start with a goal of performing 10 repetitions.  Stop the exercise and see a physician if you feel any pain or discomfort.

Squats

Stand with legs shoulder width apart.  Bend knees as if you are sitting in a chair until knees line up with toes and return to start position.

Knee Raises

Stand up straight and alternately bring one knee up to a 90 degree angle.  Return to start position and repeat
with opposite leg.

Heel Raises

Stand flat footed and raise up on toes.  Return to start position.

Hip
Abduction

Begin standing on both legs and slowly raise one leg out to side.

Leg Swings

Stand on one leg.  Swing other leg forward and backward.  Repeat with other leg.

In addition light weight training using
dumbbells can help improve overall body strength which can help you maintain a
correct posture. Overhead press, chest fly, bicep curls, triceps extensions are
some of the effective exercises.
In the recent Fighting Falls class
offered by Mashpee Fitness all four of the participants that took the Berg Balance
test before and after the program showed improvement in basic balance in
the areas of: stand from a sitting position, leaning forward on toes, picking
items up from the floor, standing with feet together, standing on one leg and
stepping up a simulated flight of stairs. 
Balance can be improved.  Are you
ready to start fighting falls?
Blog post
by Alan Harrison.

Foam Rolling

Improving flexibility and joint function is a common goal
for many fitness programs. Flexibility is defined as the mobility within a
joint or groups of joints, directly reflecting the ability of muscle-tendon
structures to elongate. Two ways to improve flexibility are 1) by restoring
length to the tissues surrounding muscles and bones and 2) by releasing fibrous
adhesions that lead to range of motion restriction and restoring health to
tissues. With the improved understanding of human anatomy and physiology we
have come to realize the benefits of self-myofascial release.

There are many modes used to perform self-myofascial release
including deep tissue massage, massage sticks, lacrosse balls, and the mode I
will be addressing the foam roll. Foam rolling has become increasingly popular
in the fitness realm, appealing to clients/patients of all ages and ability.
This piece of equipment is a cylindrical piece of hard-cell foam best used on a
flat surface. By applying pressure to these fibrous adhesions (web-like
connective tissue surrounding human anatomy in response to trauma) we are able
to reduce the level of restriction by restoring muscle length and taking
pressure off of pain sensitive structures (i.e.- nerves, pain receptors). This
in turn allows for a wider range of motion and therefore improved flexibility.
Foam rolling is a particularly attractive option because all
you need is the roller itself. By altering your position on the roller you are
able to adjust the pressure throughout the targeted musculature. The general
instructions for foam rolling are to try and hit all the large muscle groups.
This includes the quadriceps, hamstrings, back muscles, calves, and glutes. It
is advised that you experiment with foam rollers of different densities to find
one that is comfortable for you. A softer foam roll is recommended for
beginners and those with nerve issues or a low tolerance to pressure. As your
body begins to adapt to this process you should increase the density of the
roller.
Foam rolling can be utilized as part of a warm-up because of
the isometric positions you must hold while performing. These isometrics,
similar to a plank position, improve blood flow to musculature and improves
neuromuscular facilitation better preparing you for your workout.
Start by rolling along the entire muscle finding tender
spots. Roll each desired area 5 times per minute (slow and steady pace) and
switch to the next position. As always remember to work within a comfortable
range and ask questions if needed!
For examples of foam rolling view:

Blog post by Evan Healy.

Row, Row, Row Your Boat

Looking for a full body, cardiovascular
workout?  Try indoor rowing.
Rowing has become more and more popular
over the past few years.  It’s a fairly
simple cardiovascular activity using the entire body.  It’s easy to learn and entirely up to you to control the time, distance, and intensity.  Rowing is great for burning calories,
increasing your stamina (through heart rate training!), and strengthening your
muscles.  It’s also a low impact activity
with much less pressure on the joints than walking, running or jumping.  Joints move through a wide range of motion
and when I say the entire body is working, I mean the entire entire body.  With every stroke you are using your calves,
quads, hamstrings, glutes, core, pecs, biceps, triceps, deltoids, lats, and so
on.

Technique is important.

Before you hop on a rowing machine and
start rowing, make sure you learn proper form.  Technique is important to keep you injury
free and more efficient so you can row better and faster.  Some of my clients are worried about straining the
lower back during rowing exercises but if done correctly, power comes from
the legs putting minimal stress on the lower back.

The Rowing Sequence

There are two phases in the rowing
stroke: the recovery phase and the drive phase. 
These two phases can be broken up into 4 positions: Recovery, Catch,
Drive, and Finish.
During the recovery phase, your triceps
work to extend your arms out in front of you and your upper body (abdominals
flexed with back muscles relaxed) is leaning forward at about a 30 degree angle.  Start to bend your knees allowing the seat to
slide forward.  The catch position is
when your shins are vertical and the balls of the feet are in full contact with
the footplate.  To protect your knees,
you never want to compress your legs past that. 
Your arms are still straight with shoulders level.


The drive phase begins with arms
straight and upper body still leaning forward at 30 degrees while beginning to push off the
footplates with your legs.  During
rowing, power is generated in the drive phase with the muscles of your
legs.  Your shoulder muscles are also
contracting during this time.  As you
straighten your legs, lean your upper body back at 30 degrees,
using your core to support your lower back. 
Use your biceps to bring your hands back in a straight line toward your
lower ribs.  Your glutes and hamstrings
are also contracting to extend the hips. 
This brings us to the finish position with legs extended, arms at the
lower ribs, flat wrists, upper body engaged and still at 30 degrees, head
neutral with neck and shoulders relaxed.

Adjust the damper setting

The most common misconception about the
Concept 2 Rower is the damper setting. 
I’ll admit that I even had this all wrong.  On the Concept 2 Rower, the lever is 1-10 on the flywheel.  The damper setting does not
control the level or resistance.  Let me
repeat.  The damper setting does not control
the level or resistance.
The damper setting controls how much air
flows into the flywheel cage.  High
settings will allow more air in which takes more work to spin the
flywheel.  This doesn’t necessarily mean
you will go faster or farther, it just means you will work harder and your
muscles will fatigue quicker.  Lower
settings allow less air flow making it easier to row.
How do you change the resistance?  You pull harder!  It depends on the leg strength and power
behind your push off and how hard you pull using your arms and back muscles.
Start with a setting or 3-5 and
experiment with different settings. 
Typically 3-5 is ideal for aerobic exercise and building endurance.  Higher settings turn your aerobic exercise
into more of a strength workout.

Warm up & start out slow

Before you begin a rowing workout, warm
up for 3-5 minutes.  Start out slow and
gradually increase your time, distance, and intensity.  Getting too ambitious your first few sessions
on the rowing machine will set you up for injury!

Focus on your breathing

Breathing is often overlooked when
exercising.  With each inhale, you are
filling your lungs with fresh oxygen and supplying muscles with nutrient rich
blood whereas each exhale you are flushing out the bad carbon dioxide and
waste.  Holding your breath, breathing too fast or too shallow will have an effect on
your workout.  Our goal during rowing is
deep and relaxed breathing and creating a breathing rhythm related to the
rhythm of each stroke.
Most rowers either take one breaths per
stroke: inhale during recover, exhale during the drive.  Rowers rowing at high intensities may sneak
in a quick second breath per stroke.
See what works best for you and continue
the same breathing pattern throughout your workout.  This will keep your muscles happy with
continuous and regular oxygen supply.

Last but not least—have fun!

Blog post by Jen Skiba.

Race Week Taper Mode

Whether you’re running the beautiful and
prestigious 7-mile Falmouth Road Race course in Falmouth, Massachusetts next
Sunday or preparing for your goal race of the year, race week is a very
important week.

Let me start out by saying – nothing you
do in the week (actually two weeks) before the race will benefit you in terms
of aerobic fitness levels, speed, or strength. 
Your last long run should be 2 weeks out.  One of the hardest things about taper can
be learning to trust your training.  However, cramming in an extra long run or logging
mega miles will only lead to tired and heavy legs or even worse… over training
and injuries!  You have done all the hard
work (hopefully!), now is the time to let your body rest up and prepare for the
big day.
I am a big believer in training
plans.  There are a million to choose
from but the right training plan, if followed, can set you up for a great
race.  Sure there are things that we
cannot control—like the weather—but doing all the little things that we CAN
control make all the difference in the world.
If the race is on Sunday, run like your normally would Monday-Thursday with a day or two off. 
Nothing crazy fast or out of the ordinary.  Try 4-6 strides at the end of your run to
work on turnover.  Take Friday completely
off as a rest day and use Saturday as a “shake out run” or an easy, easy 20-30 minutes
max before you tear it up on Sunday.
If the race is early, practice running
early.  Set your alarm to get out the
door before work.  Your body’s energy
levels fluctuate throughout the day depending on your sleep, stress, and
nutrition.  If you always run in the
morning and you’ve signed up for a night race, make sure to get in a few night
runs to see how your body reacts and give it time to adjust.
Eat smart and stick to your regular
diet.  Don’t try anything new—especially
race morning and the night before the race. 
Avoid spicy foods, seafood or anything with heavy cream that may upset your
stomach.  During your training, you
should have been practicing race nutrition. 
The week of the race isn’t the time to experiment with new gels or different
pre-run meals.  If you’re running a
destination race, call the hotel ahead of time to see what they offer for
breakfast.  If not, bring your own meals
or stop by the local grocery store when you get to your destination.
Get some sleep!!  And I’m not just talking about the night
before.  Try to get to bed a little
earlier every night the week of the race. 
Your body will thank you.
Drive the course.  Some runners like to drive the course
beforehand, others do not.  Knowing the
route can be beneficial if you are in new running territory and are nervous
about the event.  You can scope out the finish line and all
the hills to mentally prepare yourself for what’s to come.
Develop your race day strategy.  Have a plan for how you will tackle the
run.  Do you have a goal time in
mind?  Do you usually go out too
fast?  Are you too conservative so you
always feel like you could have done better? 
Almost as important as having a strategy is being able to adapt.  What if something goes wrong?  How will you recoup and finish the race?  Maybe you’re having a bad day but never give
up.  Take a look around at all the
runners, volunteers, and race supporters. 
Everyone out there on the course has their own story to tell about their
training and struggles.  Appreciate the
run and learn from your experiences. 
There is always another race to redeem yourself.
Lay everything out the night
before.  Pick out (and try on) your race
day outfit.  Even better–wear your race
day outfit for a run.  Don’t wear new
sneakers the day of the race.  Make a
checklist of everything you will need: bib number, pins, socks, sneakers, watch,
Gu, Body Glide, etc.  Plan your
breakfast.  Set your alarm early enough
that you aren’t rushed.  Expect traffic.  Add in extra time because you know you will
want to wait in a porta potty line and a dynamic warm up before the start.
Try all these race week taper tips and
you’ll be arriving at the start line with fresh legs ready to rock a personal best!  Good luck!
Blog post by Jen Skiba.

4 Ways to Ease Sore Hamstrings

1
Massage your hamstrings.
Use
a foam roll or massage stick to loosen knots in your muscles.

2
Mix up your routine.
Try
cross training in the pool. A little variation gives your body a break from
always doing the same thing and putting stress on the same areas.

3
Adjust your training volume
every third week. 
If you’re a runner, cut your mileage by a third to a half to
give your body time to recover. You can still train just as hard.

4
Strengthen your
glutes!
 
If your glutes are weak, your hamstrings
will have to work overtime to pick up the slack. One idea: Include mini band
walks in your workout to strengthen your glutes. Just make sure you’re feeling
it in your glutes and not your hamstrings.

Blog post by Farran Jalbert.

Improper Training of the Abdominals

The majority of individuals that
participate in exercise programs usually train their abdominal muscles.
Different people have different reasons as to why they like to train
abdominals. Some want that defined 6-pack, others may want to lose weight
around the torso, and athletes train the core to improve their game. 


The core
is a big part of every movement we make.

Most individuals think that the core
refers to only abdominal muscles. In all actuality the core is a functional
unit composed of the abdominal and lower back muscles. These two groups are
connected by the transverse abdominals and internal obliques. The muscle groups
help keep the torso stable during all body motions. Failure to train these
muscles properly can change the way the body functions.
There are two parts of the abdominals;
the inner unit and the outer unit. The inner unit deals more with keeping the
trunk stable, while the outer unit is involved in movement patterns. In my next blog post I will go more in depth about these two units. Abdominals are broken
down into three sections; upper, lower, and obliques. All three should be
trained equally so no imbalances occur within the body. This is where the
majority of individuals go wrong with their training. People are always in the
gym doing sit-up after sit-up. Sit-ups / crunches are great exercises, but too
much of them changes the body. Normal posture alignment is an imaginary line
that travels through the cheek bone, sternum, and pubic symphysics. When an
individual performs many sessions of sit-up / crunch exercises they actually
begin to create a forward head posture. Over a long period of time this type of
training will pull the chest downward. This downward pull causes an increased
first rib angle. The reason this happens is because those exercises shorten the
rectus abdominis which causes the pull. Not only does this chronic training
pull the chest forward, but it can also be associated with shoulder dysfunction
and impingement of the nerves that feed the arms from the cervical spine. If
that wasn’t enough, a lot of people who chronically perform sit-up / crunch
exercises usually complain of back problems. If you experience lower back pain
when performing sit-ups / crunches, stop those exercise completely and switch
to lower abdominals and transverse abdominal exercises (leg lifts, flutter
kicks, reverse crunch, and 4 point stance). It has been proven that individuals
with lower back pain performing lower and transverse abdominal exercises had a
decrease in their pain levels.
This post is not about bashing sit-up /
crunch exercises and saying they are bad for you. It is more about bringing
awareness that abdominals need to be trained properly so the body can function
properly. When working the abdominal muscles, the order in which they should be
trained is lower, obliques, then upper (lower= leg lifts, obliques= russian
twists, upper= sit-ups). All three groups should not be trained every day.
Training all groups everyday can lead to strains, poor posture, and increased
workload on accessory respiratory muscles. If you are going to train abdominals
everyday then make sure you only train one region per day! 


Also, abdominals
should ALWAYS be trained last! Failure to wait till the end of the workout will
fatigue the abdominals when they are needed for more complex exercises. This
can lead to injury.
Stay tuned for my next blog post where I will go
more in depth about the inner and outer units. I will also give exercise
examples of how to train each unit properly.
Blog post by Cam Bergeron CSCS.

Functional Training

The importance of maintaining a degree of functional fitness
is a main determinant in reducing and preventing injury. Integrating functional
training into a client’s exercise prescription will improve aspects of
coordination and synergism of multiple muscle groups. By intentionally
recruiting muscles simultaneously through various planes the client should
experience an enhanced sense of proprioception, balance, and overall strength.
Smooth, integrated movements are the basis to all activity,
ranging from every day tasks to athletic competition. Implementing functional
training will make the performance of everyday activities easier, safer, and
more efficient.
Seeing as the body is considered a ‘kinetic-chain’ we can
assume that the significance of the core is of massive importance. The core
connects and coordinates movements between the upper and lower body. A great
exercise for improving core stability are the variants of the cable pallof
press as shown below. This movement again, requires core and anti-rotational
strength while recruiting lower body muscles to maintain solid form. The beauty
of an exercise like this is that it is easily modifiable and can be performed
utilizing a variety of modes including but not limited to resistance bands and
cables as well as many positions including a standing, kneeling, squat or split
stance lunge position.

The following pictures show examples of the standing
press, split stance press, and sustained squat press.

The starting position for each exercise is with hands
interlocked and close to the chest, and knees bent in an athletic position. By
pressing straight forward you will reach the end position with the arms fully
extended. Return back to the chest to complete the repetition.

Standing Pallof Press

Split Stance Pallof Press

Sustained Squat Pallof Press

As with all exercise begin with appropriate repetition and
weight ranges while progressing in a proper manner. Start with 2 sets of 10
repetitions on each side. Enjoy the different variations and have fun!
Blog post by Evan Healy.

Safety Tips for Exercising in the Heat

Summer has just begun and temperatures are rising. Exercising in
hot weather puts extra stress on your body. It is important to use precautions
to prevent heat-related illnesses:
  • Stay hydrated! Drink plenty of water!
    Dehydration is a key factor in heat illness. To help your body sweat and cool
    down, you need to be hydrated. 
    • Rule of Thumb: Do not wait until you’re thirsty to drink fluids. 
    • If you plan to
      exercise intensely, consider a sports drink to replace the sodium, chloride and
      potassium you lose through sweating.
  • Watch the weather. Pay attention to the
    forecasts and heat alerts. Know what the temperature is expected to be for the
    duration of your planned outdoor activity.
  • Get acclimated. If you’re use to
    exercising indoors or in cooler weather, take it easy at first when you
    exercise in the heat so your body can adapt. This takes about two weeks for
    your body to adapt to exercising in the heat.
  • Dress appropriately. Lightweight,
    loose-fitting clothing helps sweat evaporate and keeps you cooler. Avoid dark
    colors, which can absorb heat.
  • Avoid midday sun. Exercise in the
    morning or evening, when it is likely to be cooler outdoors.
  • Wear sunscreen. A sunburn decreases
    your body’s ability to cool itself.

Following these simple tips can
decrease your risk of developing a heat related illness!


Blog Post by Summer 2014 Intern Ashley LeBlanc.

Gym Etiquette

Ahh yes, the gym! 
It’s
a place to go to burn off steam, get your frustrations out, and focus on YOU. 

When you’re there you feel like it’s all yours, you own it and you get in the zone but we all have to remember the
place we love so much is a shared space. There are written and unwritten rules
to gym etiquette. Following these guidelines means a more enjoyable experience
for everyone. So let’s do our best to remember the rules.

Equipment and space
is shared.

If the gym is quite
and space is available, feel free to circuit train all you want. If the gym is
busy, be prepared to share and let other people use equipment as well.

Clean up after
yourself.

Remove weights from
bars when done. Put equipment back where you found it and wipe down your space.
Be considerate of other members and help keep a clean and safe environment to
workout. Putting things where they belong will make it easier for all to find
next time.

Minimize cell phone
use.

Stay focused and
goal oriented. Be present in your workout. Don’t let your cell phone distract
you and others from a successful workout. 
If you must take a call, please do so in the designated cell phone
areas.

Take care of the equipment.

We all want a gym
with nice, functioning equipment so remember to not toss weights around, rest
dumbbells on upholstery, or damage things in other ways. If you do find machines
or equipment that is broken or damaged, please notify staff so it can be fixed
in a timely manner.

Be courteous and
help out new members.

Remember that we
were all a beginner in a gym at some point. Be courteous to others, offer help
if needed. Reaching out to others creates a positive and comfortable environment.
Don’t be afraid to seek out a trainer or staff member to assist with questions
or schedule a personal training session for more one-on-one attention.

Use locker room etiquette.

Some people are completely
comfortable with their body and don’t mind walking about in the nude. However,
everyone may not feel this way so covering up with your towel on the way to the
shower might not be a bad idea.

Wear appropriate clothing
and footwear.

Going to the gym is
not a fashion or talent show. Appropriate clothing with sufficient coverage is
ideal. Safe and clean sneakers are a good idea as well.

Say no to perfume/cologne.

When you’re at the
gym working hard, the last thing you want to do is inhale someone’s
overwhelming perfume. Some members are overly sensitive and even allergic to fragrances and have to end their workout early.  Please avoid the spray before hitting the fitness
center and especially do not spray perfume in the locker rooms.

If you’re sick, take
a day off!

Allergies, the flu,
bronchitis or whatever it may be, stay home if you’re sneezing, coughing and
spreading germs all over. People take germs and their gym equipment seriously.
Blog post by Farran Jalbert.

Flexibility Training on the TRX

Flexibility can and should be
trained as part of your routine, just like training for strength, speed, or
power. The American College of Sports Medicine just released new guidelines for
flexibility exercise.
            “Flexibility
Exercise
Adults should do flexibility
exercises at least two or three days each week to improve range of motion.
Each stretch should be held for
10-30 seconds to the point of tightness or slight discomfort.
Repeat each stretch two to four
times, accumulating 60 seconds per stretch.
Static, dynamic, ballistic and PNF
stretches are all effective.
Flexibility exercise is most
effective when the muscle is warm. Try light aerobic activity or a hot bath to
warm the muscles before stretching.”
But why stretch with the TRX
straps? Because there is nothing this simple piece of equipment can’t do! That
is why!
•    The TRX will act as a “partner” allowing you to try out the PNF style of
stretching. There is where you contact and relax your muscle to allow for a greater stretch.
•   
It
will help assist you into greater ranges of motion, deepening your stretch.
•   
You
can stretch multiple areas with one exercise. Who does’t love to
multitask! 
Stretching on the TRX as part of a
flexibility program can help to diminish many of the aches and pains you
experience after a tough workout or sitting at a desk (or on the couch) all
day. Building greater flexibility also:
•   
Improves circulation
•   
Improves
range of motion
•   
Improves posture
•   
Decreases
joint stiffness
•   
Decreases
muscle tension
•   
Promotes
awareness of body in space
•   
Facilitates
relaxation
Don’t just leave the gym after your
workout.  Grab the TRX straps and do a quick stretching routine while your muscle are
warm. Or even plan an active recovery day to do a 20-30 minute stretching
routine!
Here are 5 stretches you can do
with the TRX. There are a ton more, so ask a trainer if you need help
stretching in a particular area!
  

Hamstrings

Lower the straps all the ways
down and covert to single arm mode. Sitting on the ground, place one heel into
the straps. Keeping your back and legs straight slowing walk yourself forward
away from the anchor until you feel a stretch in the back of your leg.


Hip Flexors

Raise the straps so they hang
around knee height. With your back to the straps, place one foot into the loop.
Your knee should comfortably rest on the ground. Lunge out to 90 with the free
foot and press forward through the hips to hold the stretch.

Calves

Don’t forget your calf is made
up of two muscles and both need to stretched! With the straps still in single
arm mode, stand up and place one heel into the loop and straighten out your
leg. Pull back on the strap until you feel a stretch through the upper part of
your calf. To target the lower portion of you calf, bend your knee while still
pulling back on the strap.

Chest

Revert straps back to double arm
mode. Grab a hold of each strap and walk away from the anchor. As you get
further away, let you arms stretch out to the side until the are in line with
your shoulders. Step out with one foot and lunge your body forward while
keeping your chest up.

Back

Holding onto the straps, slightly lean
back with arms extended and shoulder blades engaged (think like you
are trying to squeeze them down and together). This is the starting position.
Slowly let your shoulder blades relax. As a result your arms will be pulled forward by the
straps. Keeping your body in a straight line, round your upper and
hold the stretch. To target your lats, hinge at the hip letting your back
flatten out and rotate to one side then the other. 

Blog post by Catie Furbush CSCS.

Make Cardiovascular Training Fun with Intervals

I will preface this blog by saying I am NOT a runner…in fact I dislike all things cardio. At least cardio in the traditional sense. Cardio is boring. Run for more then 12 minutes and I am done.
Okay, with that being said, cardiovascular training is very important and should be incorporated into your exercise routines. If you can go for a long run or hit the elliptical for 30+ minutes, good for you! But for those of us with shorter attention spans, how do we keep it interesting?
And the answer to that is….INTERVAL TRAINING!
So what is Interval Training?
Interval training is a type of training that incorporates high-intensity bouts of work followed by lower intensity bouts of work, or rest, that is repeated for a specific number of repetitions depending on the fitness level of the individual.
How do I incorporate it?
Interval training can be performed on multiple pieces of cardiovascular equipment or outside on the track; the possibilities are endless. Once you can complete 20-30 min of continuous exercise, start by incorporating 1-2 min of more intense exercise, followed by 1-4 min of recovery time.
Hop on a treadmill warm up with 5 minutes of walking or light jogging; do the same for a cool down. Try 5 sets of 3 minutes running followed by 3 minutes of walking or jogging.
You can do the same on a stationary bike. Make sure you warm up then try 8 sets of 1 minute intense sprints followed by 1 minute of light cycling.
Feel like running outside? Not a problem. Head to the high school track, do a quick dynamic warm up followed by 10 sets of 50 yard sprints then walk 50 yards to recover. When running outside, I find that using telephone poles is a good way to monitor intervals. Jog to a telephone pole sprint to the next and before I know it, I just ran 2 miles!
Repetitions and work-to-rest ratios should be modified to meet your fitness level and needs. If you are just starting out, instead of using a 1:1 work:rest ratio, a 1:3 or 1:4 may be better, until you have achieved a higher level of fitness. Or on the flip side if you really want a challenge try a 2:1 or 3:1 ratio.

**Although, there are many benefits with interval training, caution should be used before incorporating it into a training program. Due to high intensity, near maximal training loads, individuals should have a solid foundation of cardiovascular fitness before adding it to their program.**


Blog post by Catie Furbush CSCS.

Combating your Desk Job Slouch

There’s
no question that the human body is designed to move, but with the rise in desk
jobs, we spend more time sitting than moving. And with that, we come across a
number of problems: lower metabolisms, low back pain, tight hip flexors,
slouching posture, and weak cores among them.
Combat
some of the work-related issues in the gym with these moves:

Hunching over your desk/keyboard

This is a huge
cause for much of the stress we hold in our shoulders and the poor posture we
experience. 

IYTWs over a ball:
You can do these with low weight or no weight, with or without a hold, and with
your palms in a number of positions to challenge your muscles. The key is to
pinch your shoulder blades and draw them down your back as you lift your arms
through the patterns.  This activates the rhomboids rather than the trapezius
(which is already well developed in tense shoulders!). Try one to two sets of
ten to start and notice how much straighter you stand up after! 

D1/D2 with a band:
These are diagonal patterns that work the shoulders and back complex and can
be done in a number of different directions. Stand with the band in your right
hand and under your right foot. Bring your hand across your body in a diagonal
pattern up towards your left shoulder and return it back to your right side.
This is a D1 pattern. You can also do it in reverse, with the band attached up
high by your left shoulder and in your right hand, and drawing
it down across your body. Sometimes we call these “Wolverines”
because it’s just like how Hugh Jackman whipped his claws out.


For
D2 patterns, stand with the band under your left foot and in your right hand,
with your hand by your left pocket. Draw it up across your body diagonally as
though you’re unsheathing a sword and then return it across your body to your
pocket. Again, you can do this move in reverse, attaching the band up high and
drawing it low. 


Rowing with a band:
For this, hold two ends of a band
that is wrapped around a pole in each hand, pinch your shoulder blades down and
back, and draw your elbows towards the wall behind you while keeping your
forearms parallel with the floor. 


Stretch it out:
Try a prayer stretch (also called child’s pose in yoga) to stretch out your
shoulders and back. Start in a table-top position (on hands and knees, with
your hands directly under your shoulders and knees directly under your hips)
and sit back on your heels. If needed, you can walk your hands out a bit more
in front of you once you’re seated back. You can also try this with a rotation,
where you start with your hands off to one side, and then sit back. You’ll feel
it more along one side. 


You can also try an upper trap stretch. While standing up straight and looking
straight ahead, bring one ear towards your shoulder, then to the other side. To
increase the stretch, push the heel of your hand down towards the ground on the
side opposite the ear (so if you’re dropping your left ear to your left
shoulder, push your right hand towards the ground).

A good stretch to loosen up your chest and shoulders is the doorway stretch.
Stand in a doorway with your arms bent and step into it. You can change the
angle on this one, depending on which fibers are tightest.  

Tight Hip Flexors/Low Back Pain

A little while back, Drew
wrote a great article on stretching out hip flexors that become tight from
being in a shortened position (as they are when we’re sitting). Check it out here.

Core


I’m sure you’ll love me for saying this, but planks are some of the best
exercises to strengthen the entire core. There are a TON of ways to do them to
keep them interesting and fun (go ahead, ask me sometime!) but the best way to
start? Try modified planks. These are just like regular planks, but your knees
are on the ground instead of your feet, shortening the work load and allowing
you to really focus on your form. When you get comfortable with those, you can
progress to regular planks and side planks and increase your time! Just make
sure you keep that form perfect.


Blog post by Ashley Crosby.

Take Your Workout to the Turf

With the past winter being so
terrible, I try to spend every second in the sun as I possibly can.
One way is by moving my lunch time workout (or at least part of
it) outside. 
Working out is just more fun when
you go outside, especially when you work inside all day. I like to think of it
as my adult recess!
Obviously you can’t take the
machines outside with you, but there are a ton of exercises that require just a
medicine ball, free weights, or your own body weight that are just as
challenging and beneficial as using a weight machine. Changing up the scenery during you work out will help to keep it interesting
and make sure you stay motivated to work hard!!
Here are some of my favorites to
do outside…

Walking Lunges with Rotation


Holding a med ball with arms out
in front, lunge forward with left leg, rotate torso to the left. Drive off the
left leg and immediately lunge forward with the right. Remember to keep your
core engaged and torso upright when lunging. These can be done going forwards
and backwards across the turf.

Wall Balls


Standing in front of the wall with
a med ball in your hand, squat down as low as you can go, drive through the
legs and stand up out of your squat while throwing the med ball up towards the
wall as high as you can. As you catch the med ball, squat back down and repeat.

Med Ball Burpees


Standing with a med ball, squat
down placing med all on the ground with hands placed on either side of the
ball. Jump feet back into a plank position. Perform a push up on the med ball.
Quickly jump feet back towards the ball. Explode through your legs jumping up
while lifting (or throwing) the med ball straight overhead.

Wall Sits with Rotation and Alt. Heel Raise


Sit with back against the wall and
knees at 90 degrees. Slightly lean your torso forward, so your back is free to
rotate from side to side. Holding the med ball out in
front, rotate torso side to side trying to touch the ball to the wall each
time. As you rotate to the left lift your right heel up off the ground. Repeat
on the right side, lifting your left heel.

Mountain Climbers on the Wall


Start in a plank position with hands under shoulders and feet in line with hips and pressed into wall. Pull
the right knee toward chest, and then return foot to wall. Repeat immediately
on left side. Continue, quickly alternating legs. 

Blog post by Catie Furbush CSCS.

Just because you’re inflexible, doesn’t mean you have to be

Did you know that
flexibility is an entirely trainable quality? 
Sure, we get a little more
inflexible over the years (a process called fibrosis, where thick connective
tissue takes the place of some of our more pliable fibers that are getting worn
out), but it doesn’t prevent us from staying flexible. In fact, the most common
reason for inflexibility is not age, or genetics, or gender, but DISUSE. It’s
exactly because we DON’T stretch that we become so stiff. 
No, I’m not going to tell
you that to be flexible you absolutely have to start doing yoga, although you
might really enjoy the practice. But it’s been shown in studies that including
a stretching program twice a week for five weeks can improve your flexibility
over time. 
You can elect to do a dynamic stretching program–ask any of us
for some Burdenko moves, for instance–where you move through the stretches.
Dynamic stretches are great for athletes who are getting ready for practice or
competition, as they mimic the exercise movements they’ll perform during their
game and really get the body thinking about what it’s about to
encounter. 

You can also do static stretching, where you slowly make your way
into the stretch and then hold the end position for 30 seconds or so. The key
is to find a point in the stretch that’s just a little uncomfortable, but
doesn’t hurt–and where you definitely aren’t shaking. You trigger your stretch
reflex when you stretch TOO far, which can actually make you TIGHTER (it’s a
defense mechanism for your muscles, to avoid being ripped by being stretched
too far). Also, avoid bouncing into the stretch–while this (known as ballistic
stretching) isn’t technically as bad for you as previously thought when done correctly,
the risk for injury is much higher, and really not worth the “reward”
when static and dynamic stretching offer better options. 

Example of Static Stretching
One of the key things to remember is to warm up before you stretch. Warming up
is important in ANY of your activities, as it gets you ready for your workout
by increasing your body temperature, getting the blood to flow through your
body a little more, and improves viscosity in your joints (in other words, gets
the synovial fluids that keep your joints lubricated to move better so your
joints move better–more like oil than maple syrup), among a number of other
things. A general warm-up for five to ten minutes is perfect–a quick walk on
the treadmill (or around the block, or at the beach), a few minutes on a
bike–just enough to break a sweat.
Then, you can go through
and do a number of stretches as an “active recovery” day, or you can
continue on with your workout and stretch for 5-10 minutes afterward. 

Blog post by Ashley Crosby.

The Importance of an Active Rest Day

Just because you are taking a day off from the gym, doesn’t
mean you should take a day off from being active!


Giving your body a break between intense workouts is
essential to help your muscles recover, avoid overtraining and reduce the risk
of injury but don’t make the mistake of thinking your days off can be spent
sitting on the couch all day watching trashy TV—which can be a very tempting
option.
Your rest day should be spent doing some sort of light physical
activity that will stimulate recovery without placing any undue stress on your
body. Summer is just around the corner and as the weather is starting to
warm up, make the most of your days off. Go outside, get moving, and have fun.
Take a bike ride along the canal, a walk on the beach, or
explore one of the many nature trails the Cape
has to offer. Organize a pick up game of softball going with friends and
family, just as long as the intensity stays relatively low and you don’t get
too competitive! Paddle boarding, kayaking, yoga, golf, hiking, swimming, doing
a light body weight workout or easy jog…the list is endless.

As long as you stay active, you will feel better and
maximize the progress you are making in the gym!

Blog post by Catie Furbush CSCS.

Dynamic Golf Warm Up

Do you warm up before playing golf?  

A good warm up is important for preventing injuries and preparing your body to perform. Next time you head out to the course, try these sport-specific, dynamic stretches. Warm up by walking for 3-5 minutes.
Perform 10 repetitions of each exercise. Gradually move through greater range
of motion. Do not perform any exercise that causes or increases pain.

Crossover Pass

Hold your golf club in one
hand and extend your arm to the side. Pass the club over your head to the other
hand. Extend the other arm. Follow the exchange with your head.

Side Bending

Hold your golf club in
both hands over your head.  Bend to one
side. Return to original position. Bend to the other side.

Front Bending

Stand with your golf clubs
behind your back in both hands with your arms shoulder width apart. Bend
forward and lift your arms over your back.

Around the Body

Hold your golf club in
both hands as wide as possible. Rotate the club around your head clockwise. Repeat
counterclockwise.

Hip Rotation

Hold the club upside down
with the grip end planted firmly on the ground. Stabilize your upper body and rotate
your hips. (Remember: We want rotary motion, not lateral!)

Squat and Twist

Hold your golf club in
both hands and extend your arms straight in front of your body. Squat and turn
your hands so that your right hand is on top and left hand is on bottom. Return
to standing. Repeat with the left hand on top.


Golf Swing Twist

Hold your golf club in
both hands and extend your arms straight in front of your body. Continue to
hold the club in front of you and twist your body side to side as if your lower
body was going through the golf swing.

Step
and Turn

Place
your golf club on your shoulders, holding onto it with both hands. Step forward
with your left leg into a lunge and rotate your upper body to the left. Return
to the starting position. Repeat to the other side.

Leg Swings (2 Directions)

Hold the club upside down
with the grip end planted firmly on the ground. Stand on your left leg and
swing your right leg front and back. Repeat on the other leg. Then perform the
same exercise swinging your leg left to right, crossing in front of your
stabilizing leg. Repeat on the other leg.

For a
more personalized warm up routine, schedule your Golf Fitness Assessment with
one of our TPI Certified Professionals:
https://www.capecodrehab.com/golf-fitness-program/

Blog post by Jen Skiba.

Signing up for a mud run? Try these.

96
800×600

Normal
0

false
false
false

EN-US
JA
X-NONE

Throwback Thursday: Warrior Dash ’11

The rise in popularity of mud runs has seen an explosion of these kinds of
races in the last few years, from the shorter Warrior Dash and Spartan Race to
the longer and more grueling Tough Mudder. And no wonder! They break up the
monotony of the work week, are filled with obstacles, involve a certain
camaraderie, remind us a little of our days on a playground rather than a
cubicle, and some (more than a few) end with a beer for those of us old enough
to enjoy one.

But how do you go about training for a race like this? It involves more than
just forward running, with obstacles ranging from wall climbs to electrically
charged wire pits to barbed wire you have to crawl under through thick mud. And
while going out on distance runs is a good idea to build a nice endurance base
for the 3-12 miles you may be running (sometimes up mountains), there are other
things to consider adding, both to improve performance, and to avoid injuries
on the course. Most trainers suggest at least 7-12 weeks of training for a
race–more, if you’ve never done much like this before.


Rope climbs


Sit on the floor, feet in front, holding the rope in both hands, and pull
yourself up to a standing position hand over hand. Then, lower yourself down to
the starting position. That’s one! These will help you climb up over the walls,
and builds upper body strength. 


Box jumps


Start in an athletic position (shoulders over knees, knees and hips bent),
slightly bend your knees and jump onto the box/platform, absorbing the landing
evenly in the same athletic stance you started in. Step down, and go again!


Monkey bars


Straight from the playground! This is great, since you’ll see these on some of
the courses, and are great for upper body strength as well.


Planks/side planks


Important for core strength, which you’ll need when crawling under those wires.
Hold a plank position for as long as you can without losing form. Keep
adding time as you go along through your training. Don’t forget side planks;
your middle is made of more than just one muscle.


Blog post by Ashley Crosby.

TRX Training for Runners

Normal
0

false
false
false

EN-US
JA
X-NONE

Everyone can
benefit from TRX suspension training. It is a great way to
develop
core strength, as well as stability in joints and muscles. The TRX is easy
to use and can be set up almost anywhere, which makes it a great piece of
equipment to add to your workout routine. You chose how easy or how tough your
workout will be by simply changing your body angle or the length of the straps
making it a great tool for beginners as well as seasoned athletes.
TRX training for runners will allow you to focus on building up your running performance and get you
ready to take on longer runs and can actually help to improve your running
time. If it’s done right, a TRX workout can elevated your heart rate as much a
normal run would. This makes it a great tool to mix
up your workouts helping to decrease risk of injury and help with recovery.
Suspension
training can help to target key areas that benefit runners. It mobilizes the
thoracic spine, increases hip mobility, and engages the glutes, which are often
ignored by runners. A strong core is important for runners and TRX training is
a great way to build up strength and stability in that area.

Try a TRX workout and see what it can do for you.
Your workout should be designed with runner-specific exercises to improve your body’s strength, stability, and
flexibility. Here are some different exercises that engage the core and work on
building strength throughout the whole body. Aim to do 8-15 reps of each
exercise and make sure that you can maintain good form and posture throughout the
entire motion.

Sprinter
Start


Face away
from anchor point. Step forward with right leg. Lean into TRX at approximately a 45-degree angle.
Drive off
front leg and bring rear knee forward. Return to start position. Repeat with
other leg.


Suspended
Lunge


Face away
from anchor point. Place one foot into both foot cradles at once, toes in.
Plant left foot approximately three feet in front of anchor point. 
Lower
hips into lunge position. Suspended leg will move back.  Pressing down on heel of grounded foot,
return to start position. Maintain balance and upright body posture.  Repeat with other leg.


Hamstring
Curl


Place
heels in foot cradles directly under anchor point. Lie on back with arms at sides and palms flat
on ground. Use core and glutes to lift hips into a bridge. 
Draw
heels toward hips while lifting hips and squeezing glutes. Return to start
position with control.


Squat Rows


Face
anchor point with feet shoulder-width apart. Hold handles with arms extended.
Lean back and walk feet forward to appropriate resistance angle. Lower into a
squat. 
Stand up
from the squat keeping shoulders pulled down and back. Pull body toward anchor
point using back and arms. Return to start position with slow, controlled
movement.


Did you know that it’s been 10 years since the TRX burst into the fitness world in 2004?  How do you incorporate the TRX into your training?

Blog post by Catie Furbush CSCS.